A Guide to in-Camera Double Exposure on Film - Examples, How to, and Tips
Recently, I Double Exposed a roll of Ilford HP5 Plus 400 (a black and white 35mm film) through a Porst Reflex C-TL.
In this guide I wish to share with you a few things…
How to shoot double exposure on any film camera
Double exposure examples which I consider a success
Double exposure examples which I consider a failure and how I would improve the next roll
Valuable tips and alternate approaches
So first up, let’s take a look at How to Shoot Double Exposure on ANY Film Camera:
Go ahead and check out my YouTube channel for more videos related to photography and the philosophy of creativity. My aim there is to help teach and inspire, so do yourself a favour and subscribe!
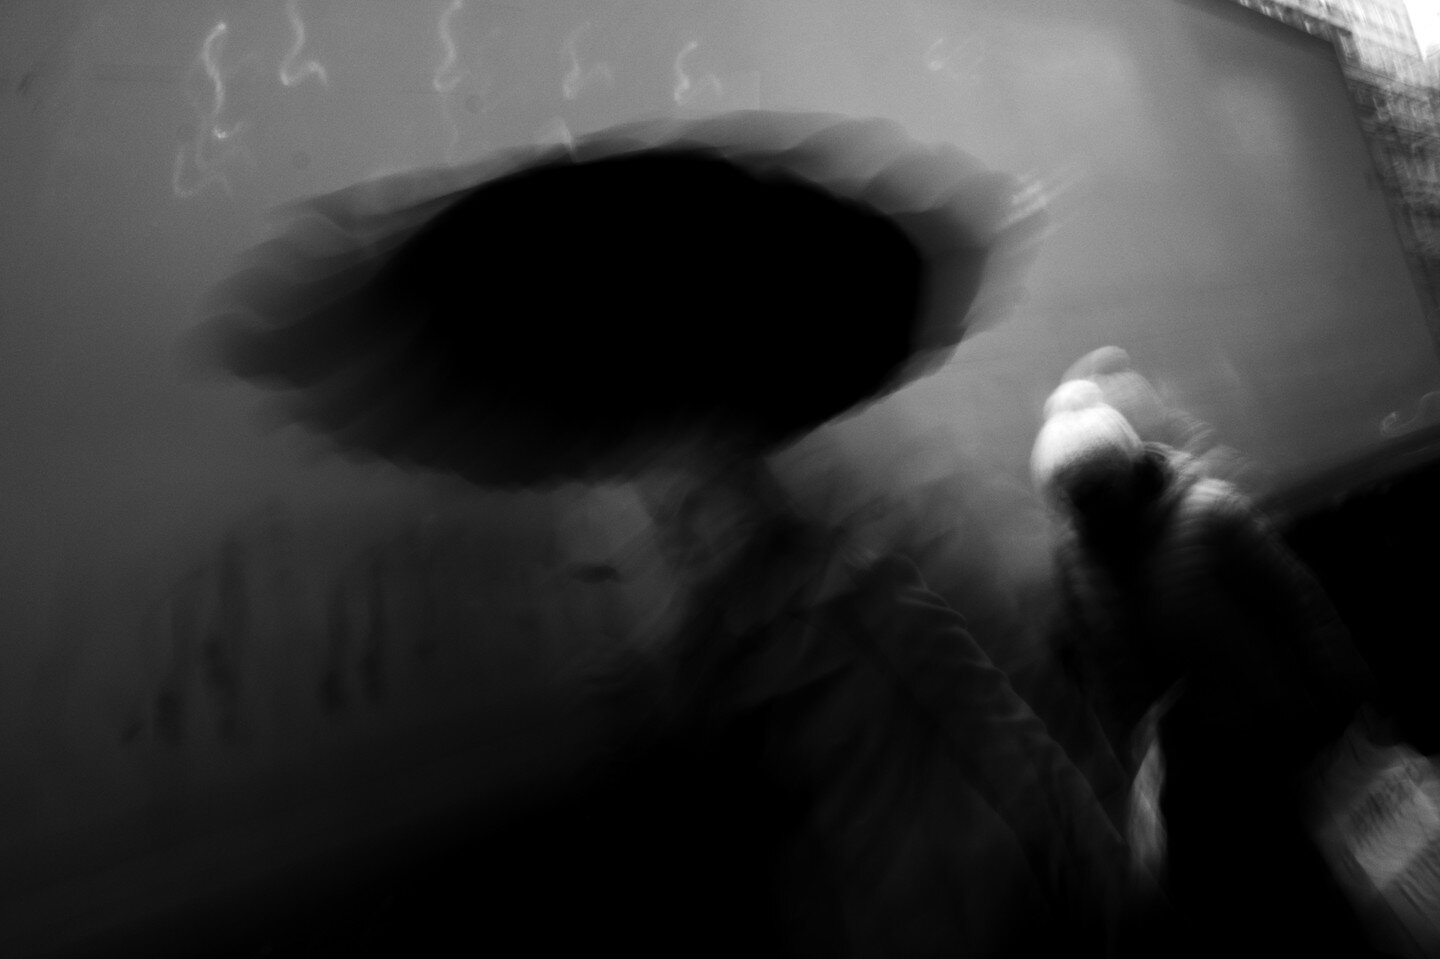
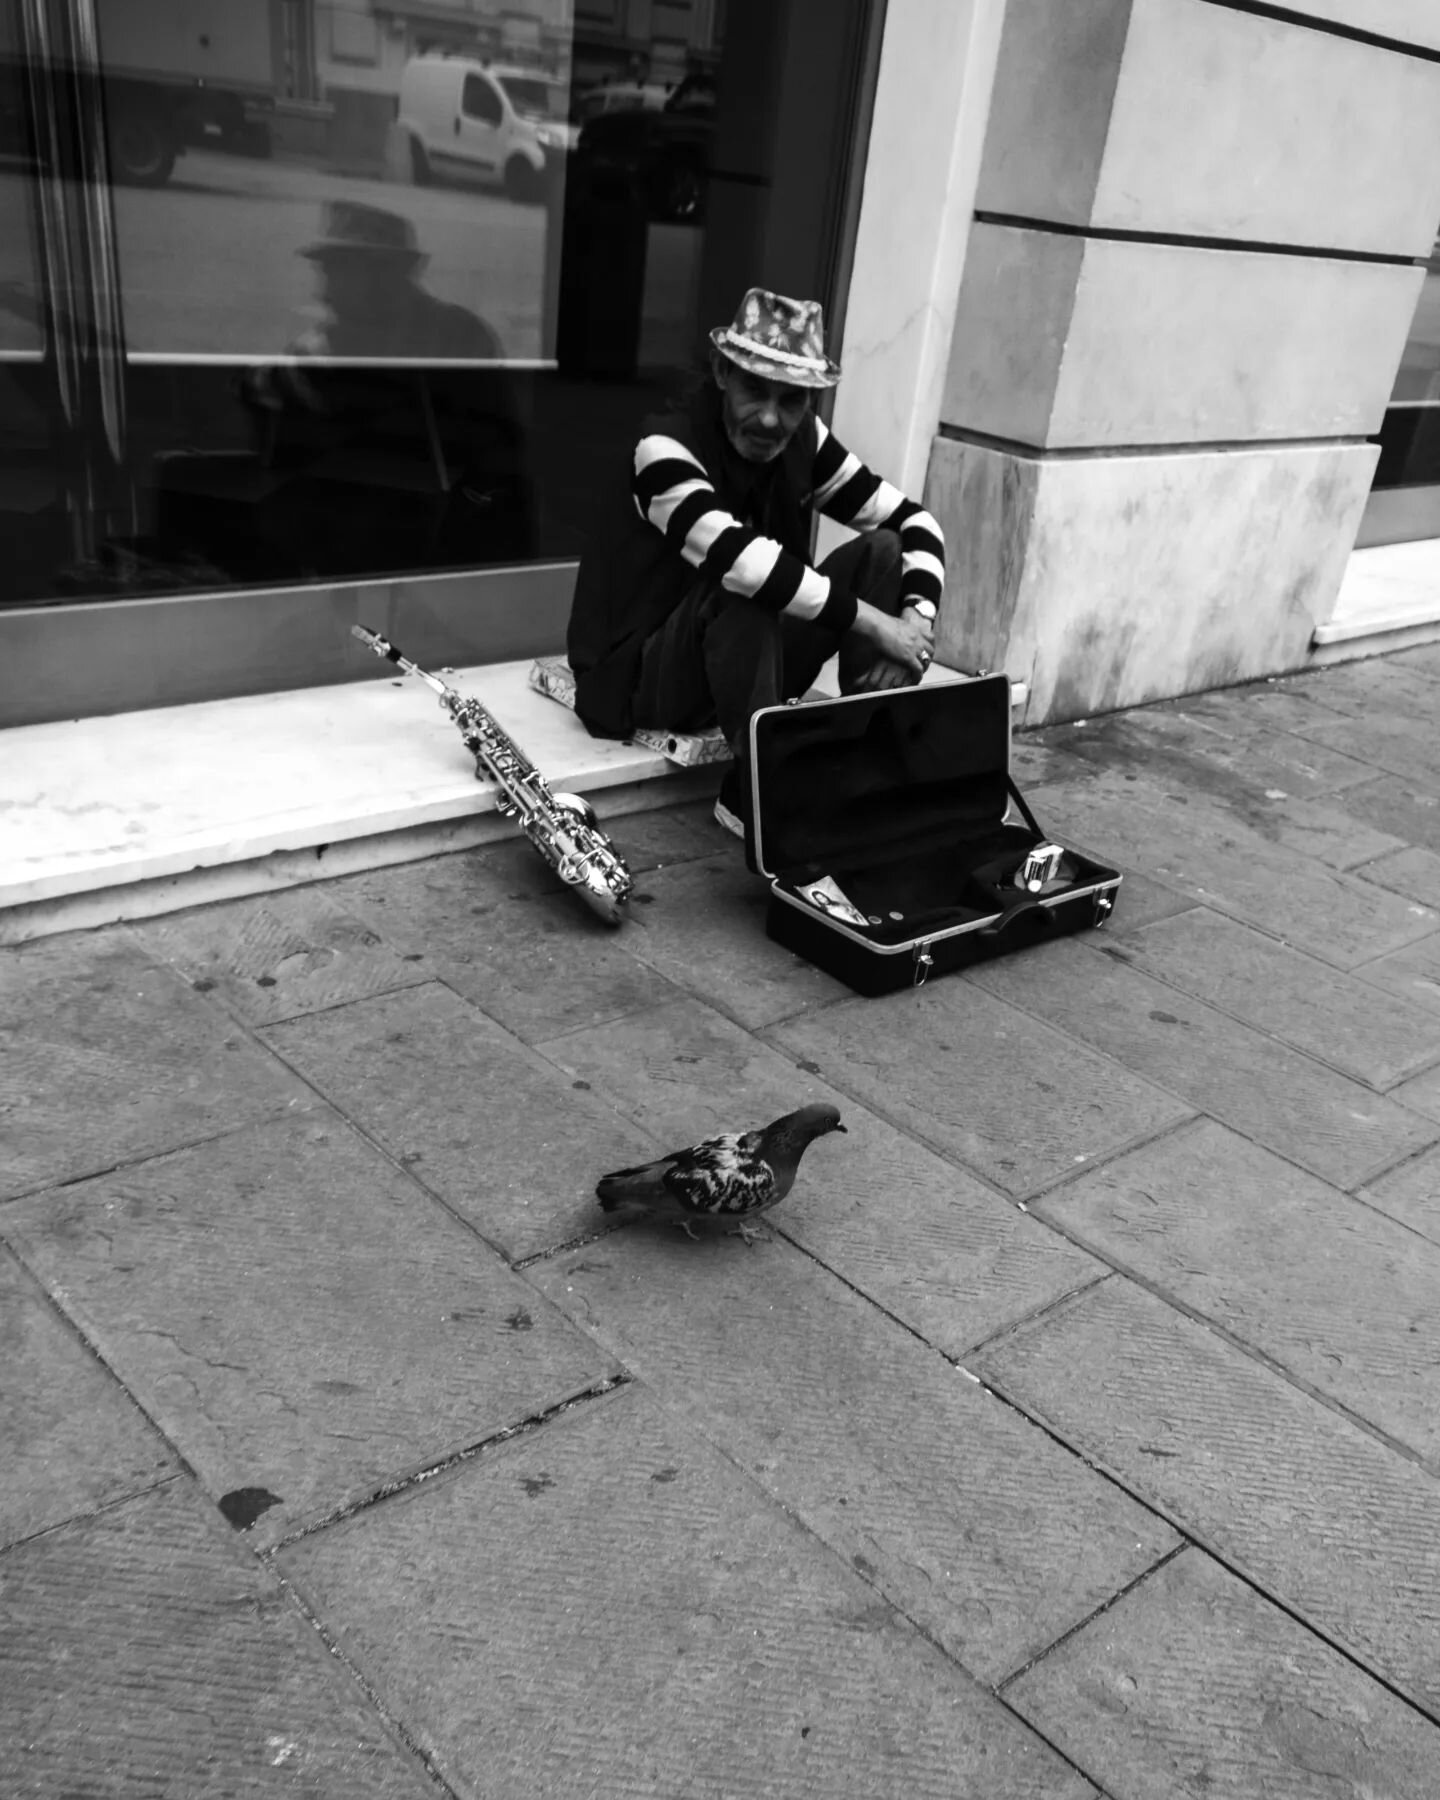
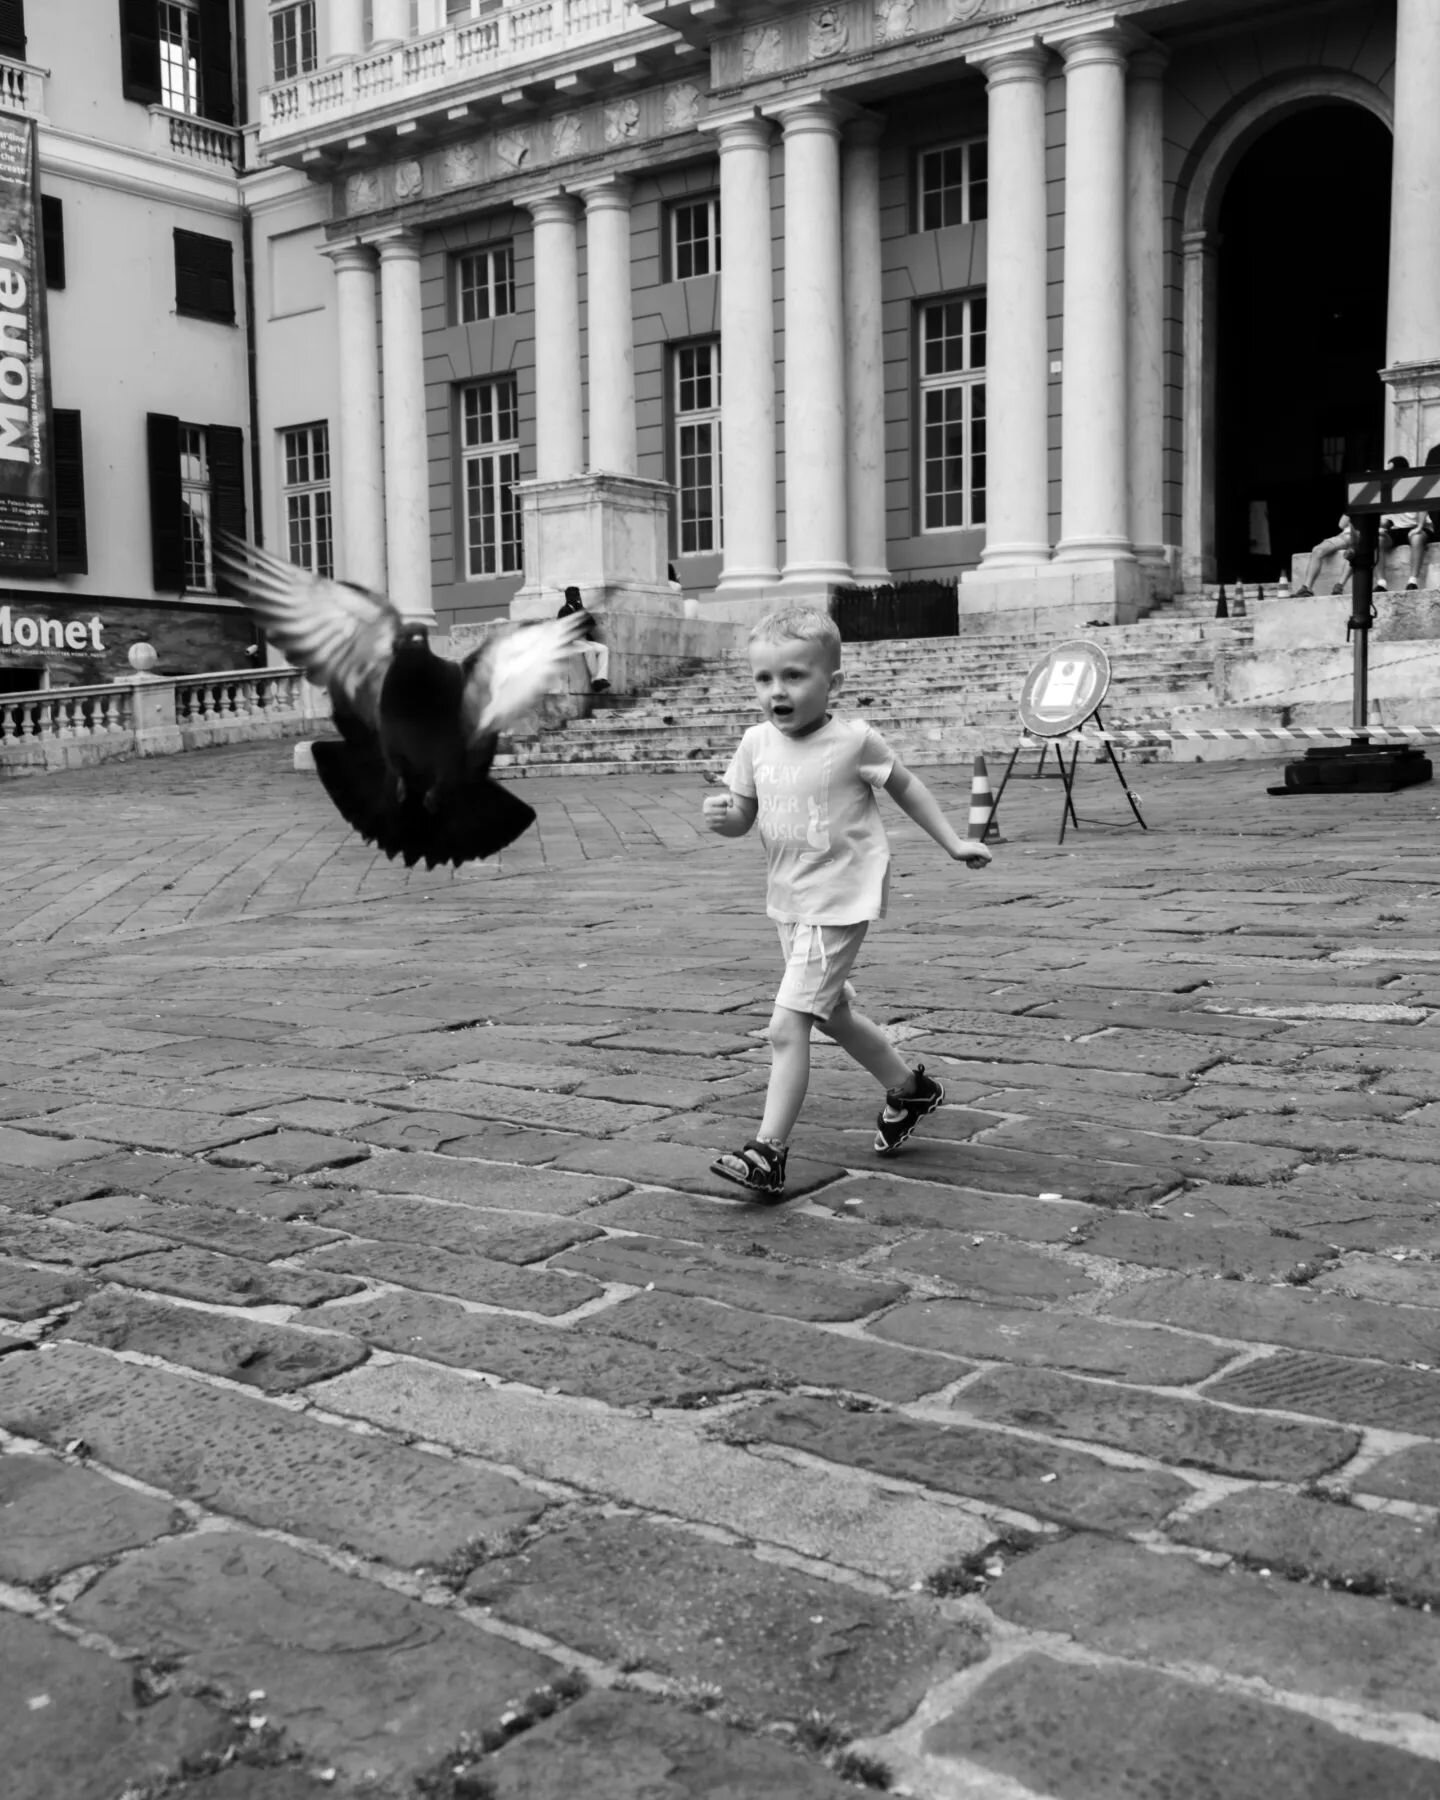
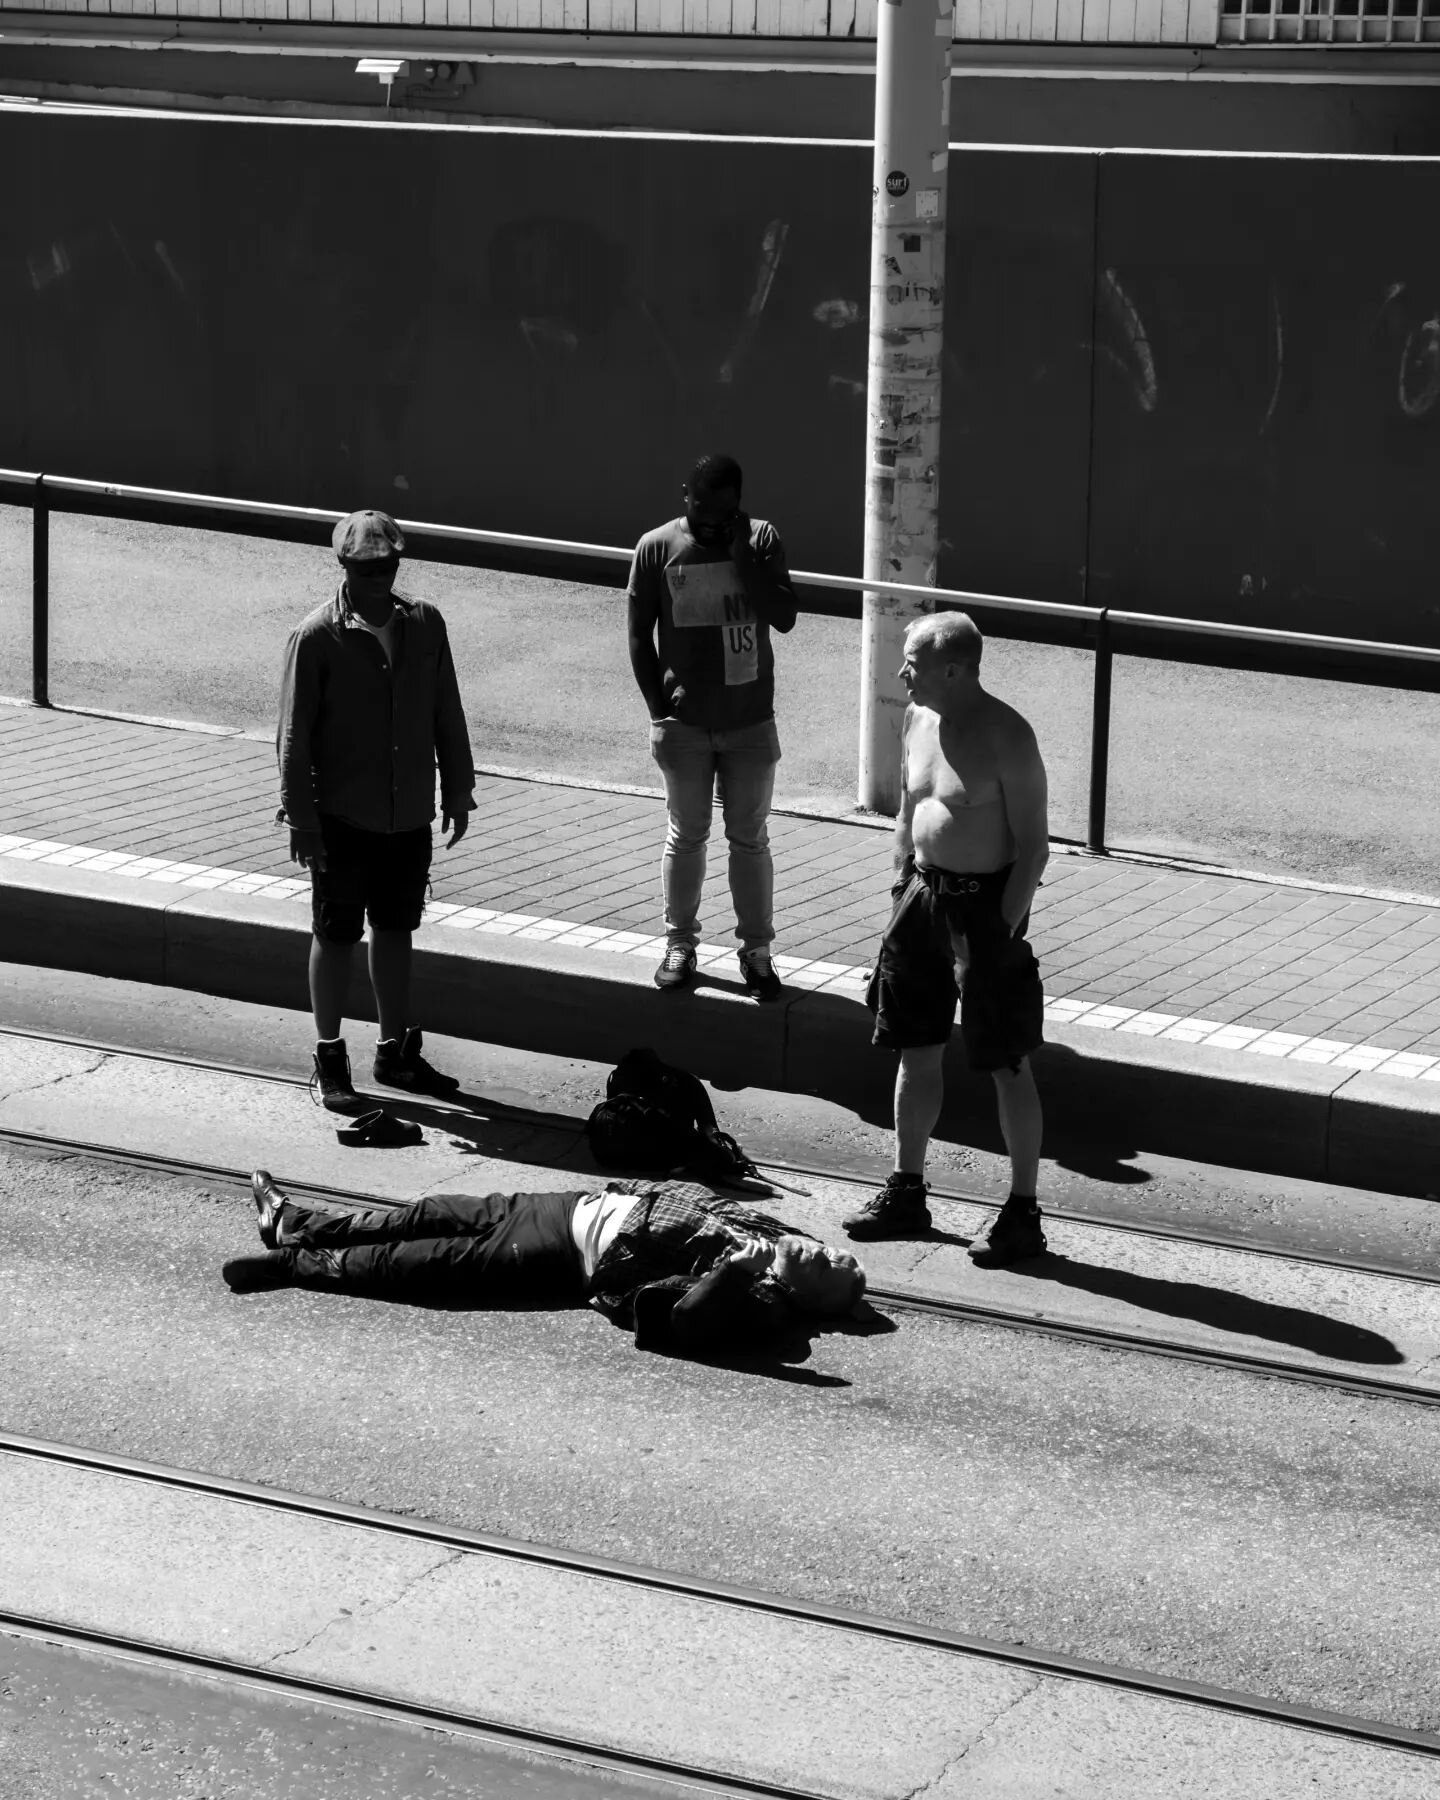
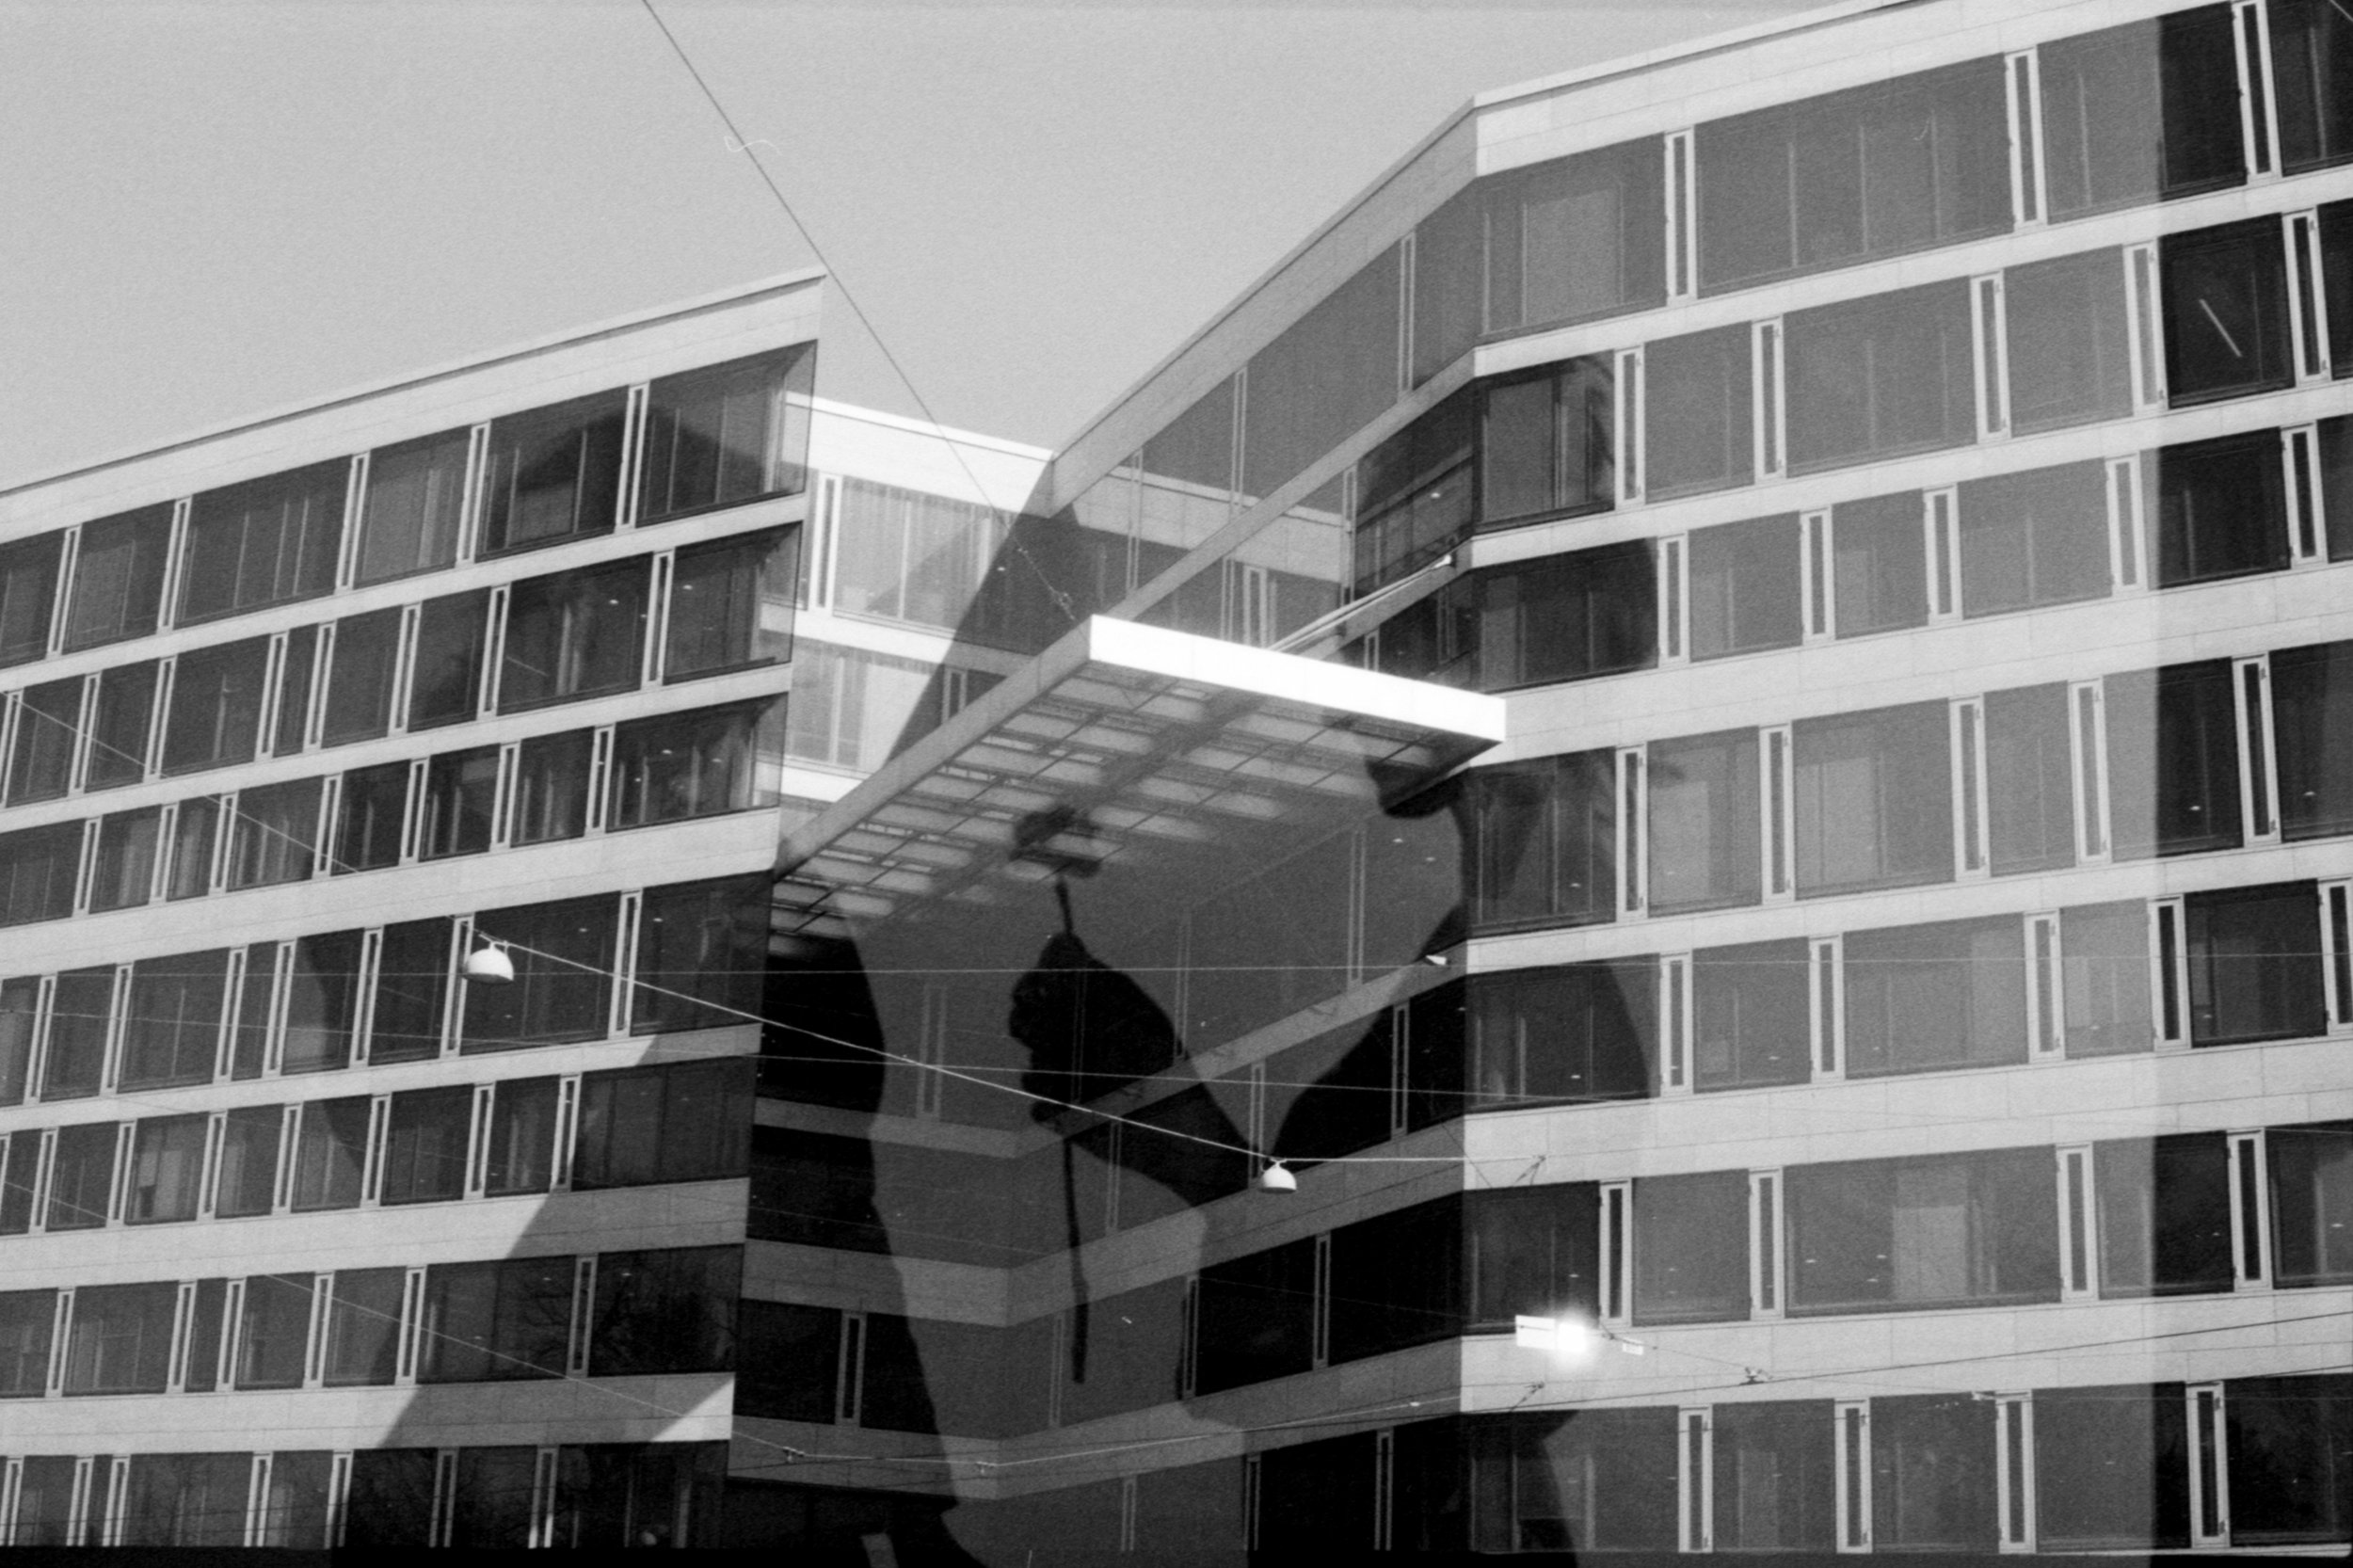
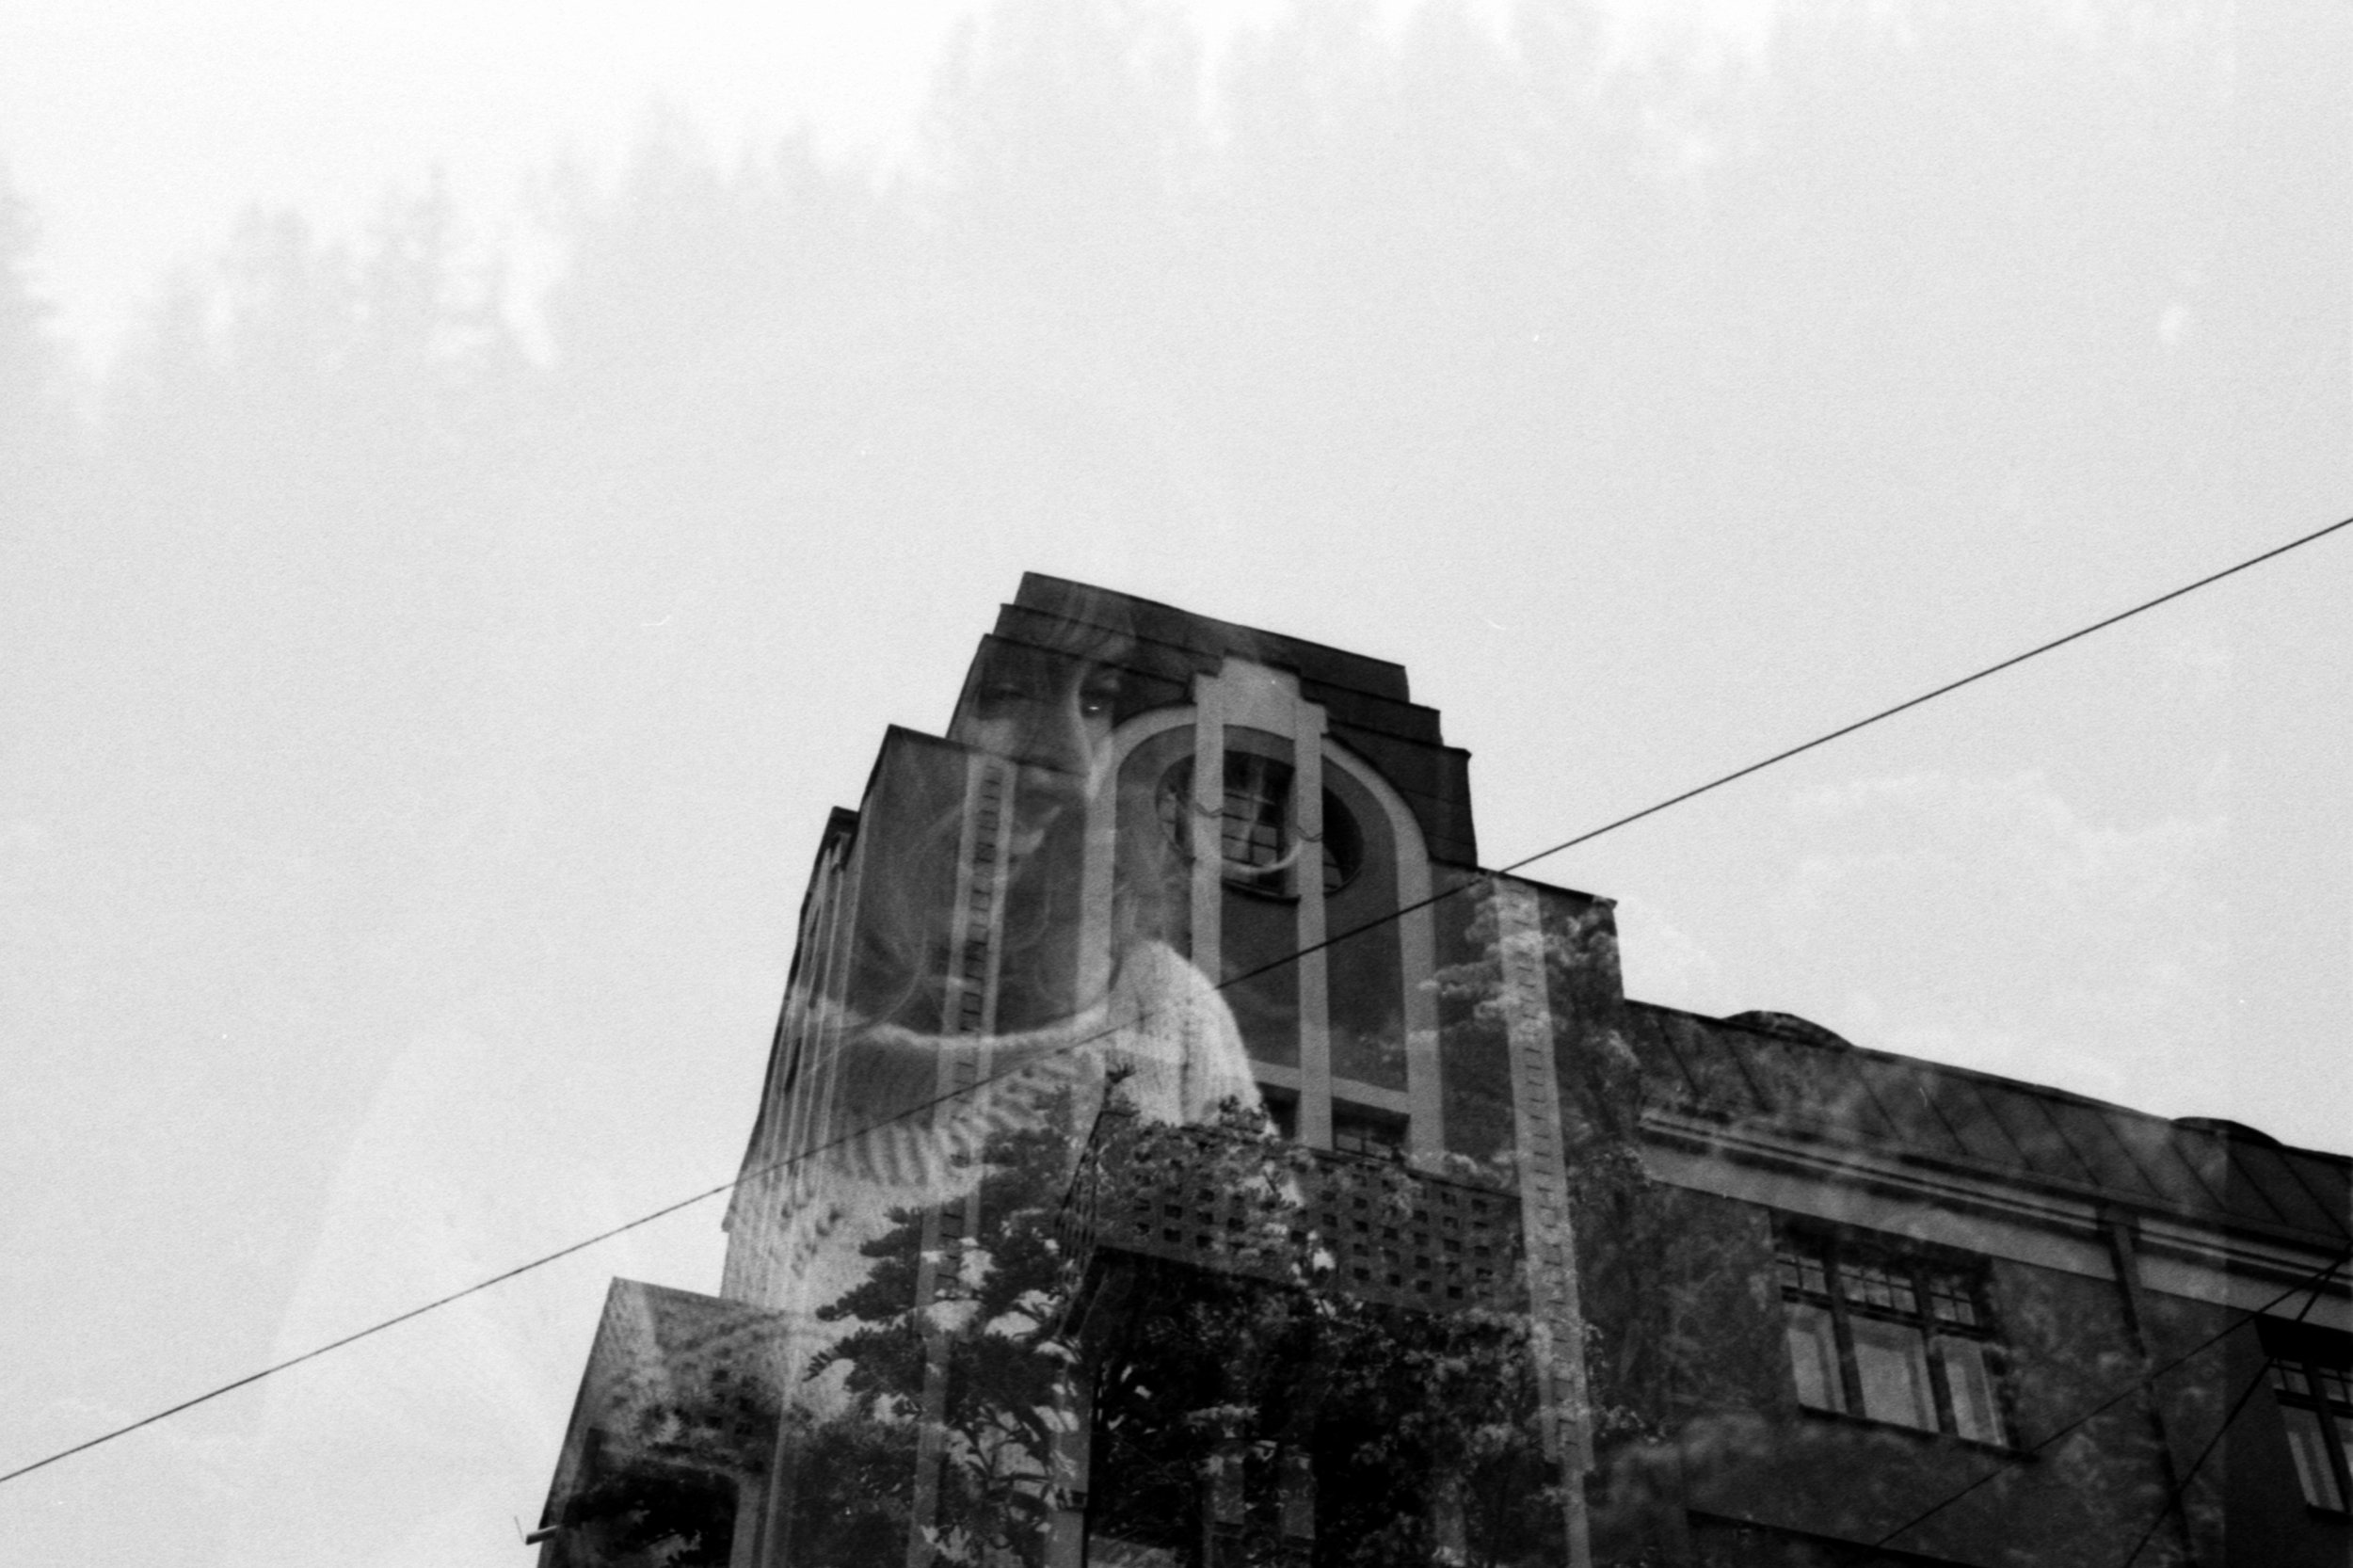
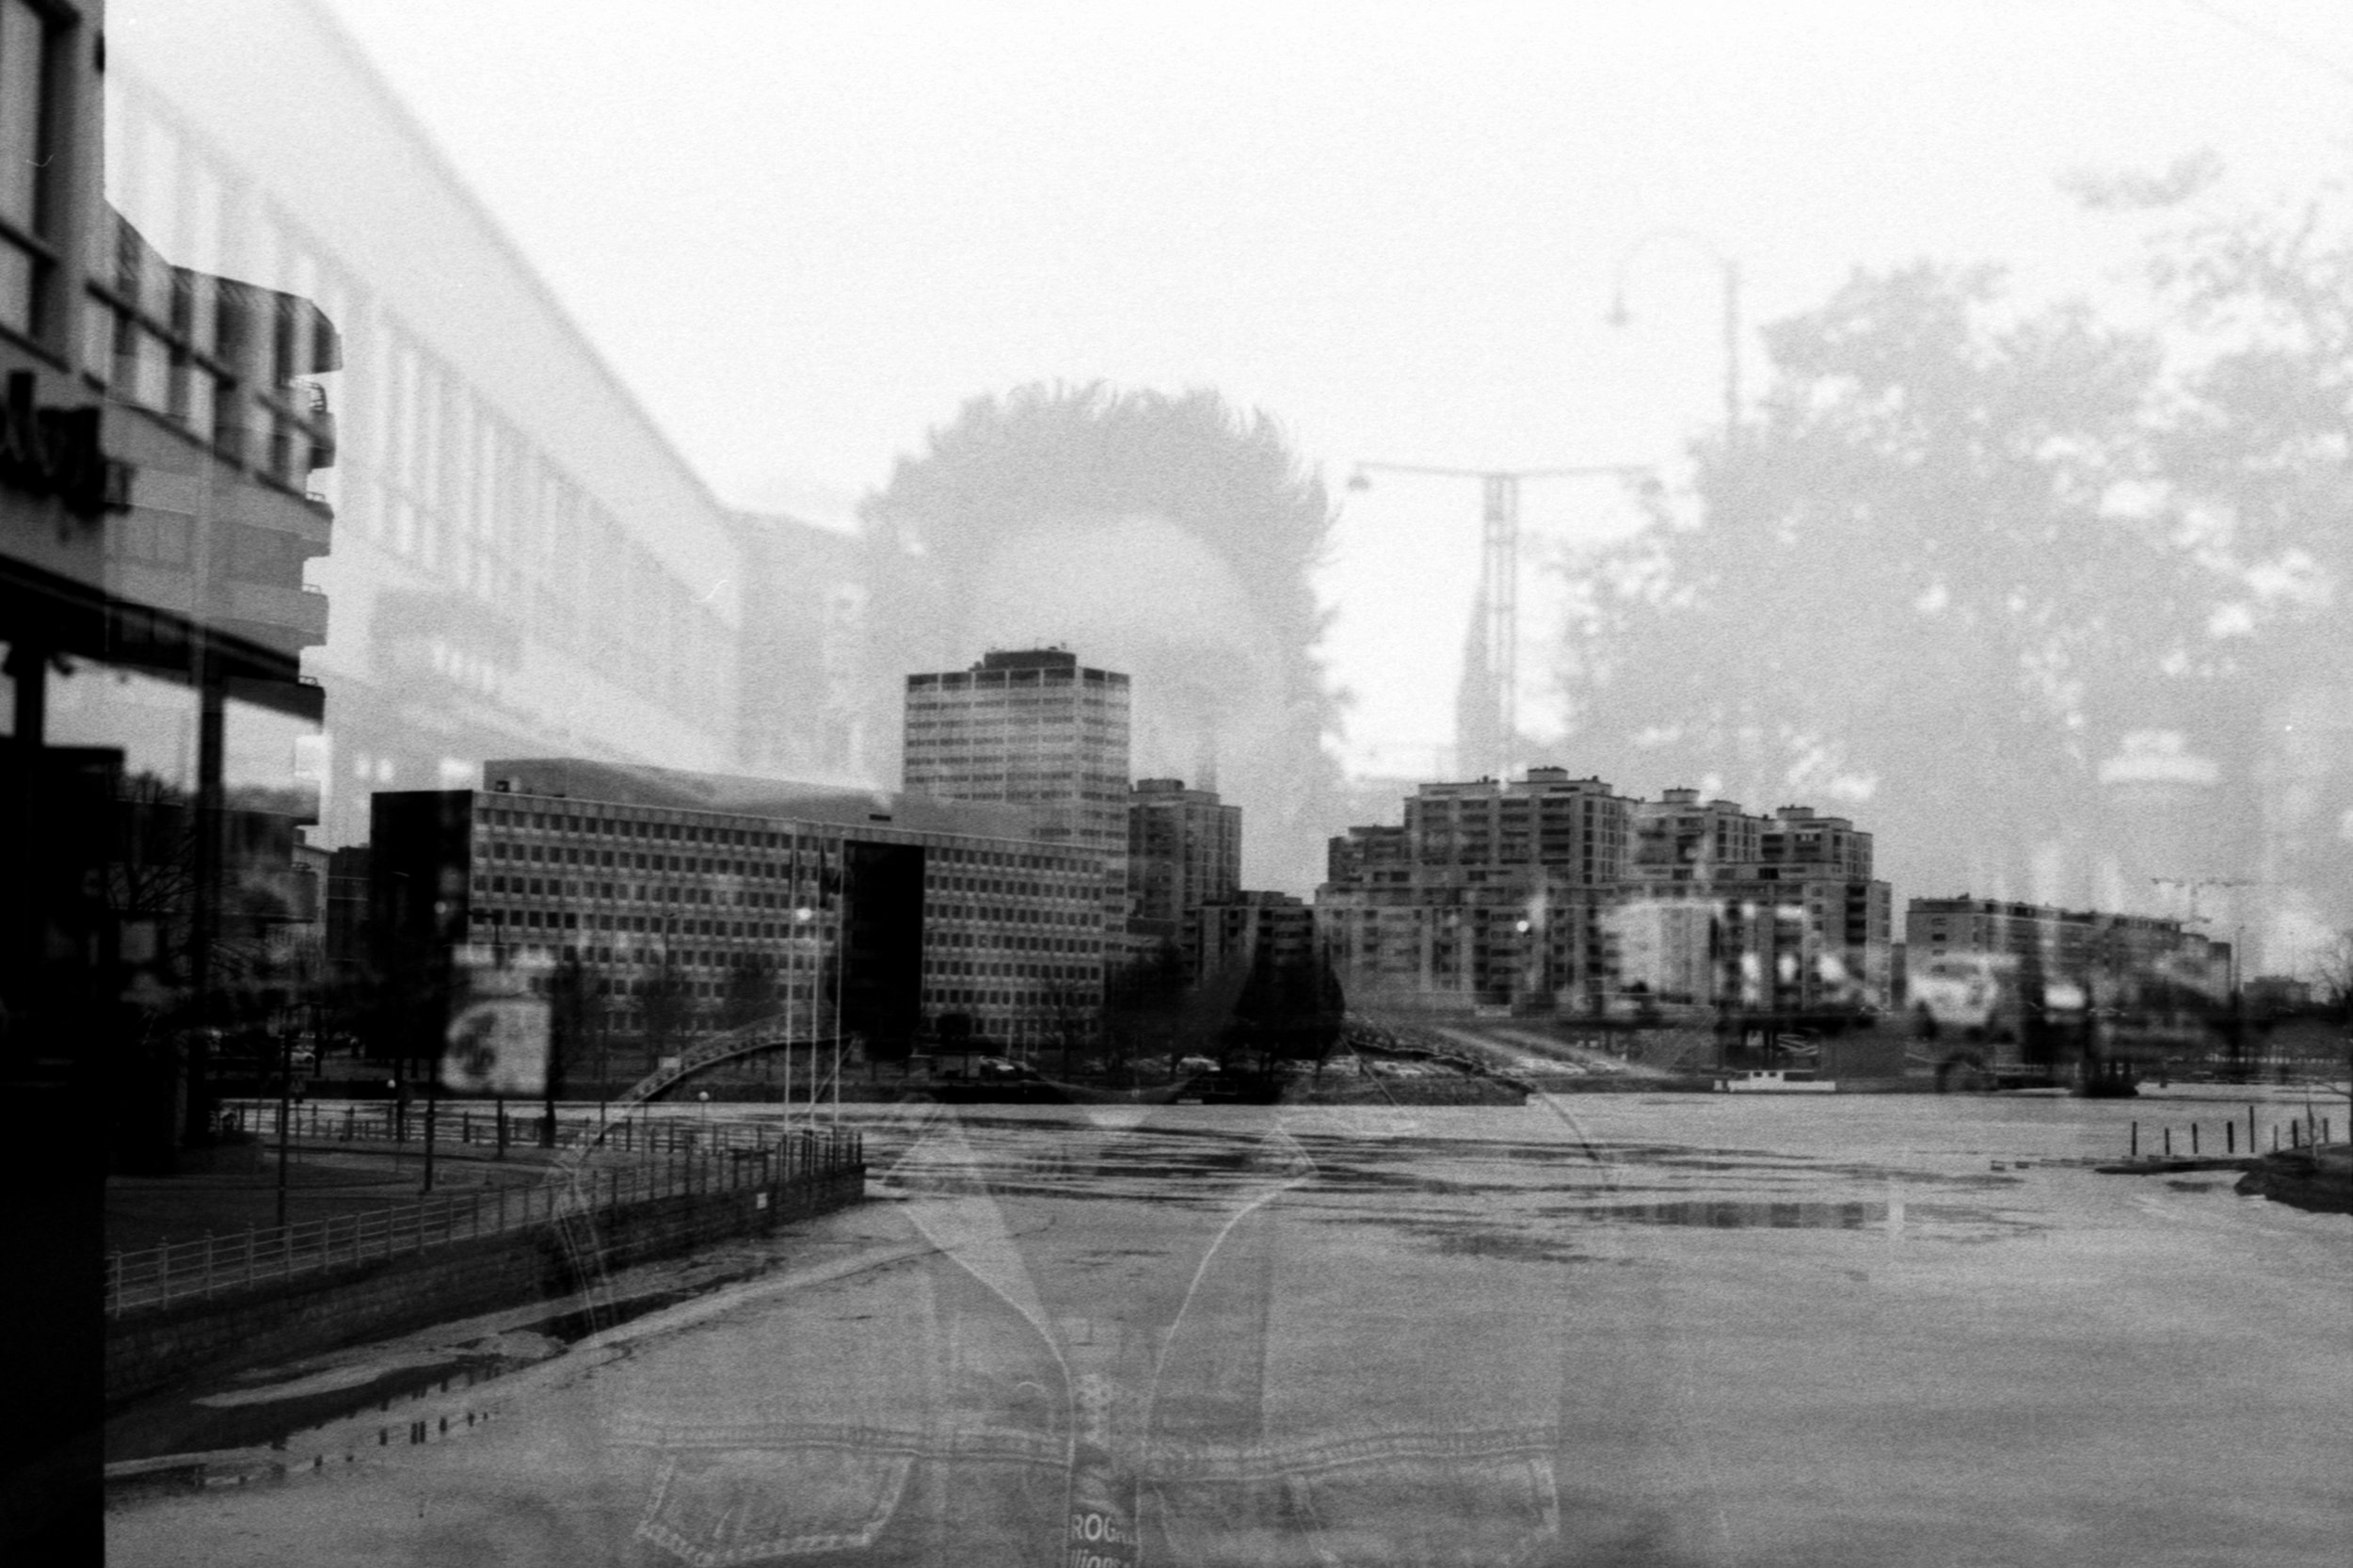
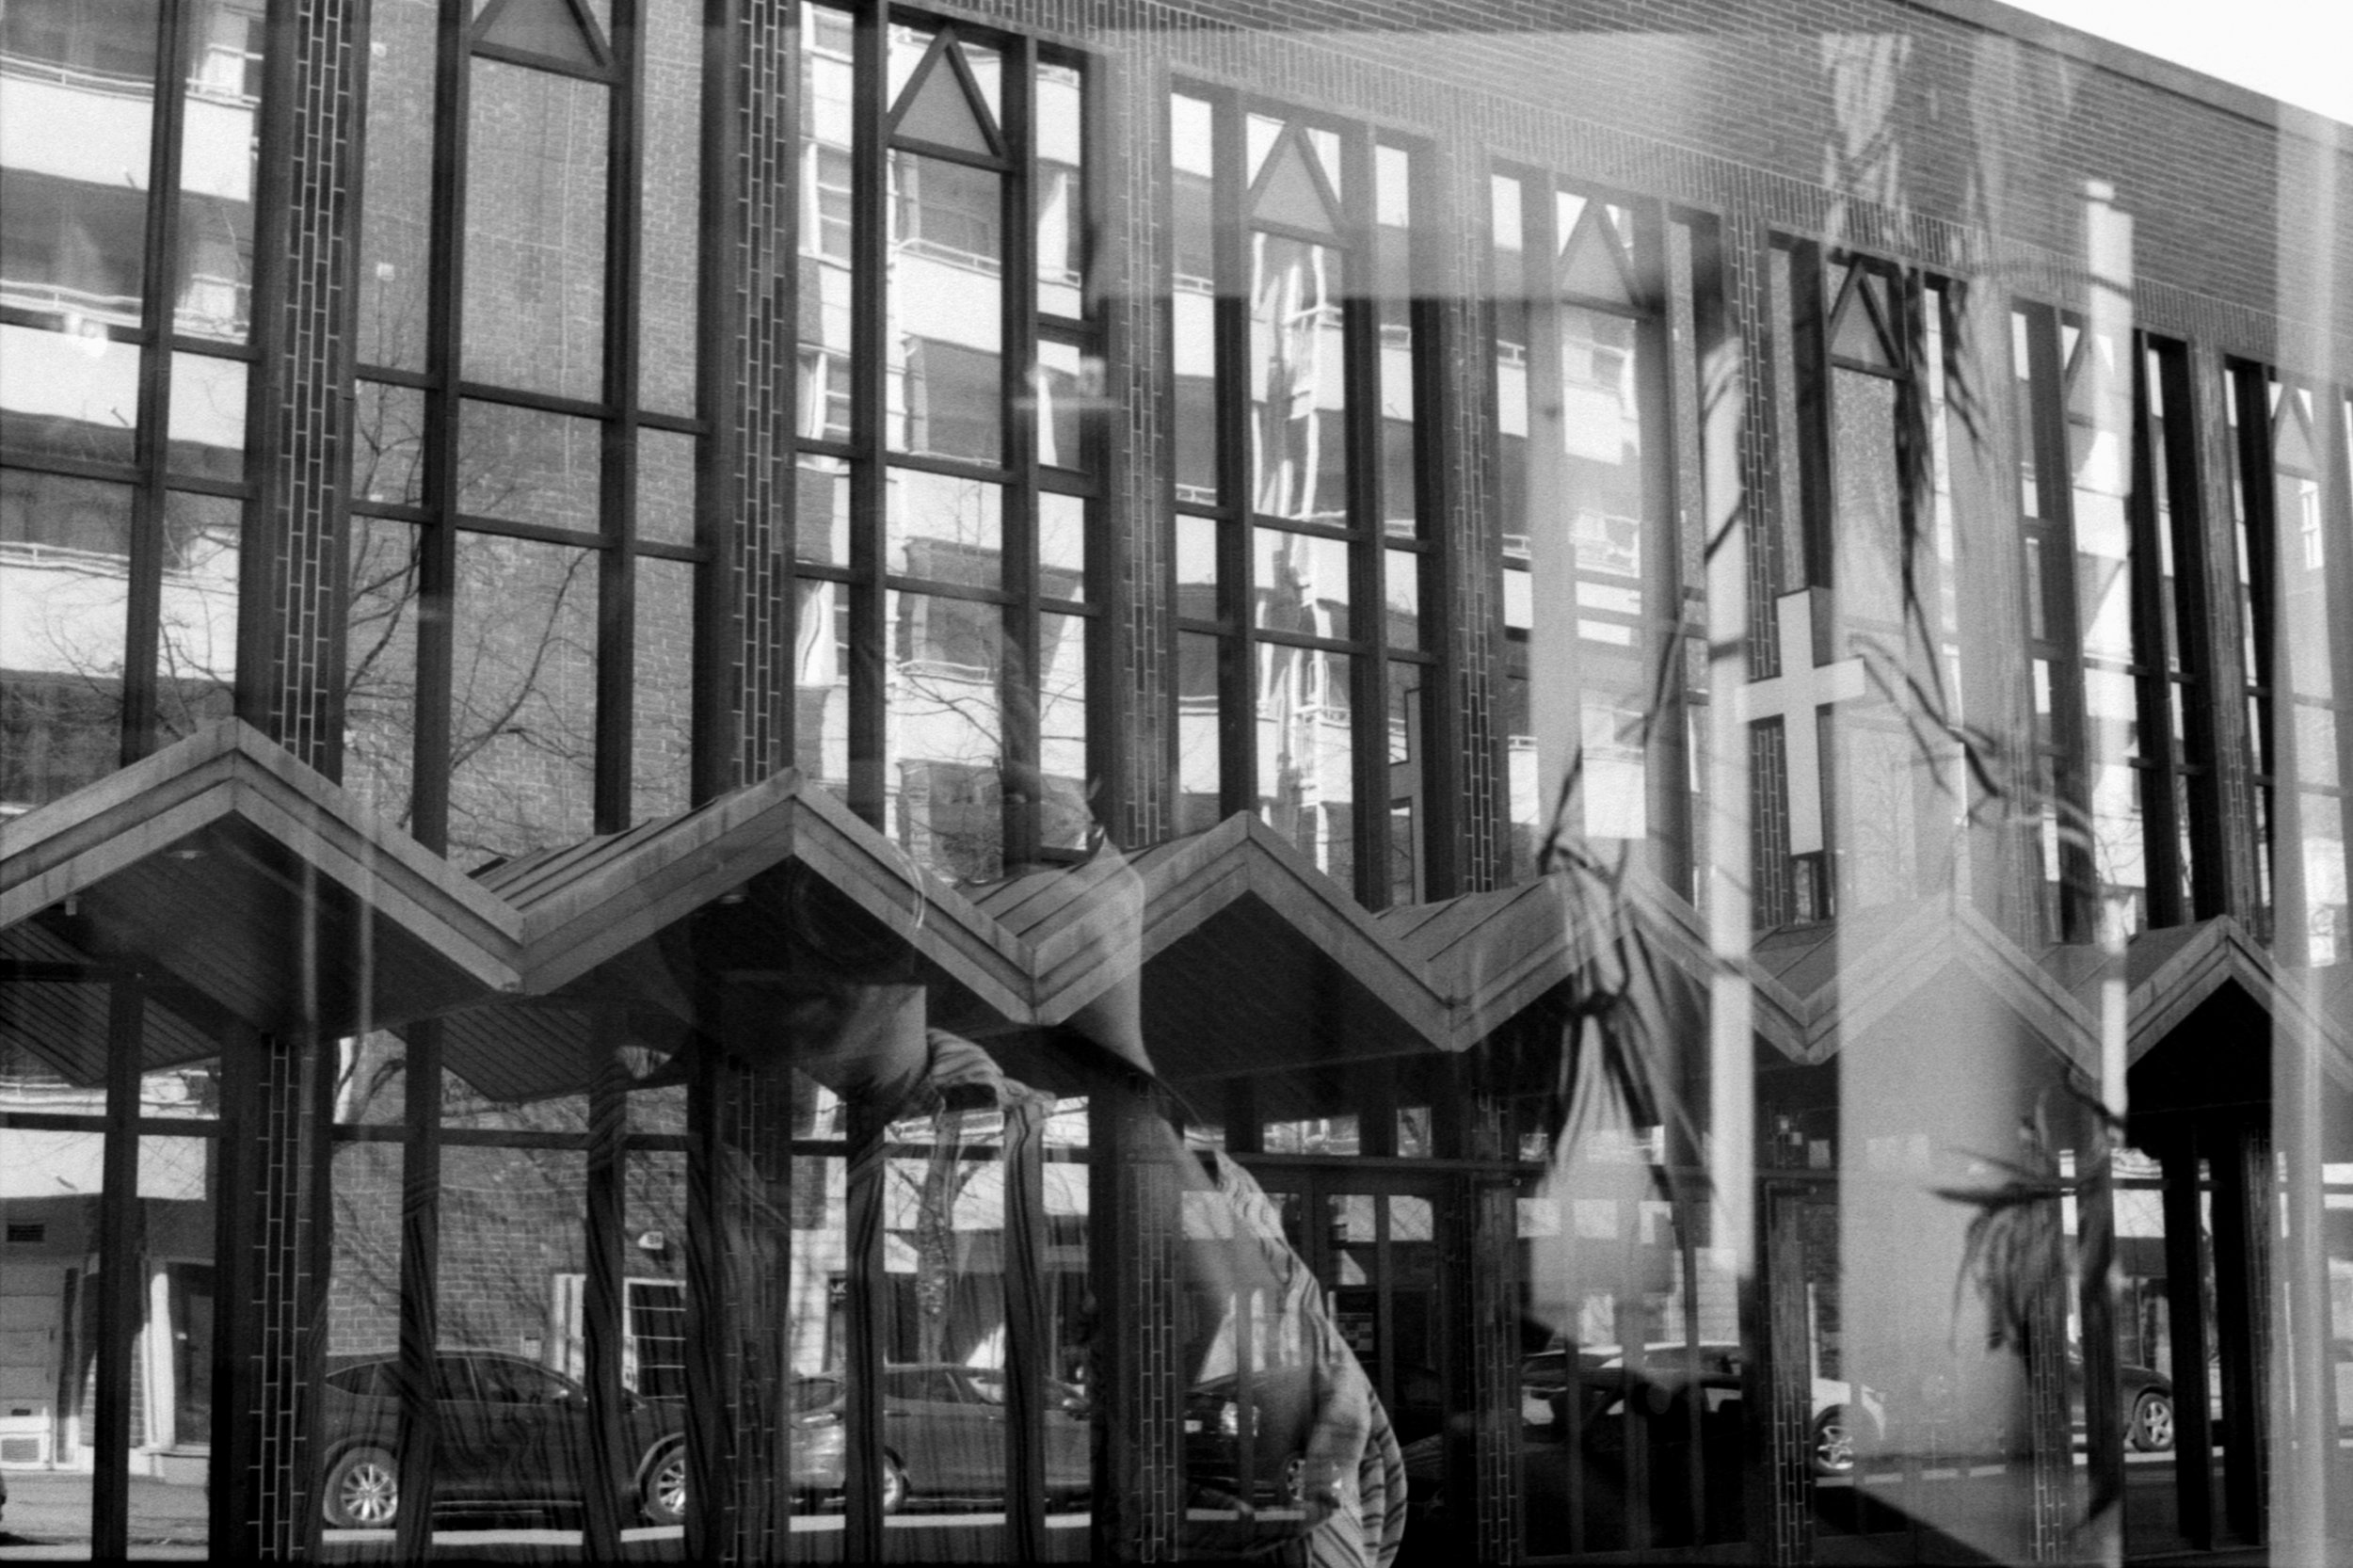
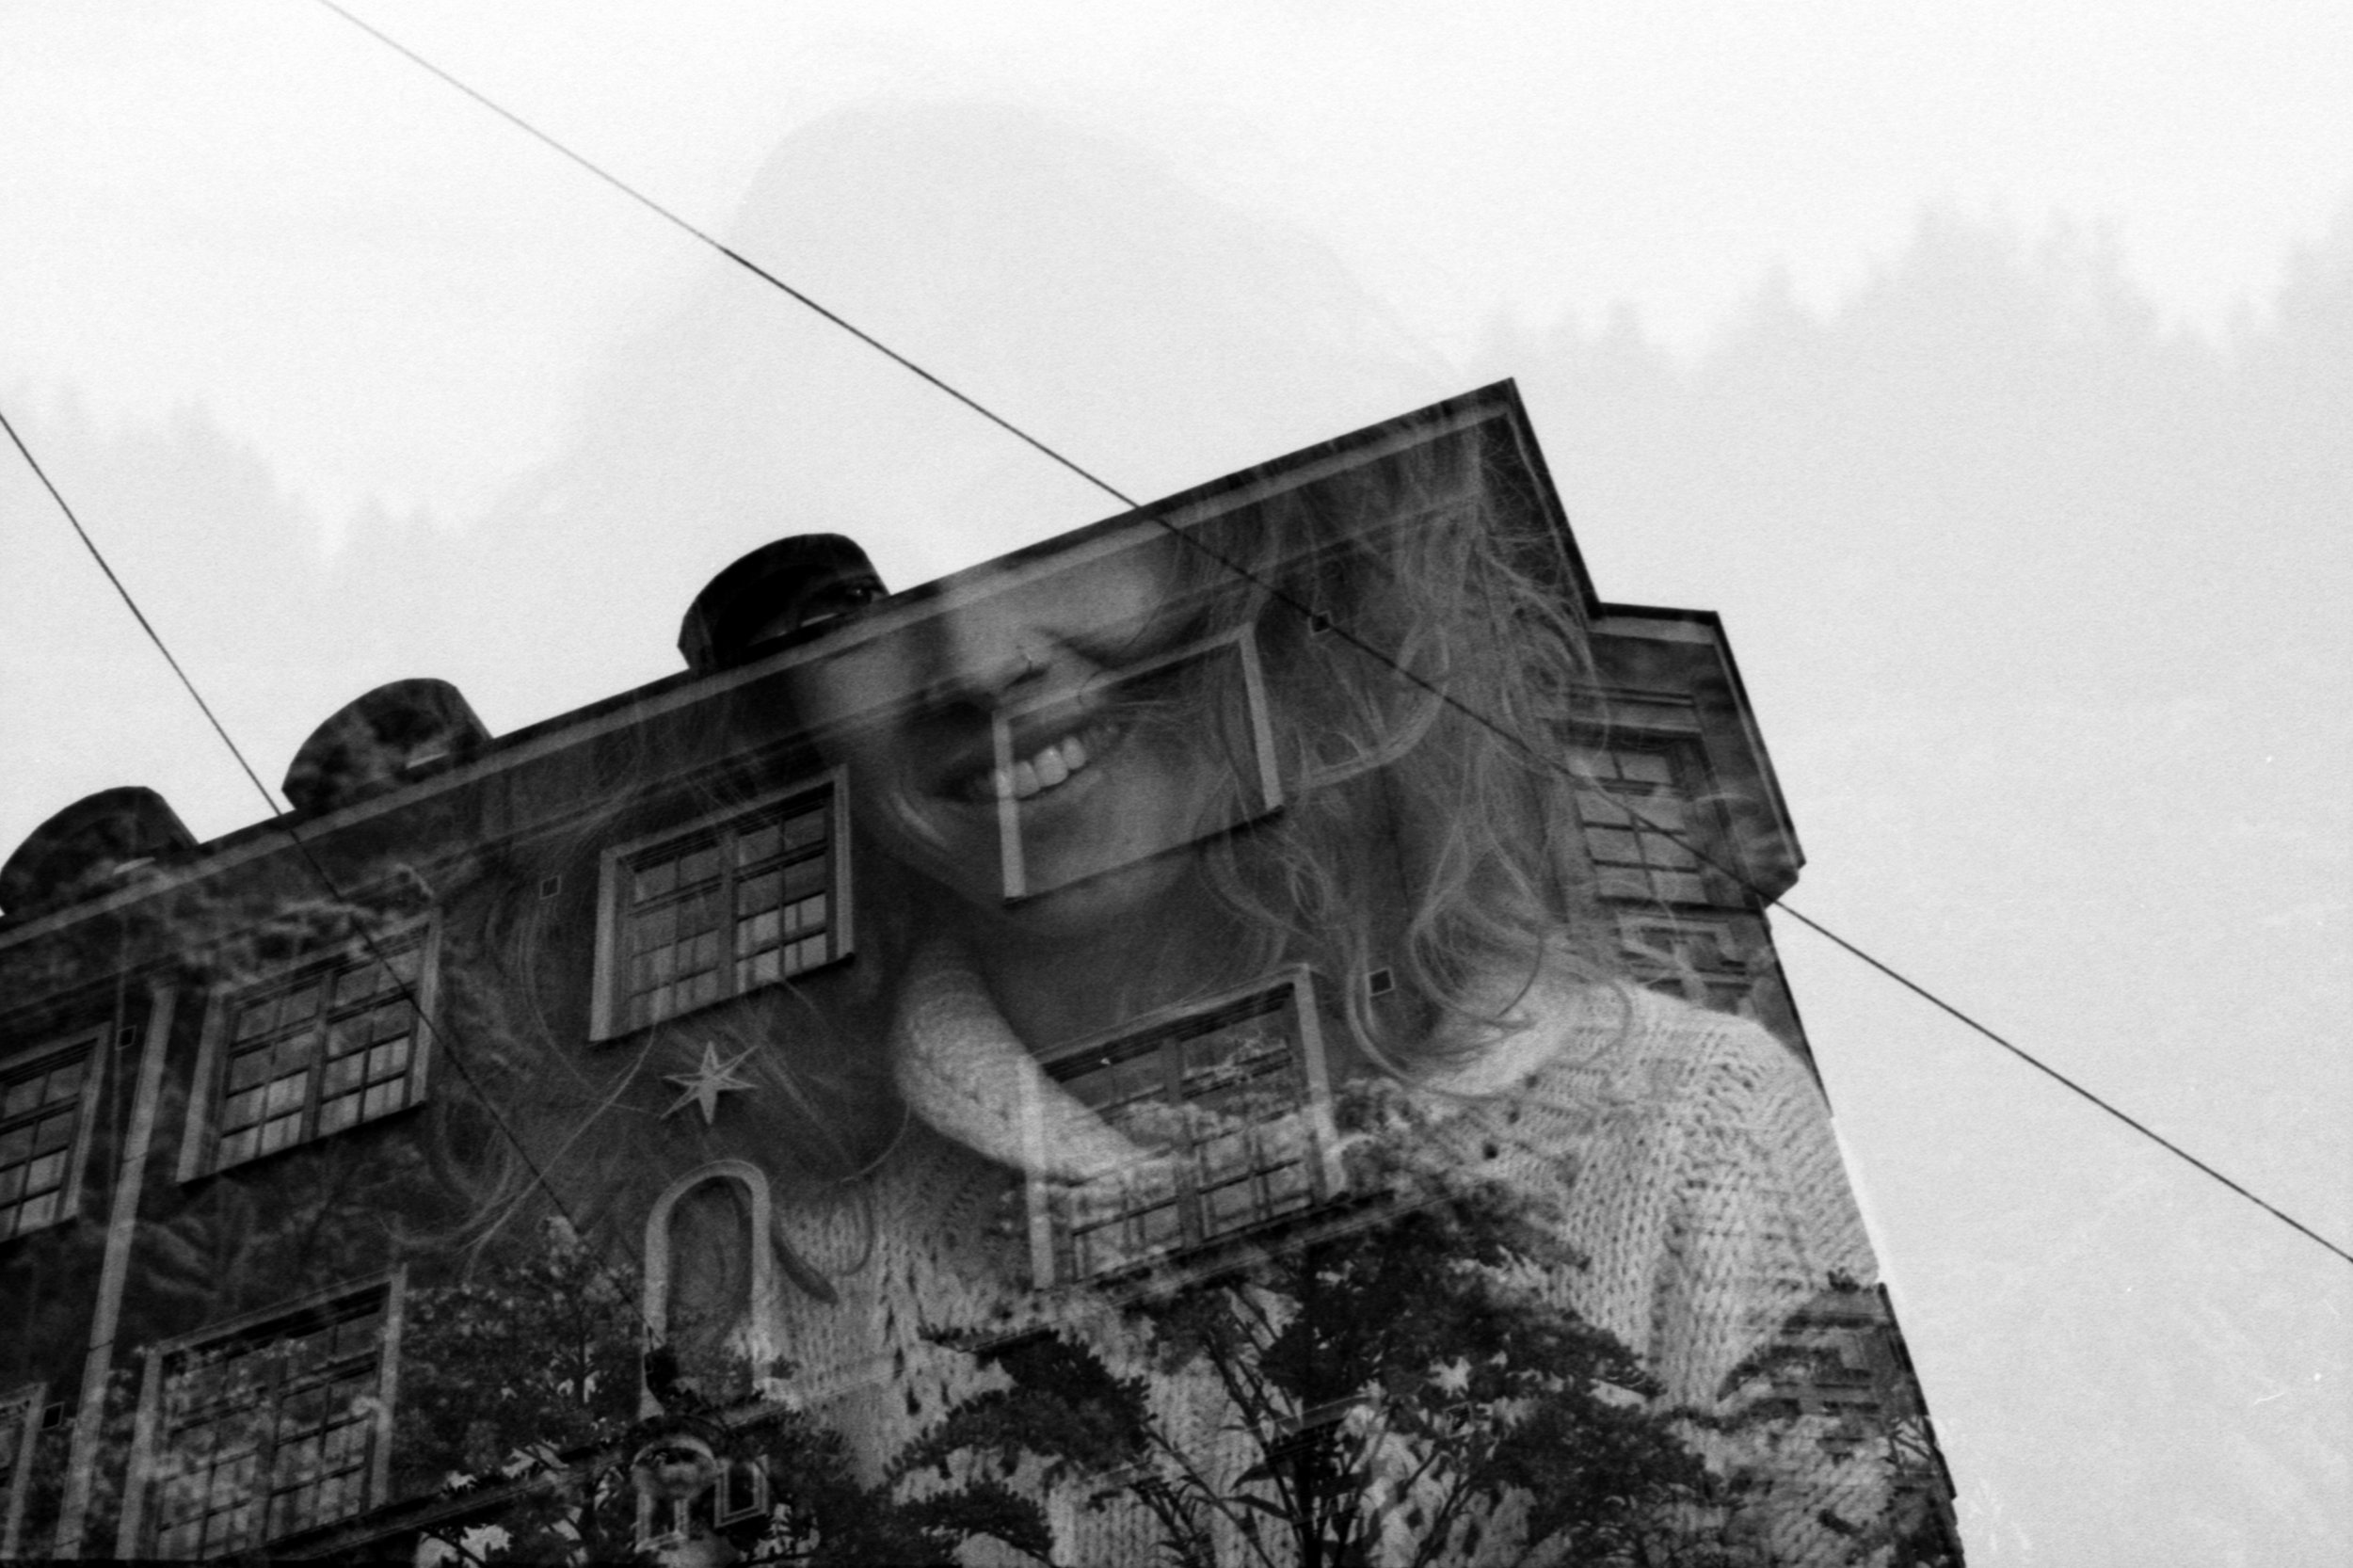
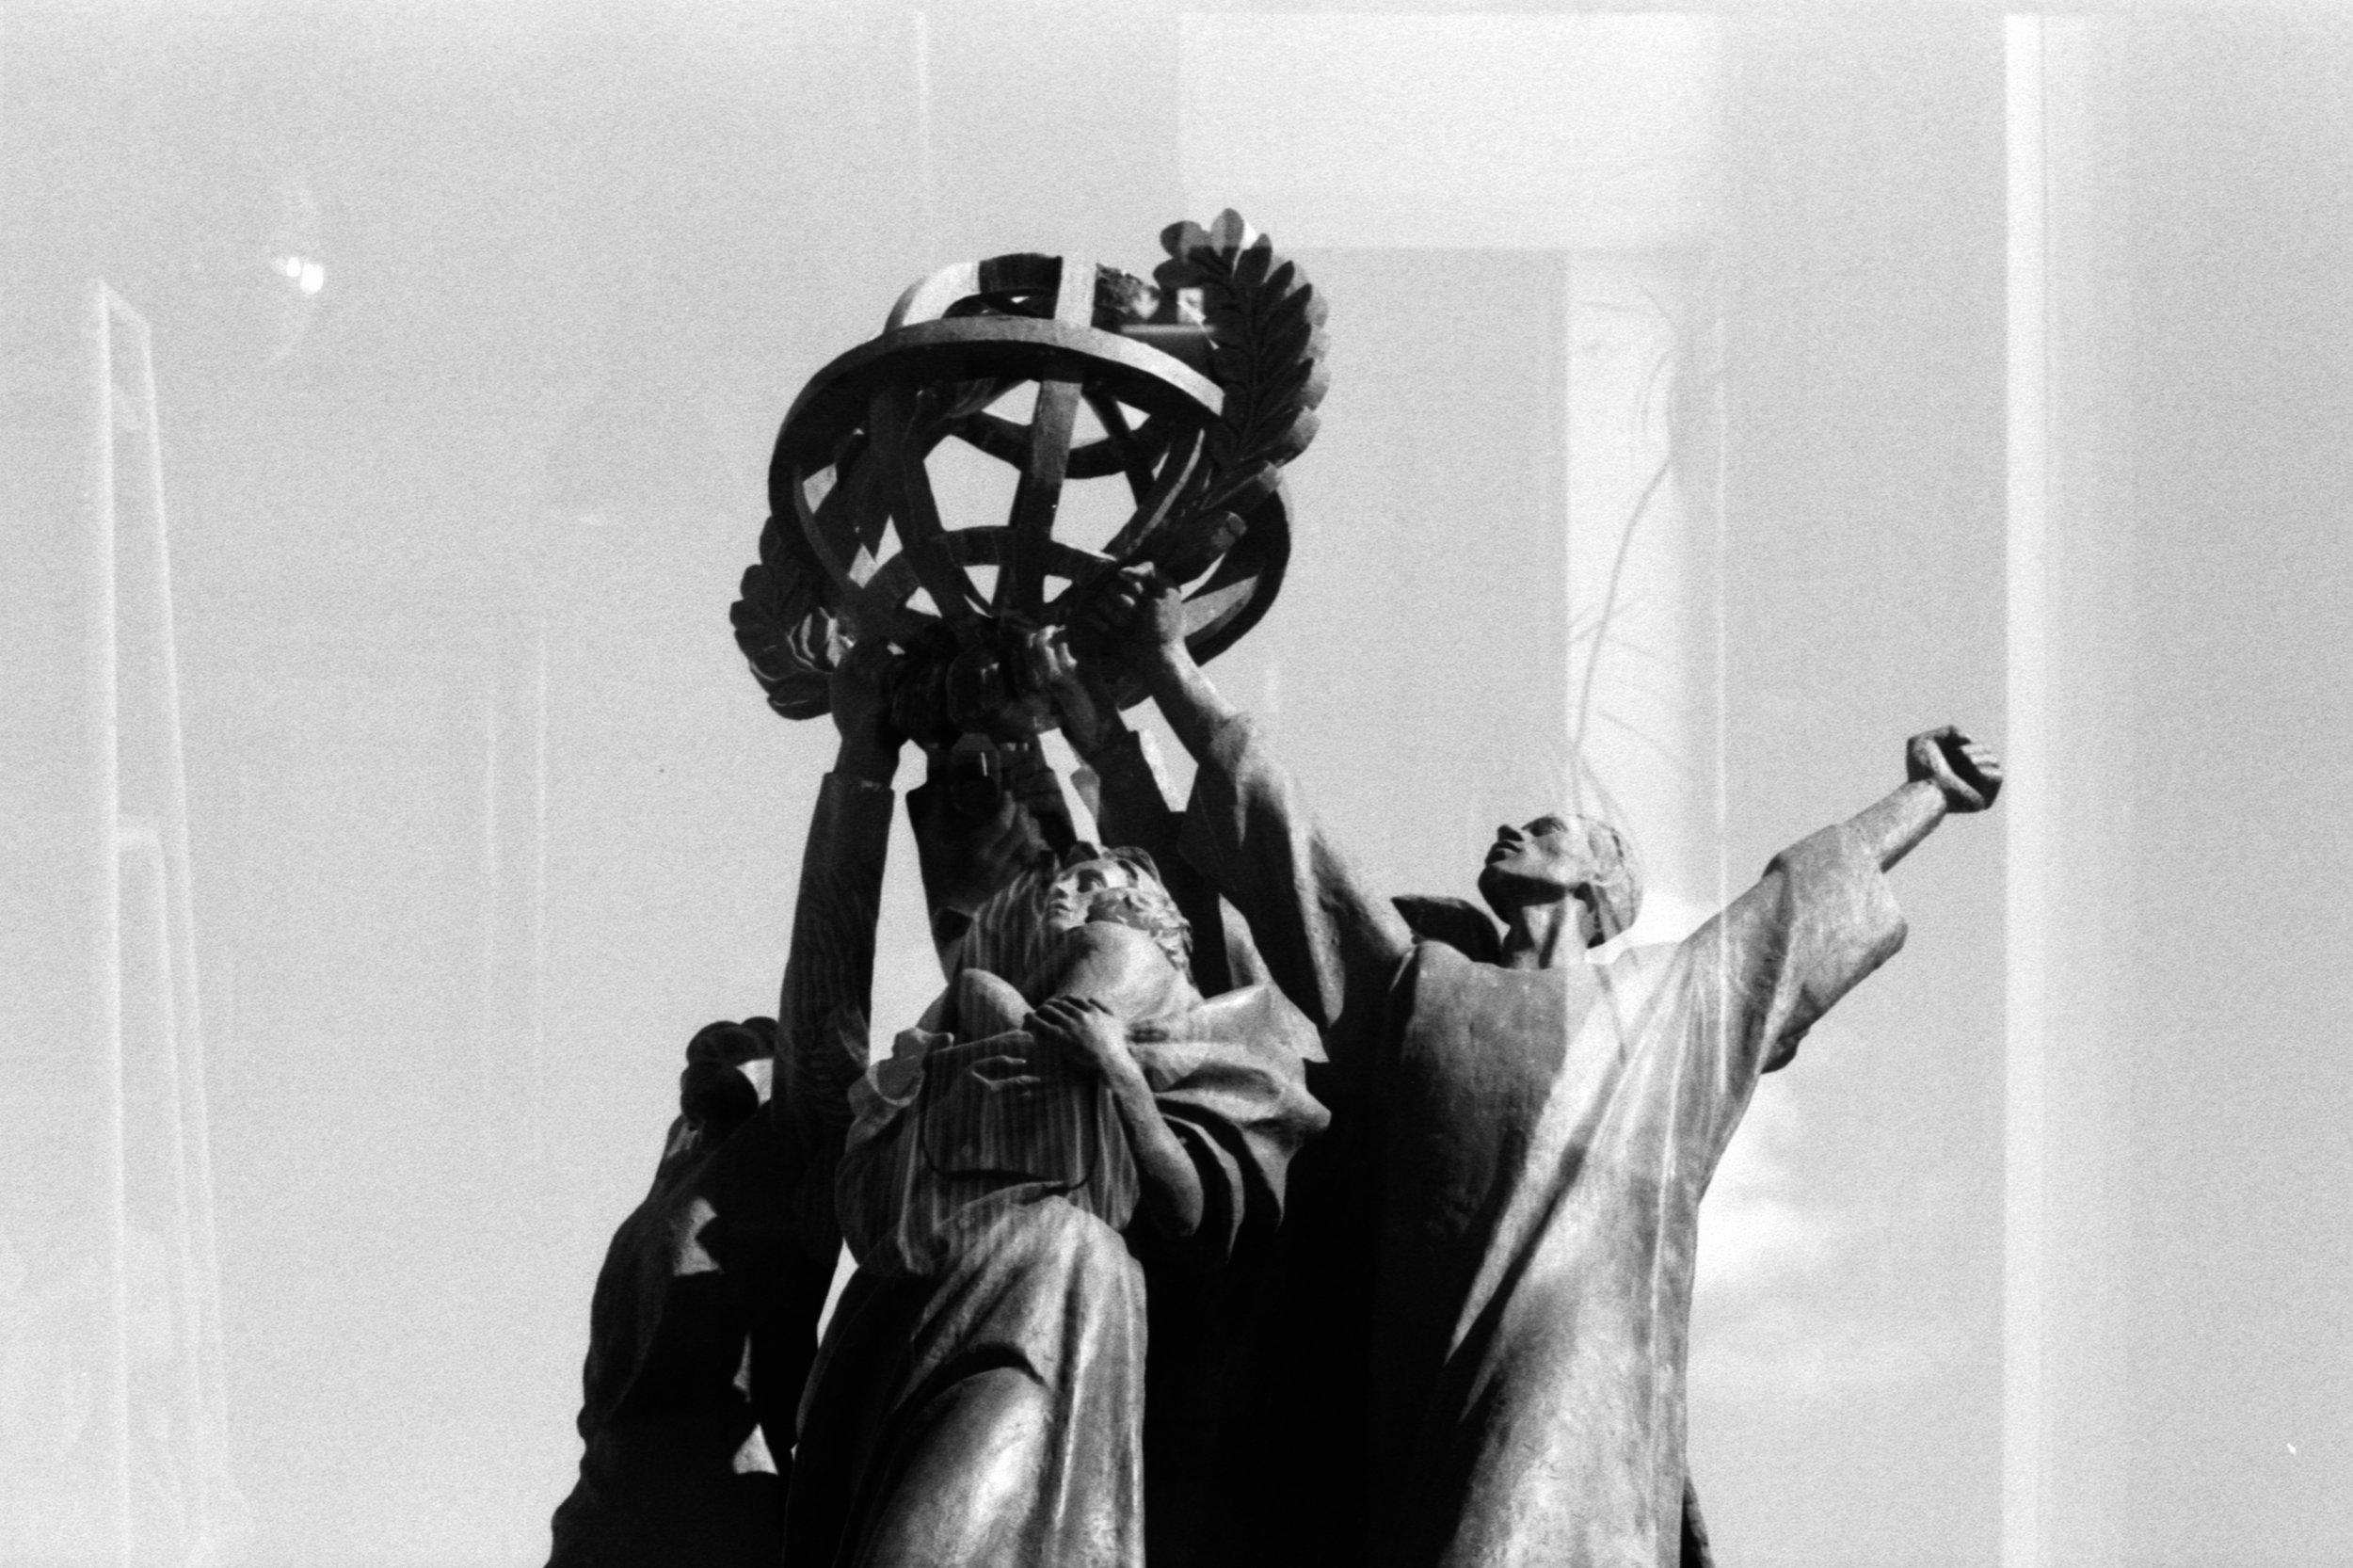
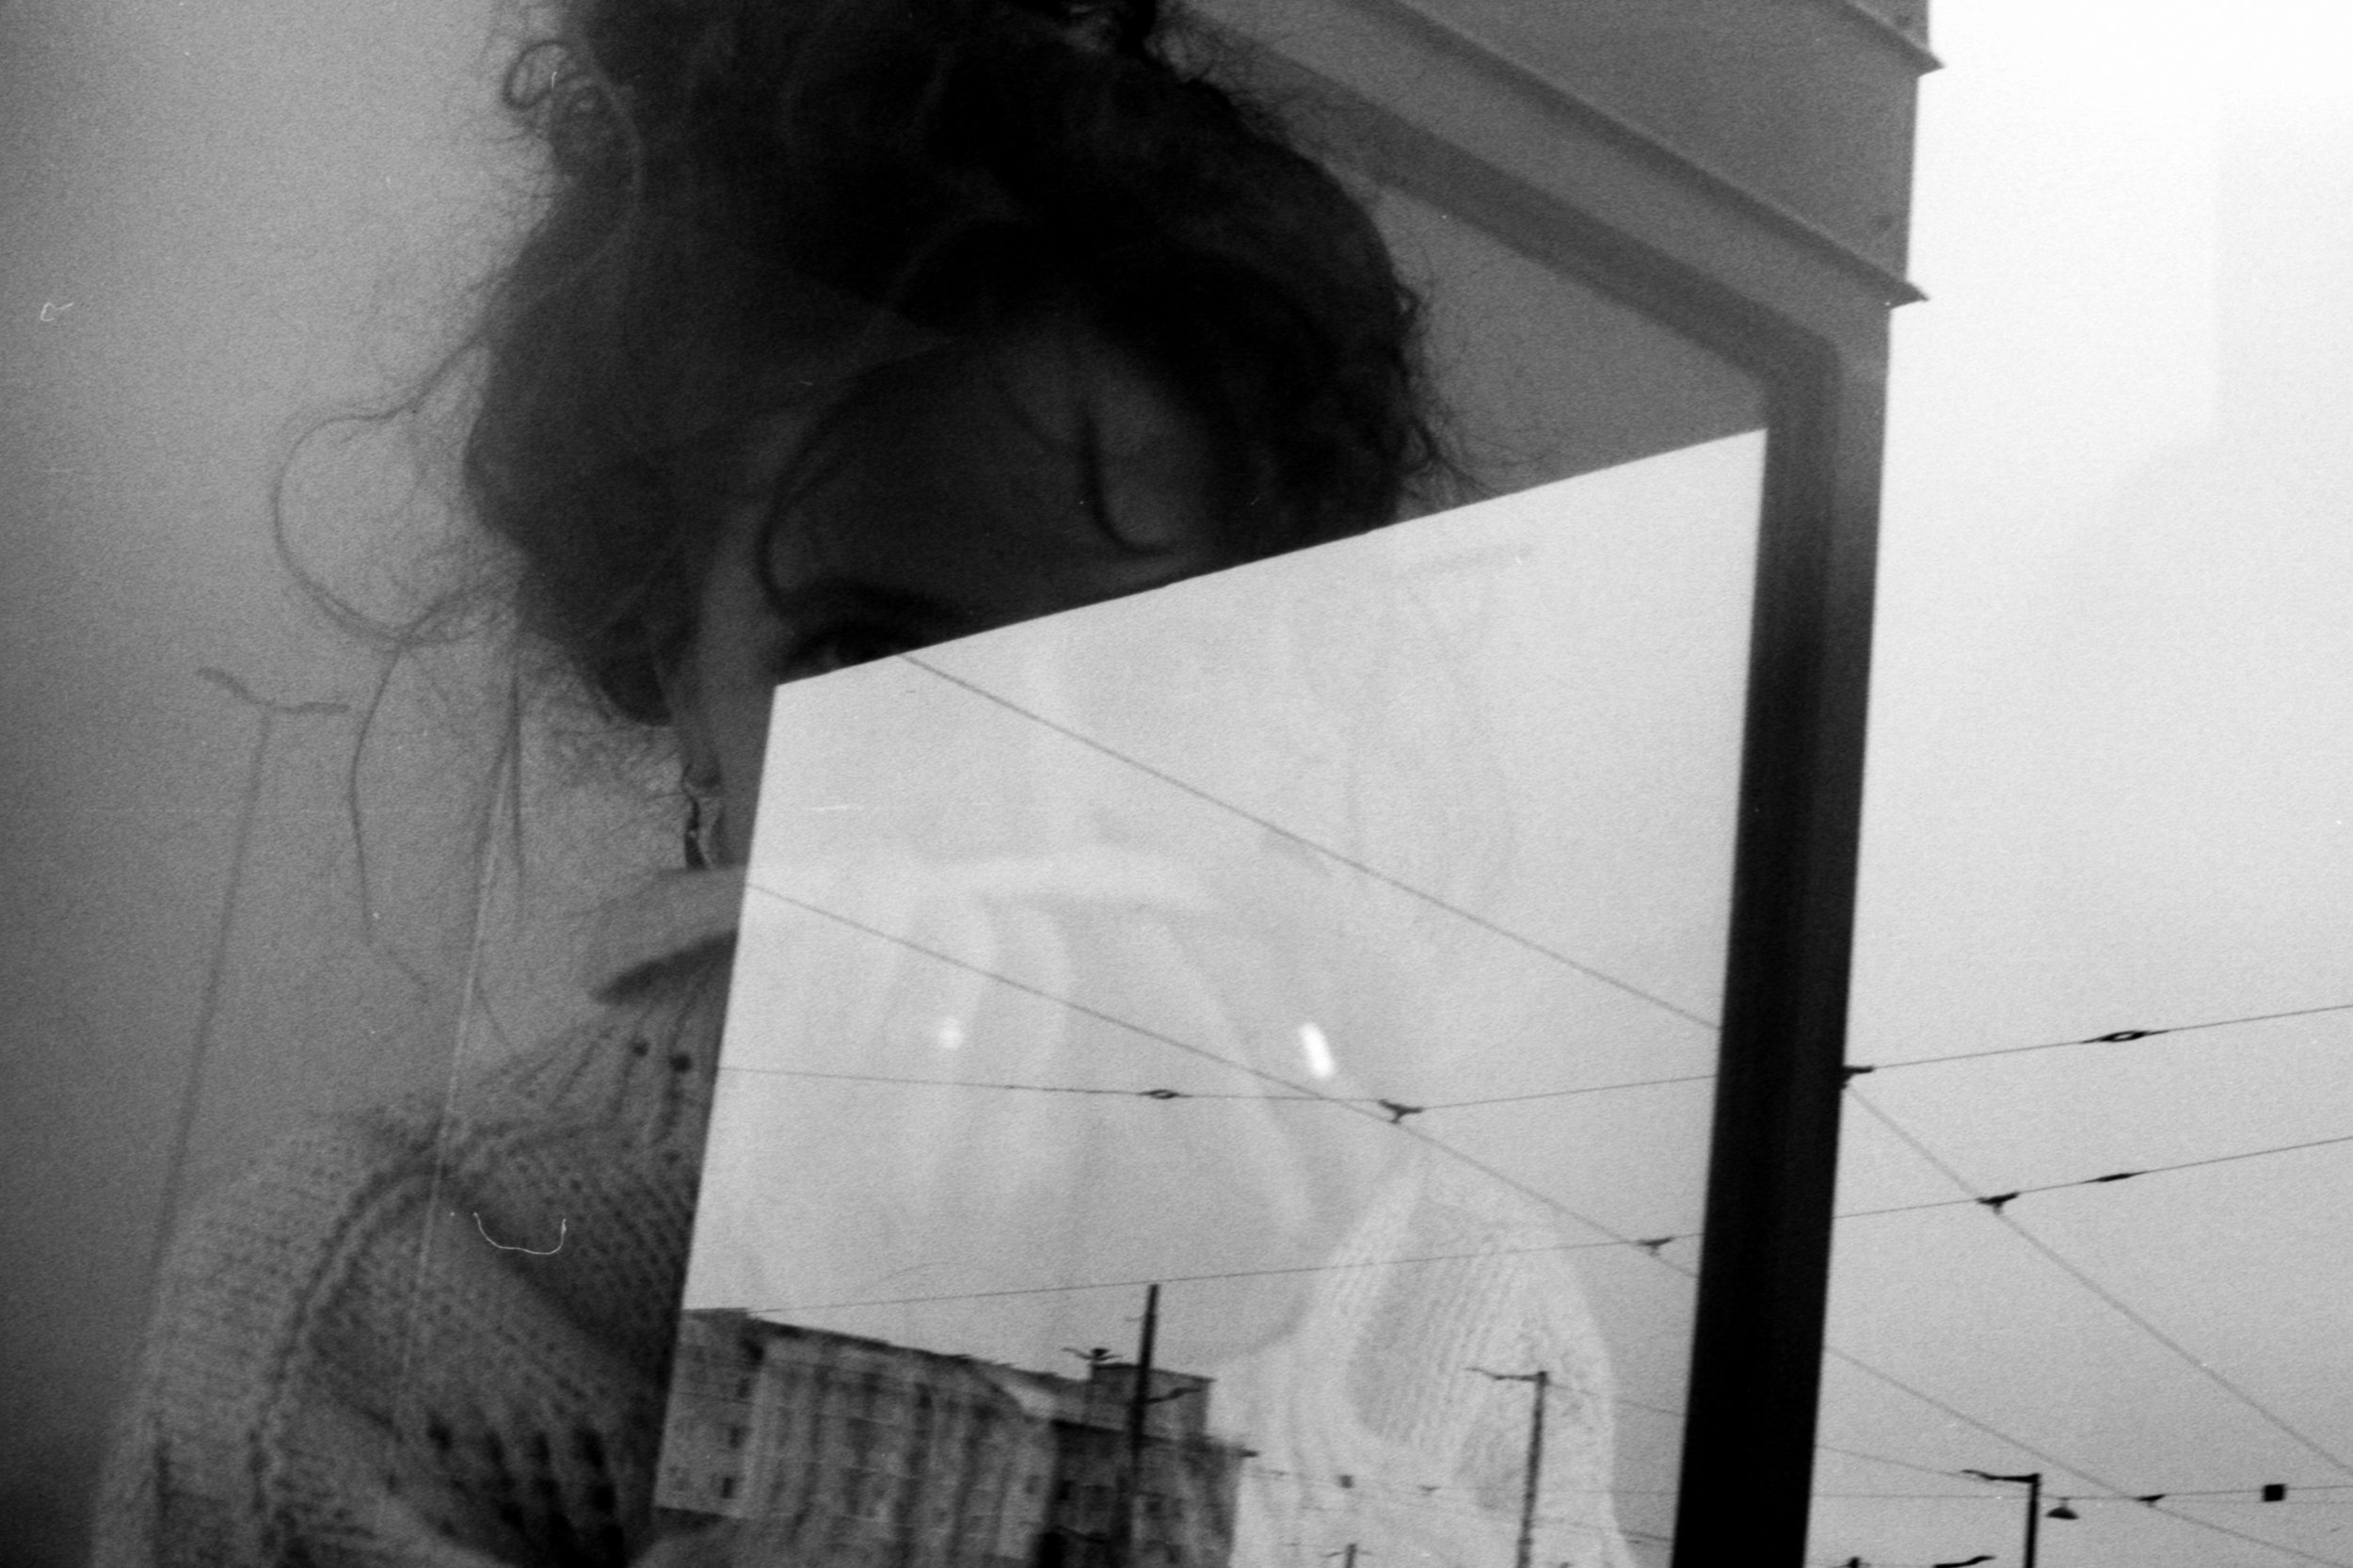
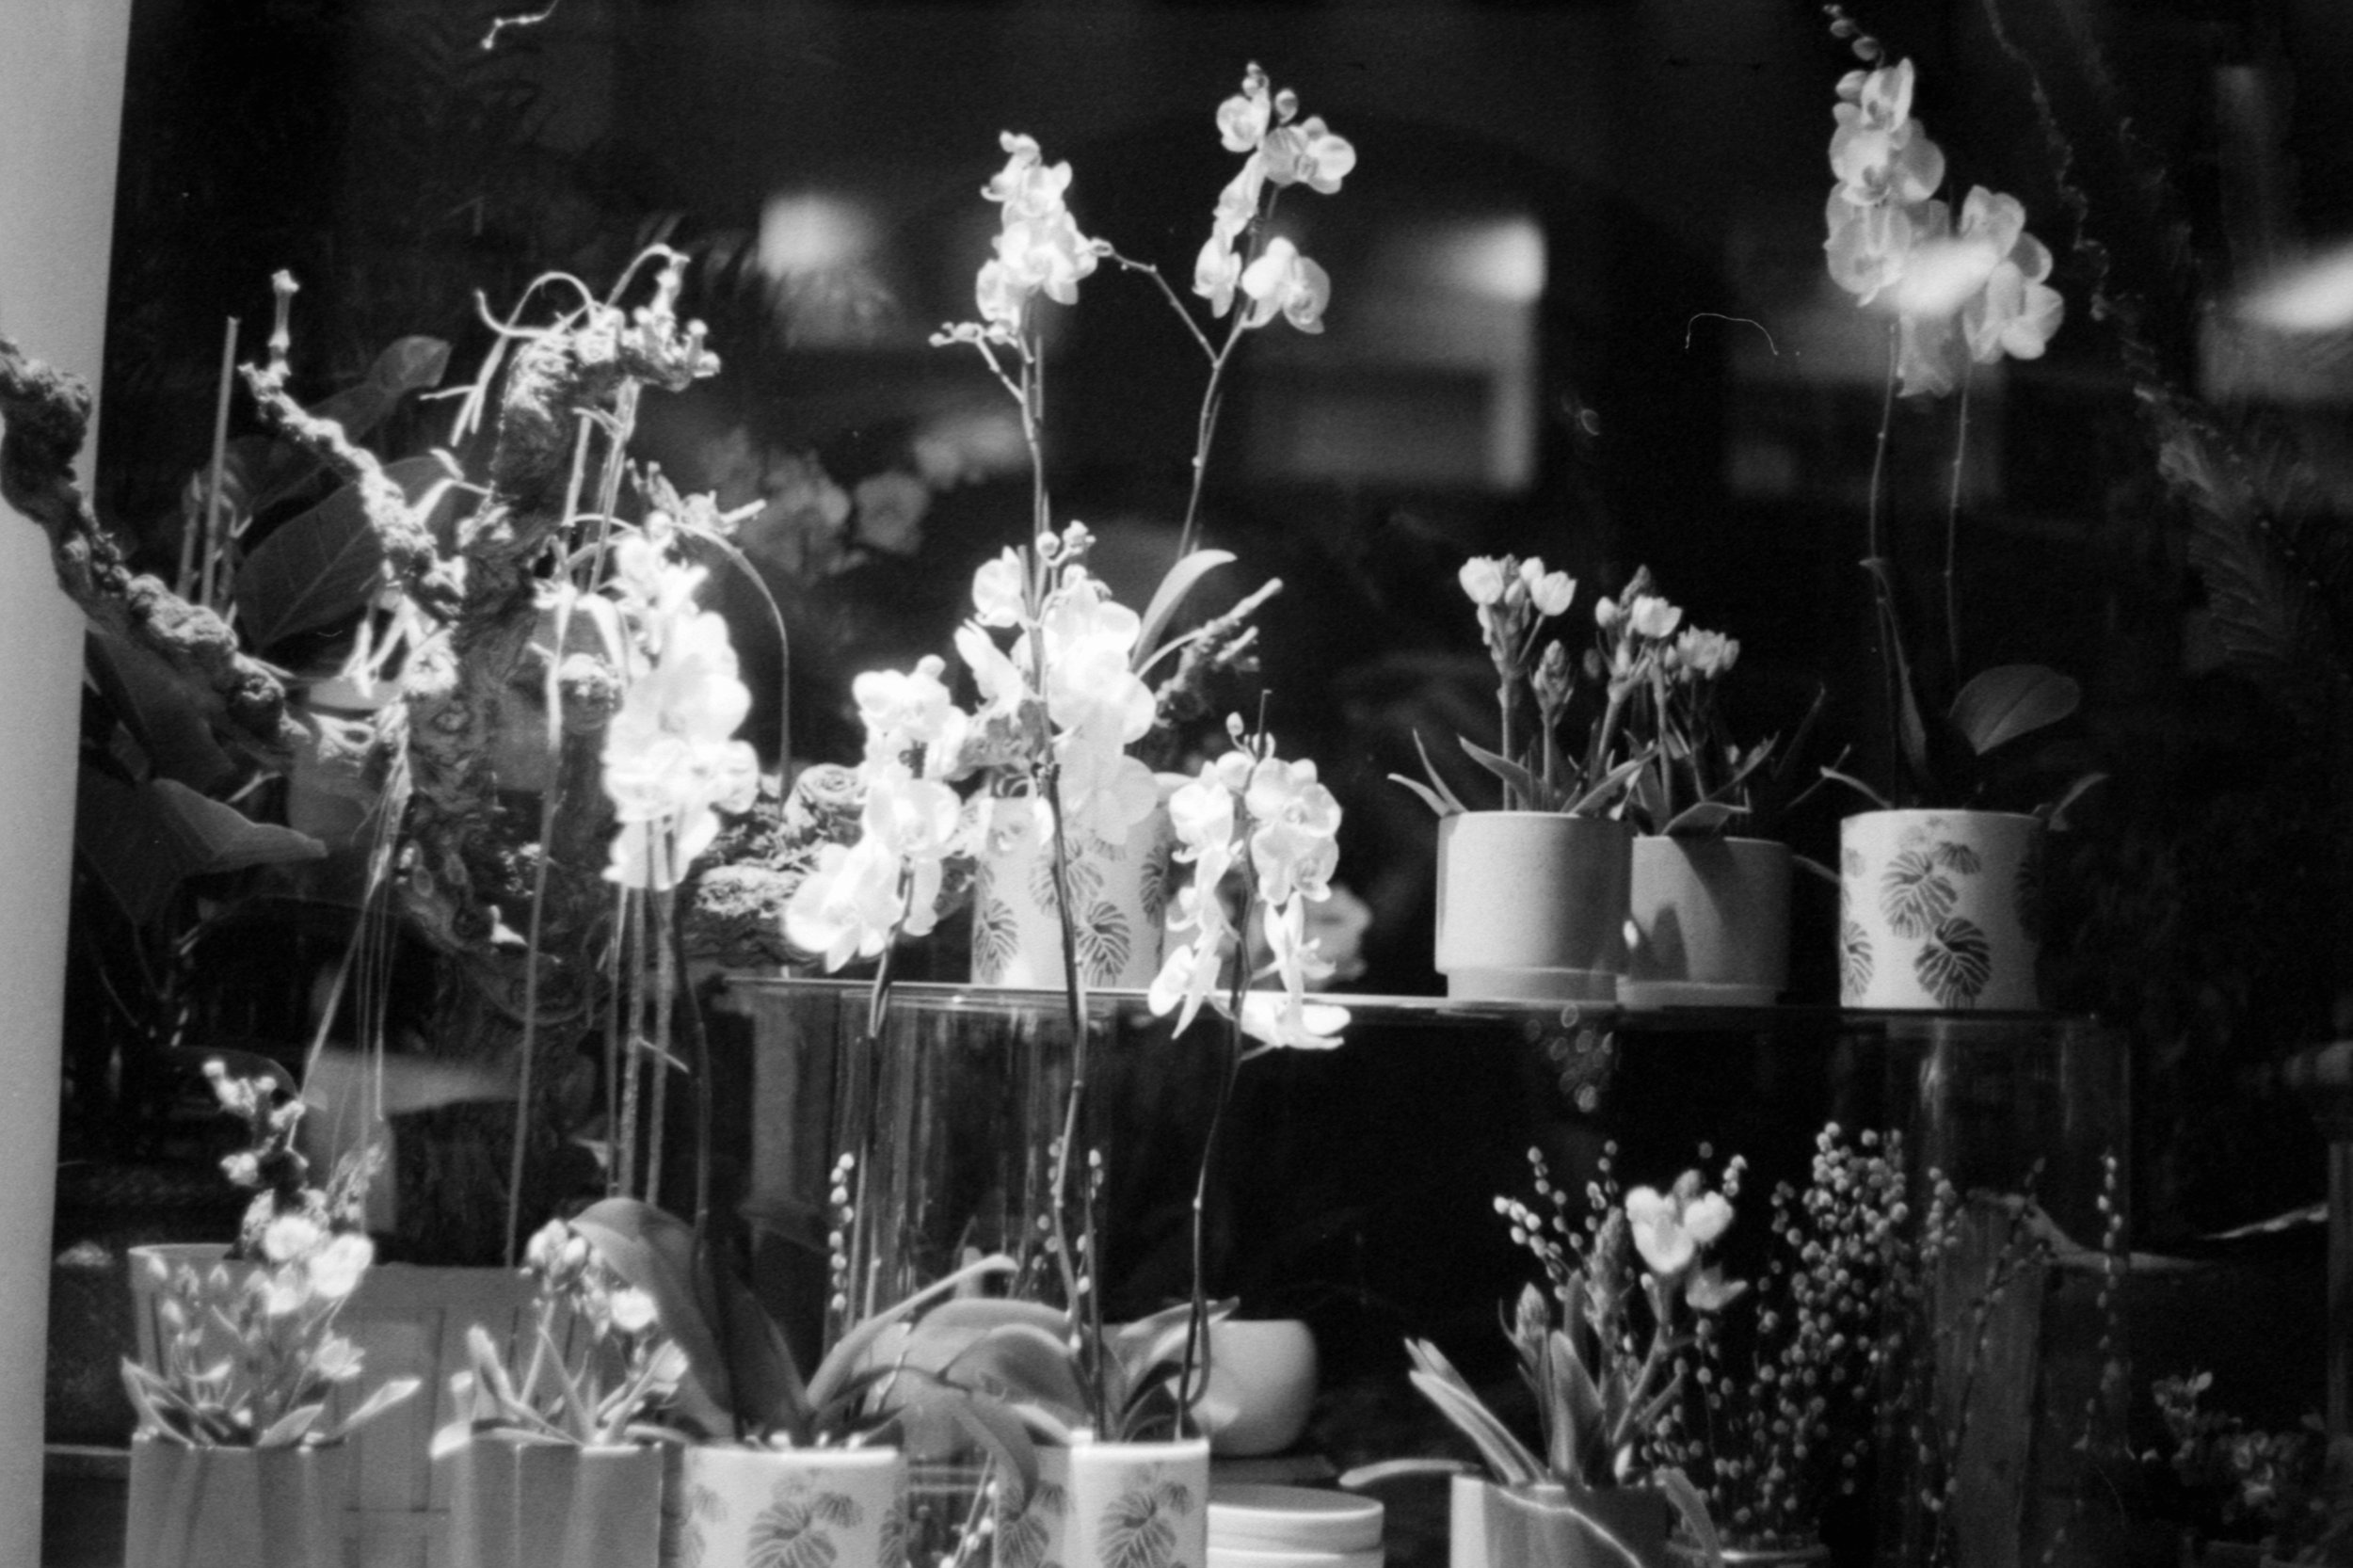
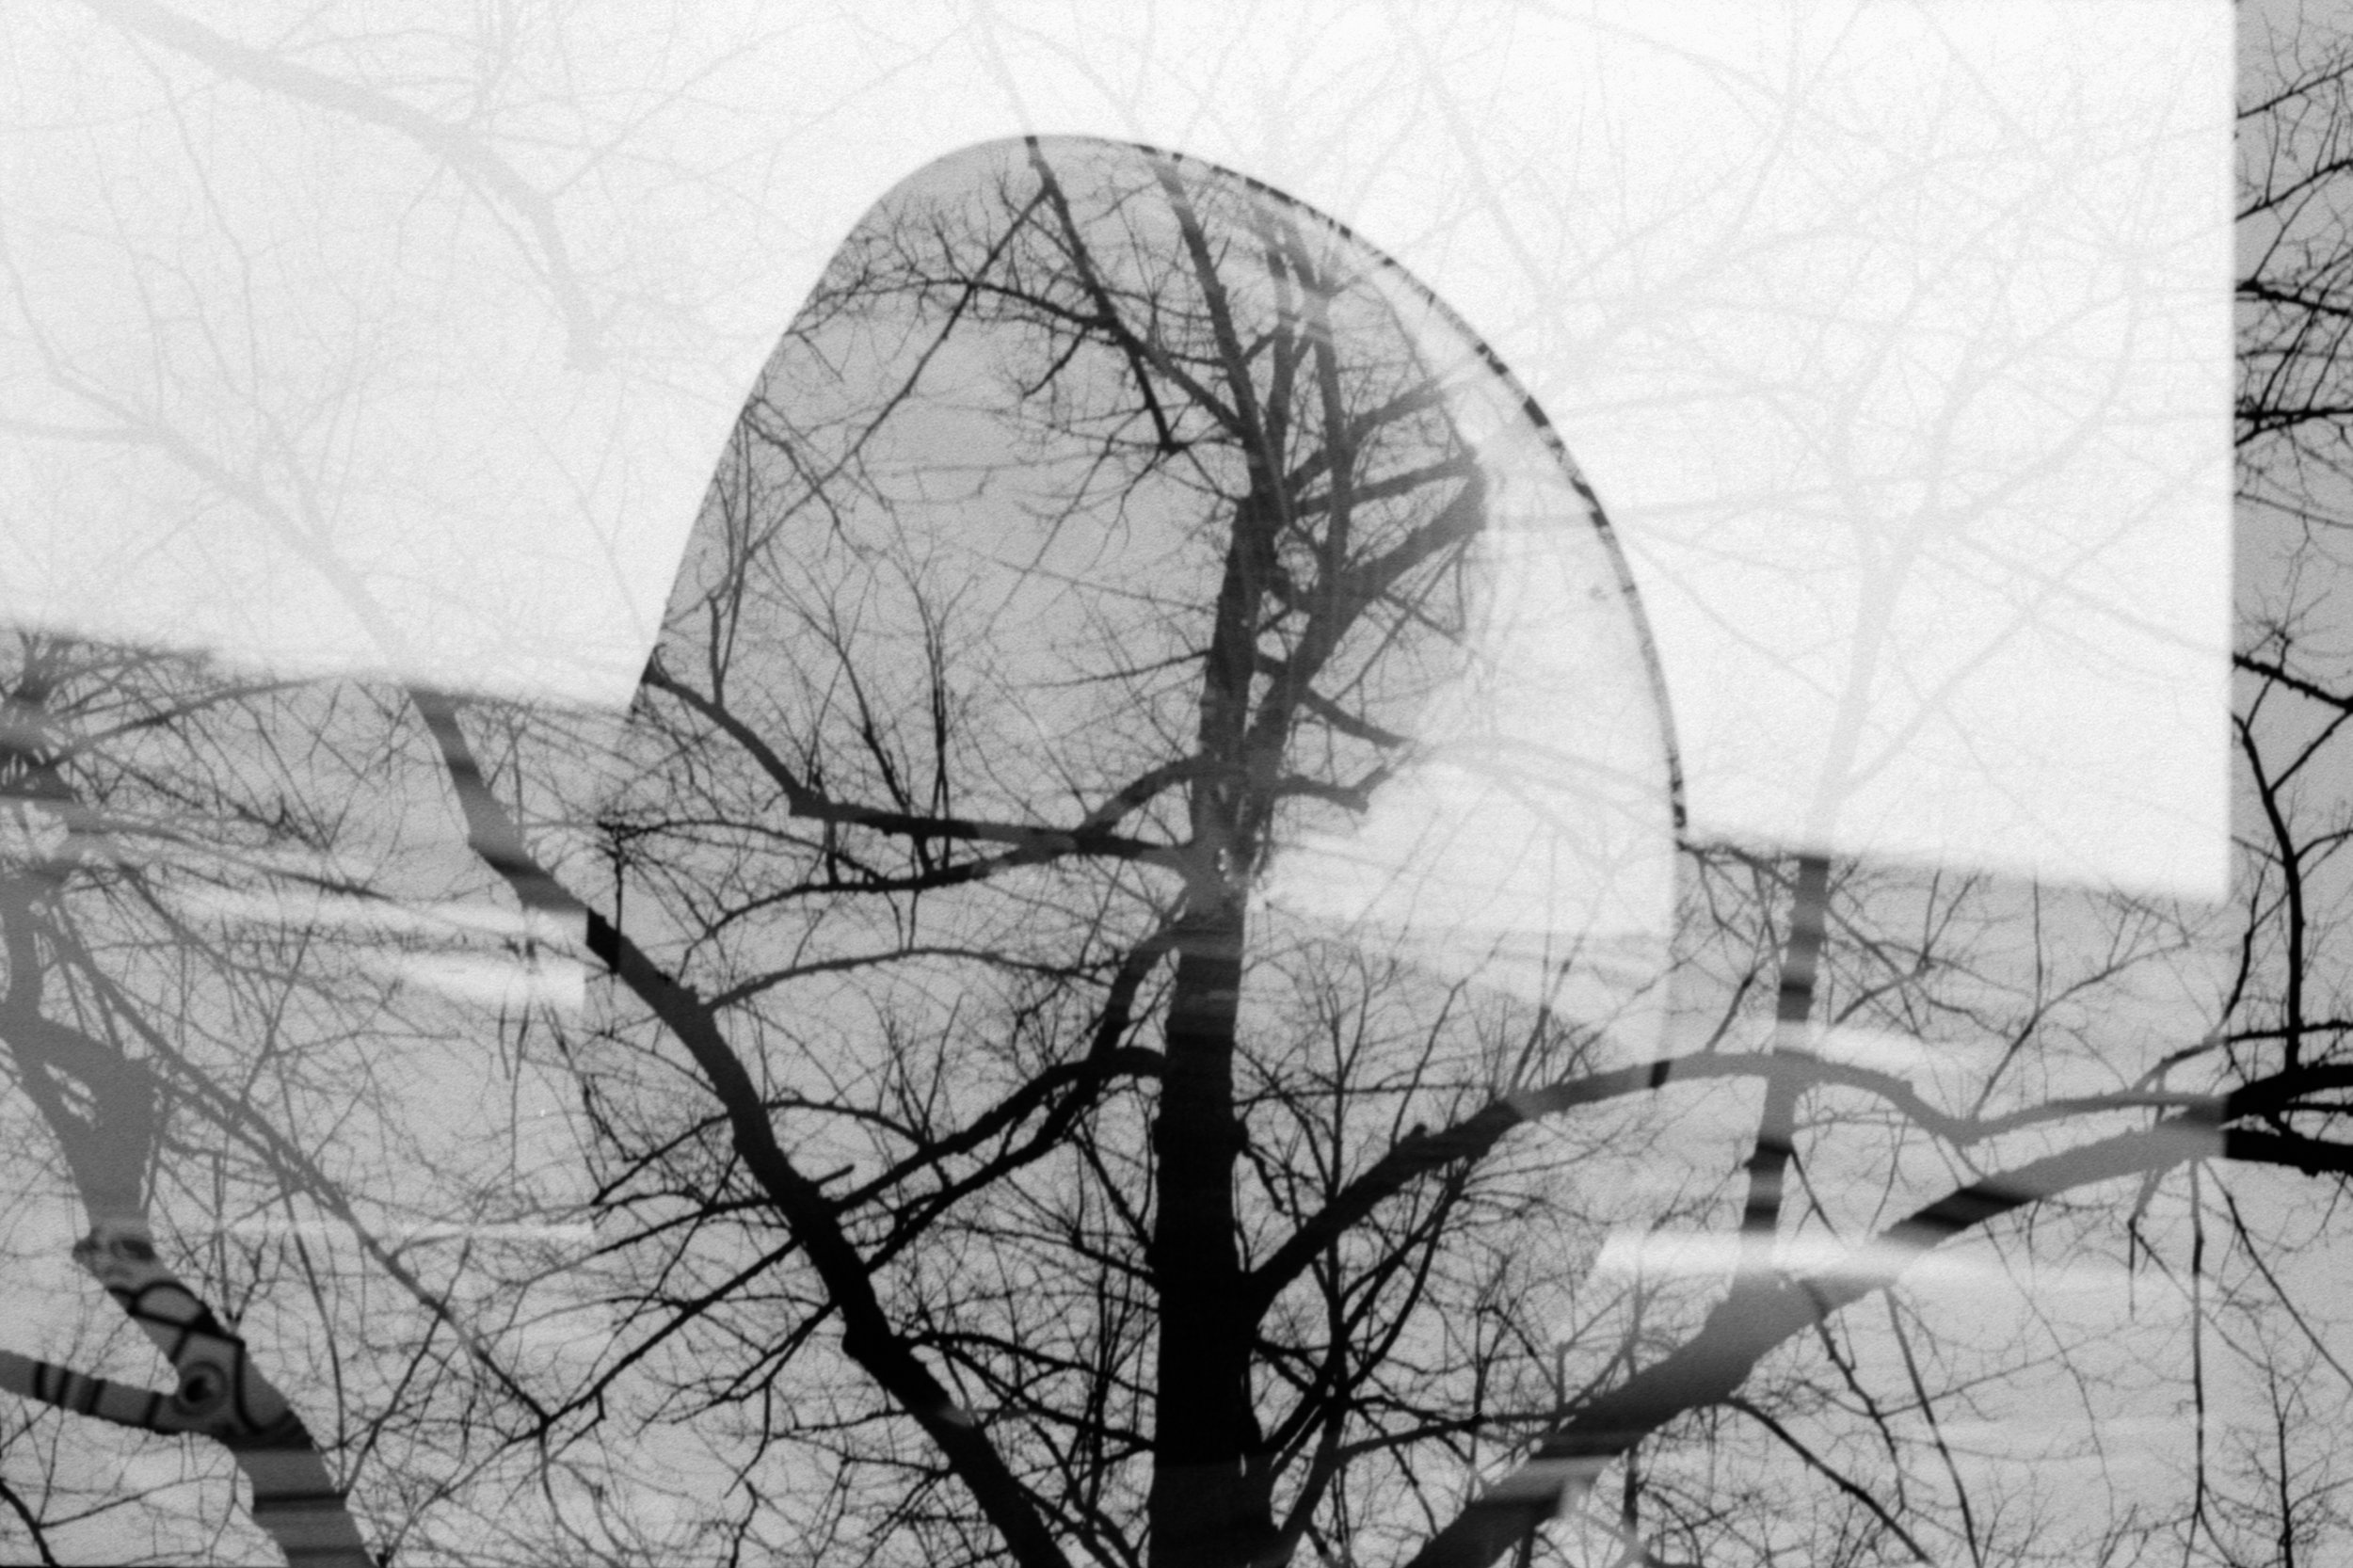
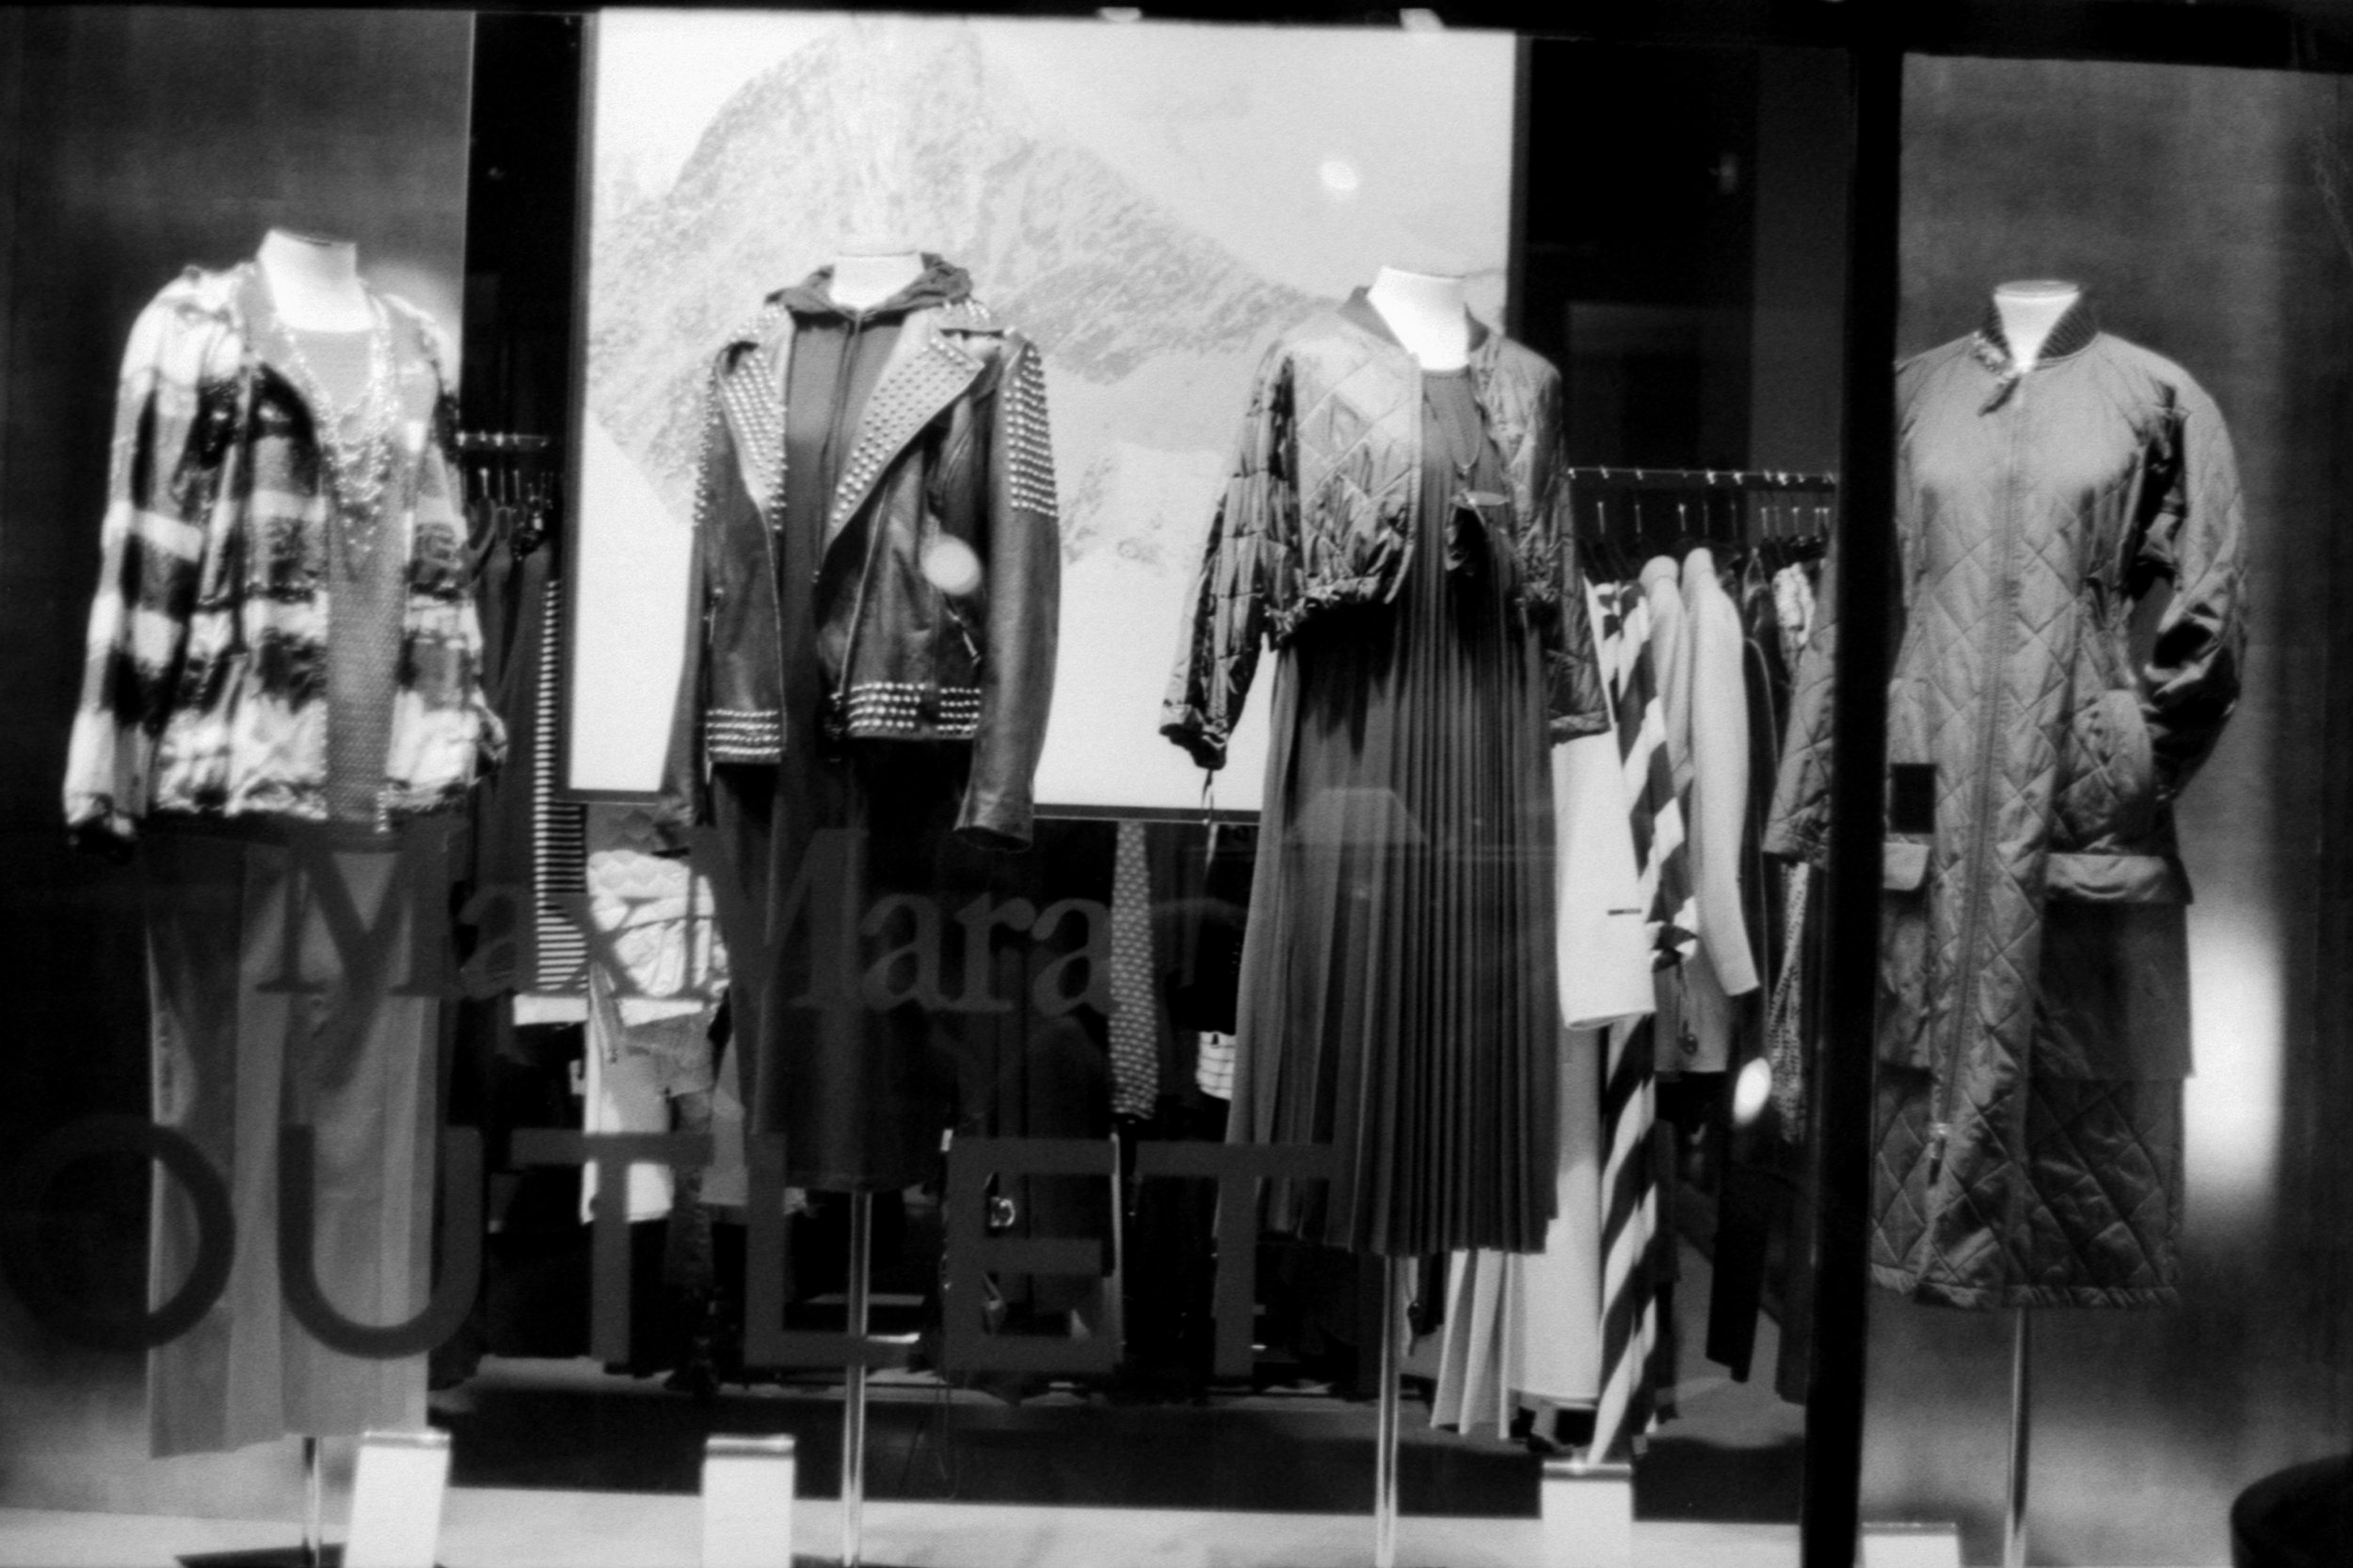
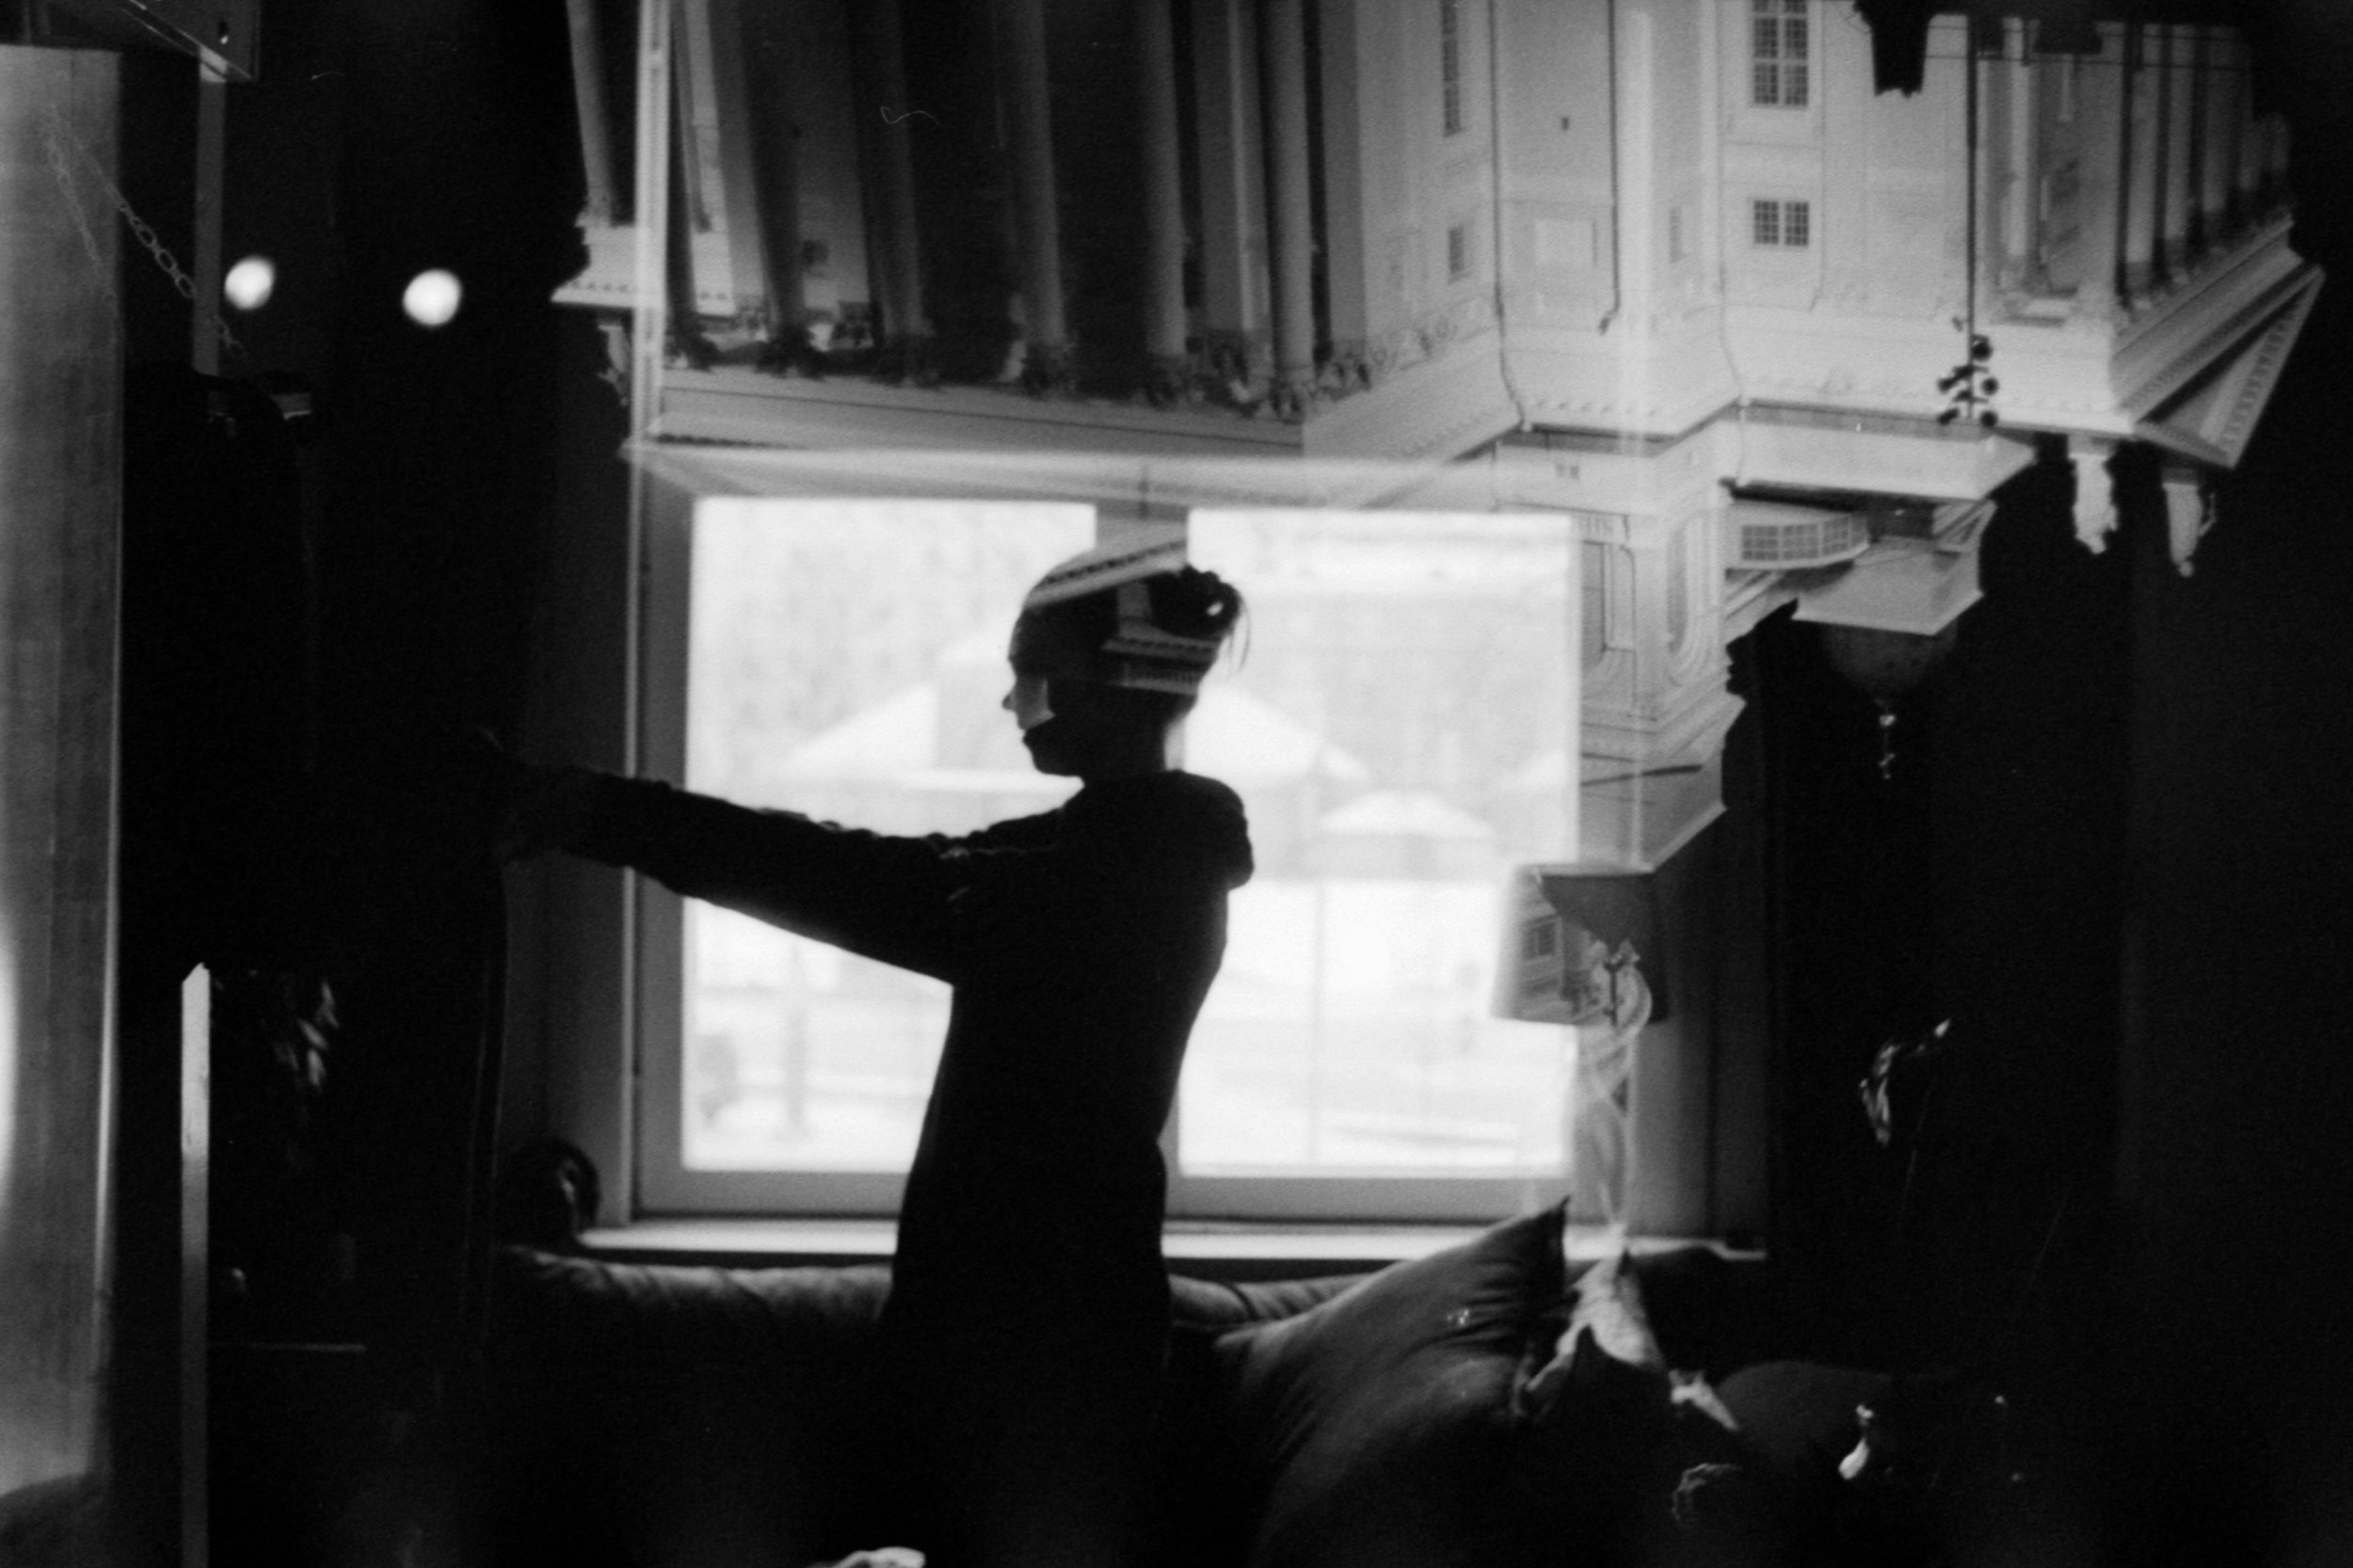
Now, let’s take a look at the Double Exposures from this Roll that I Consider a Success:
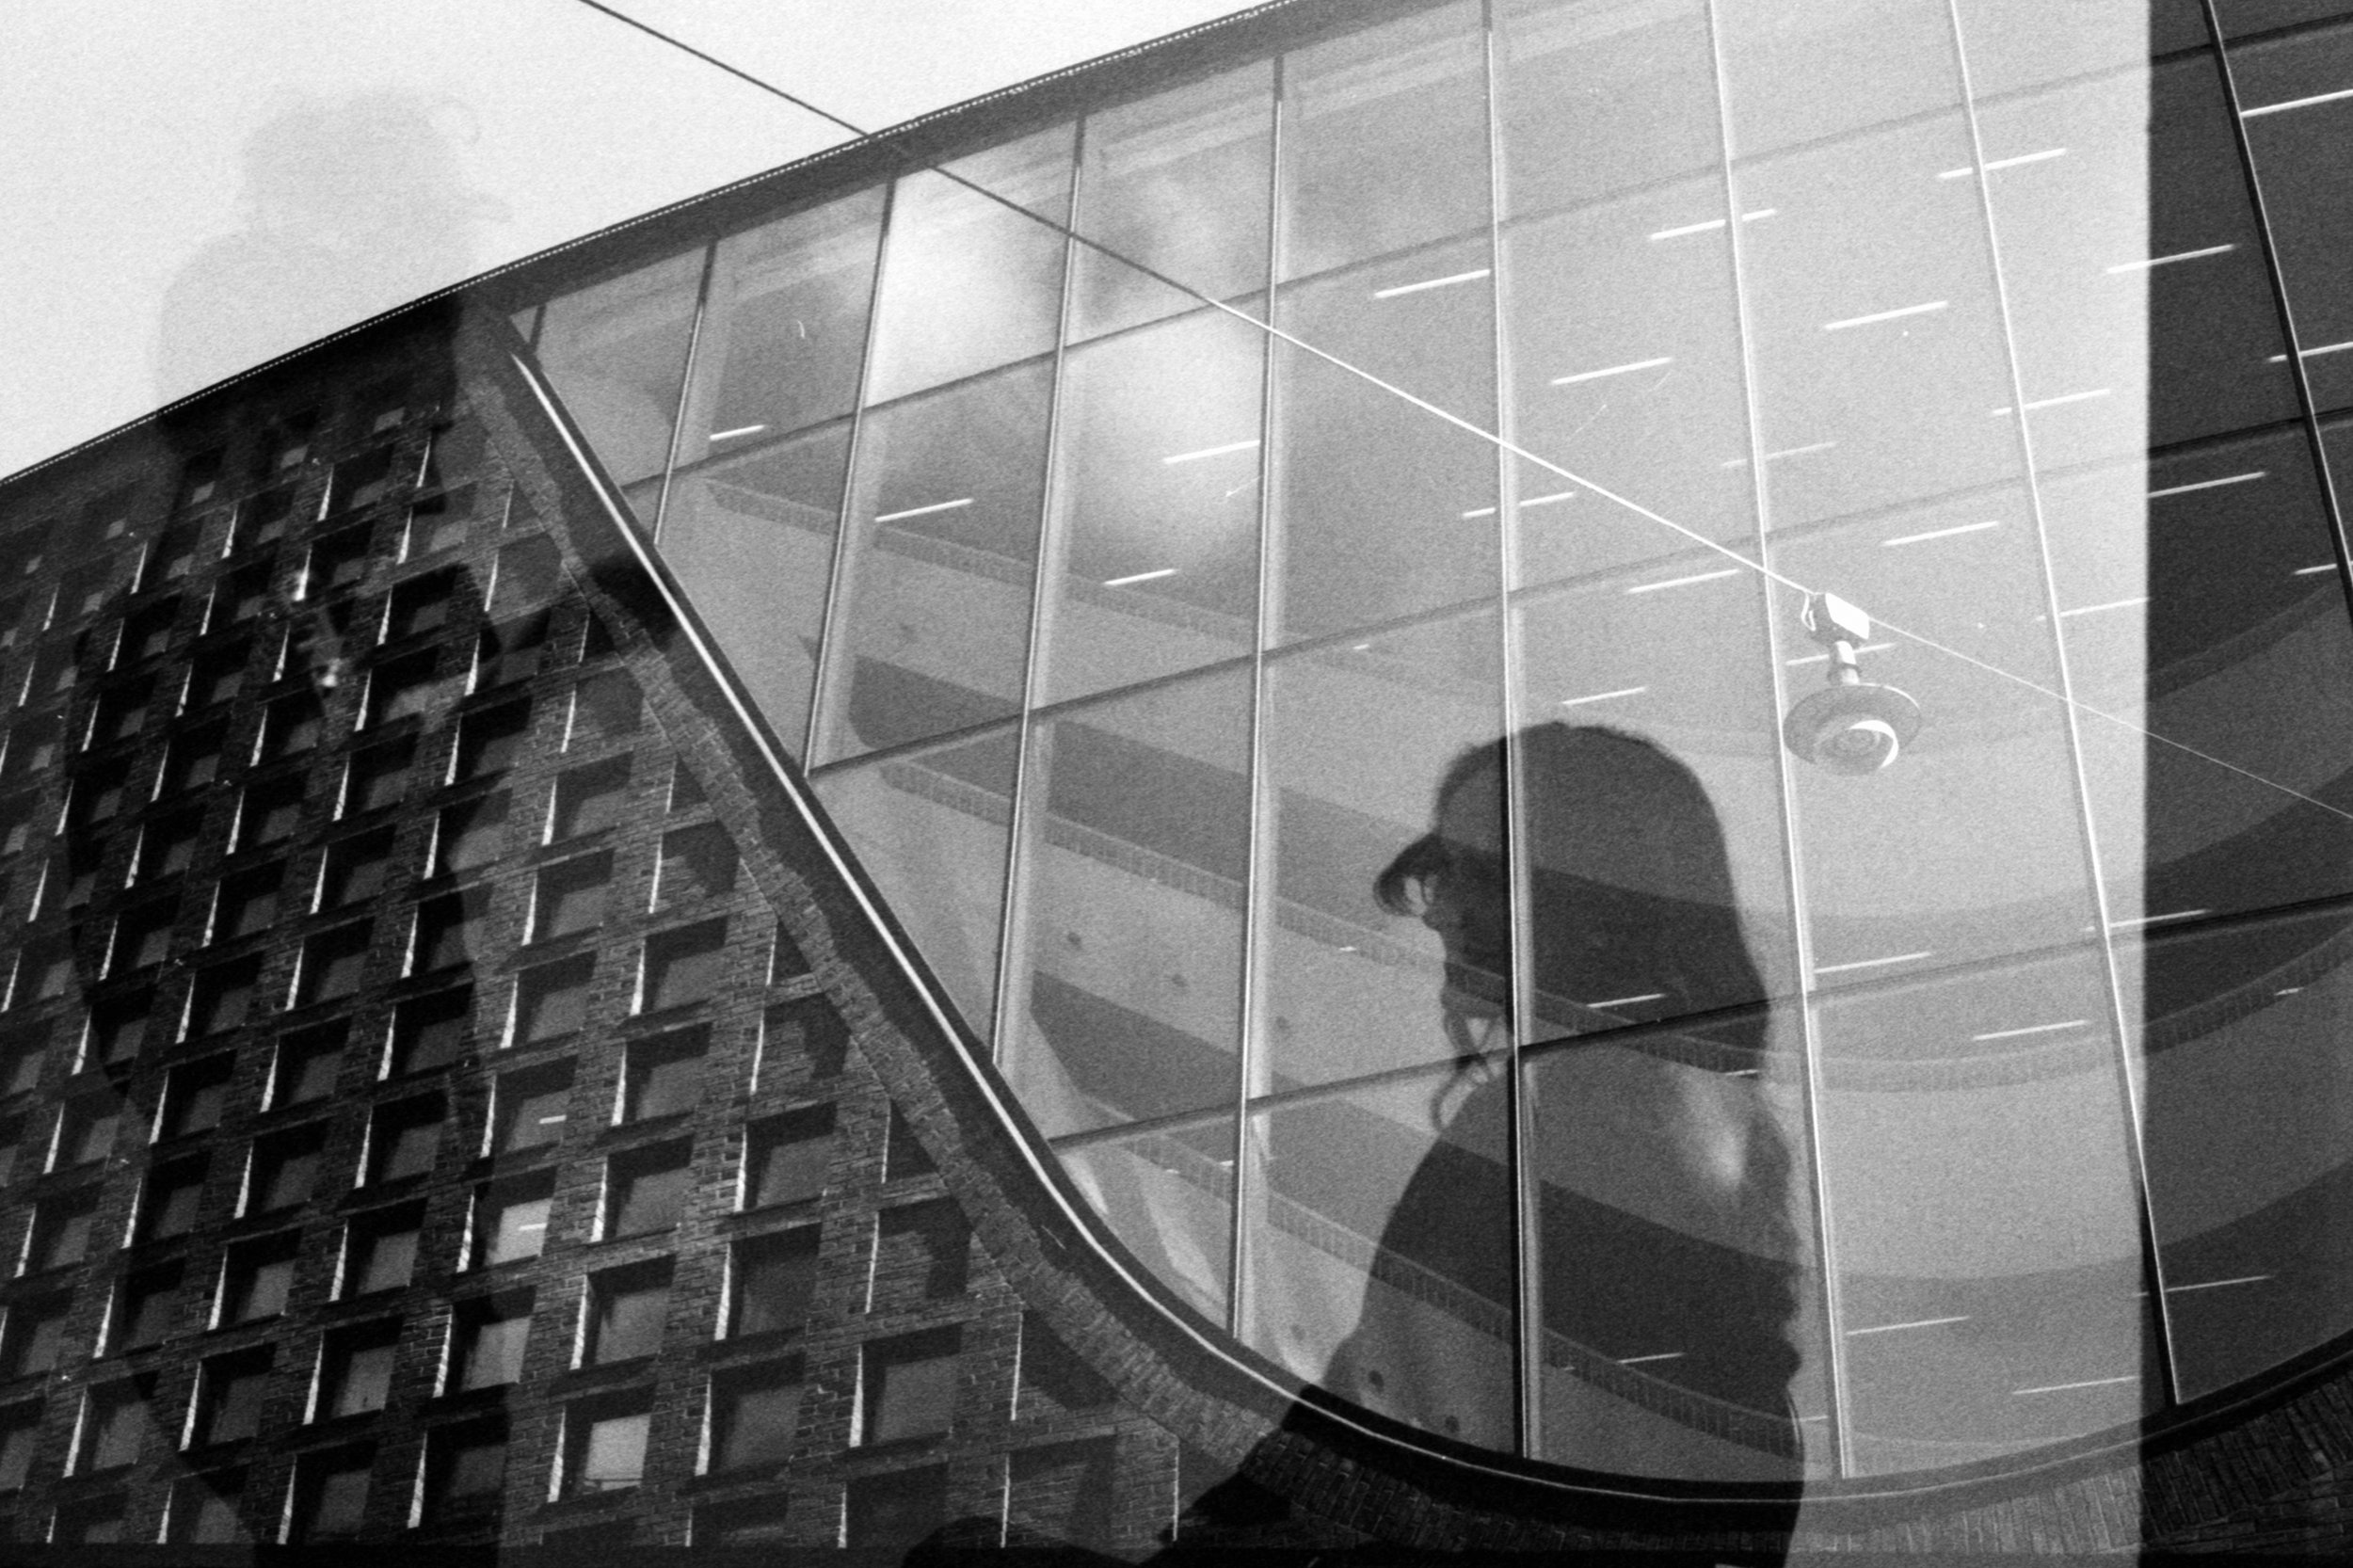
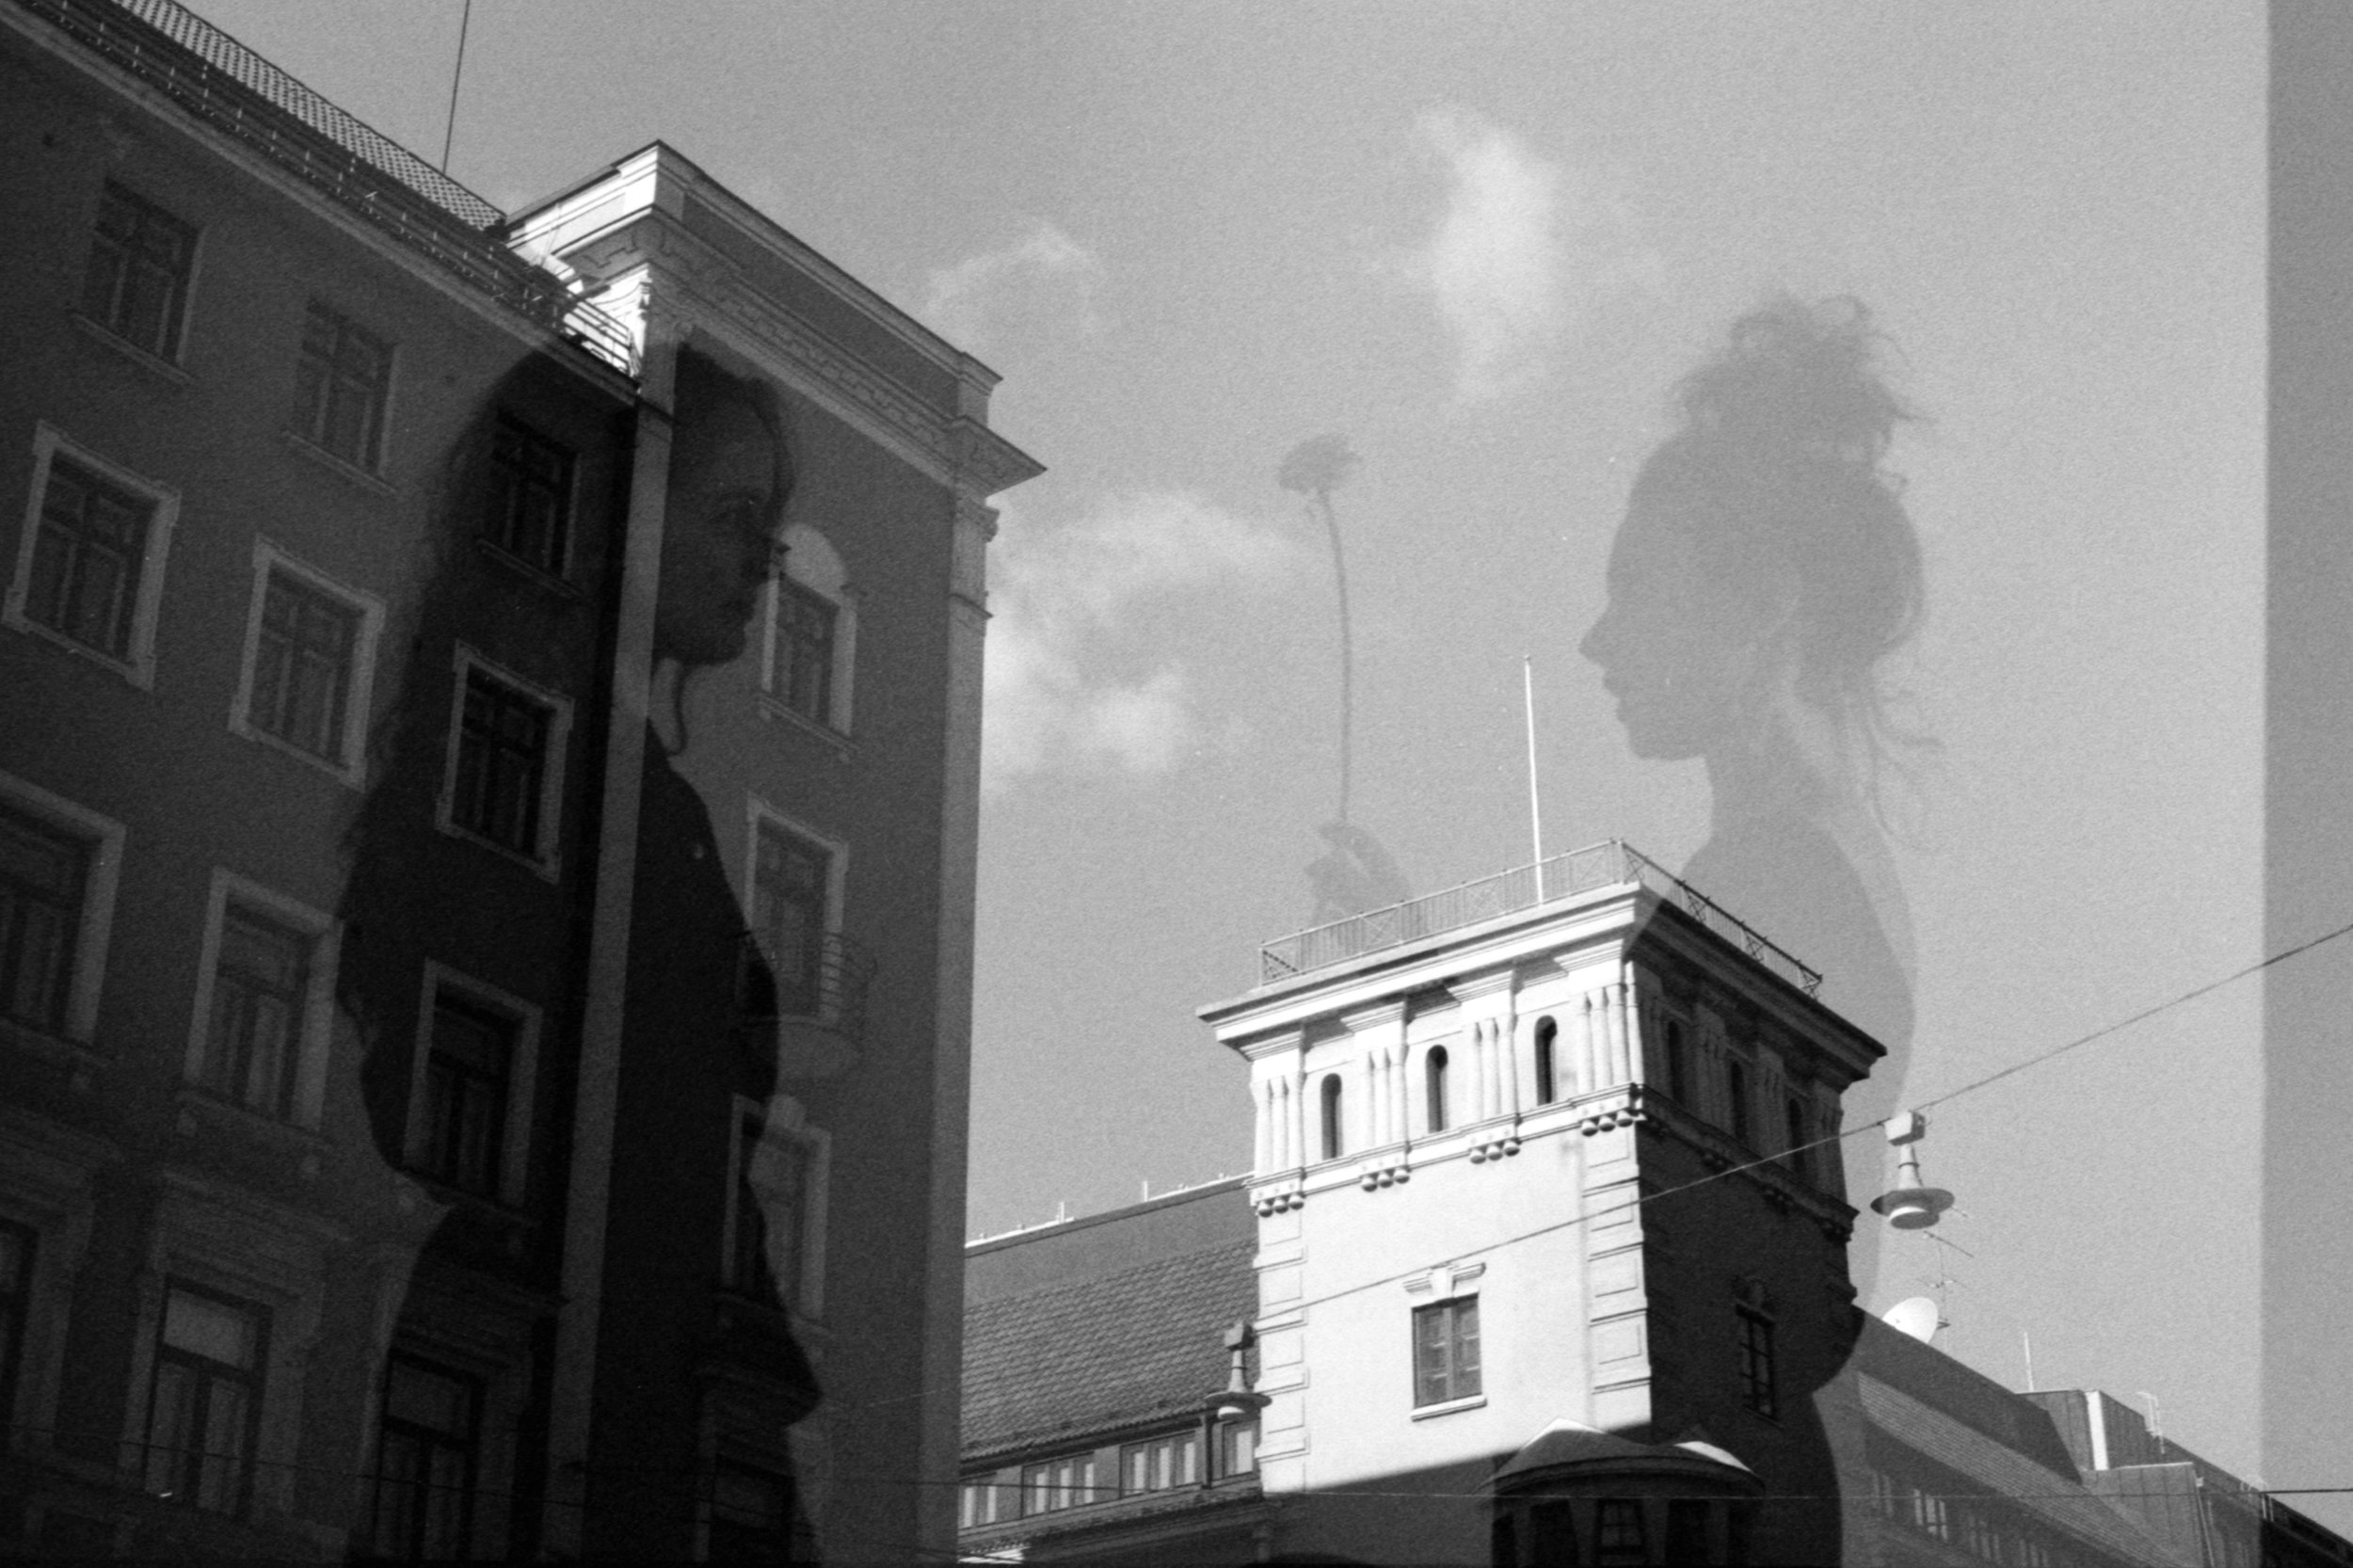
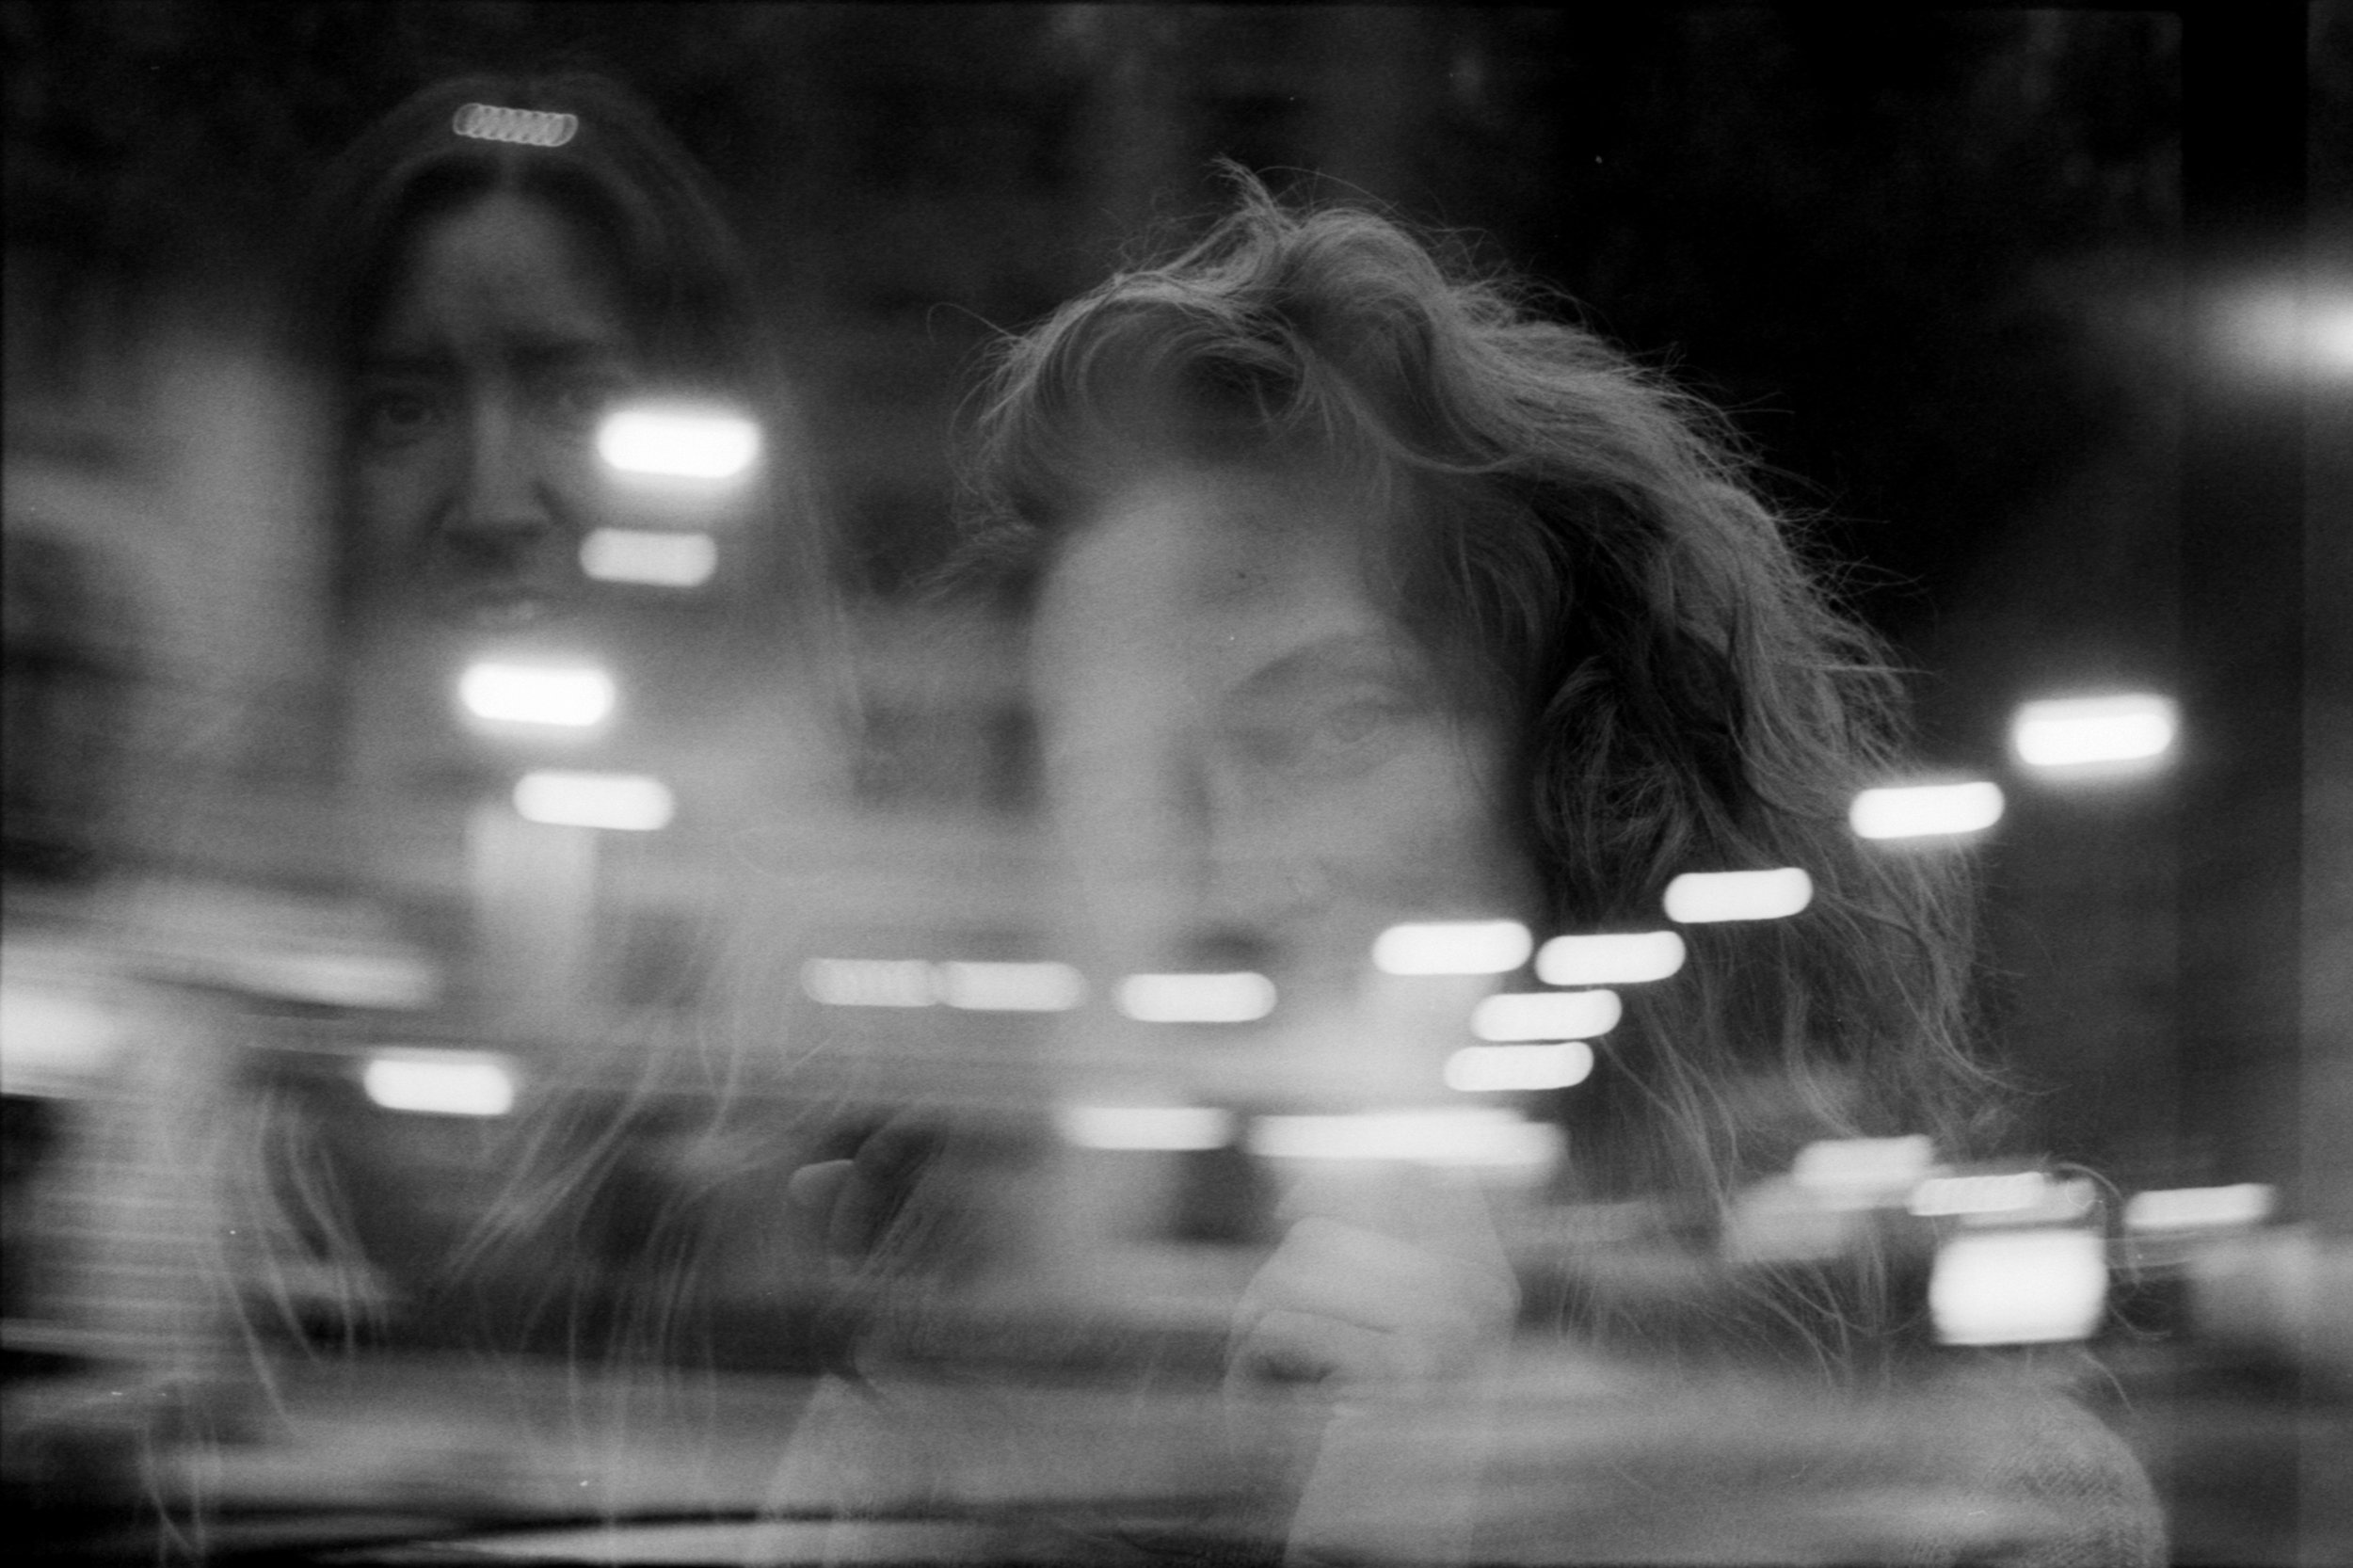
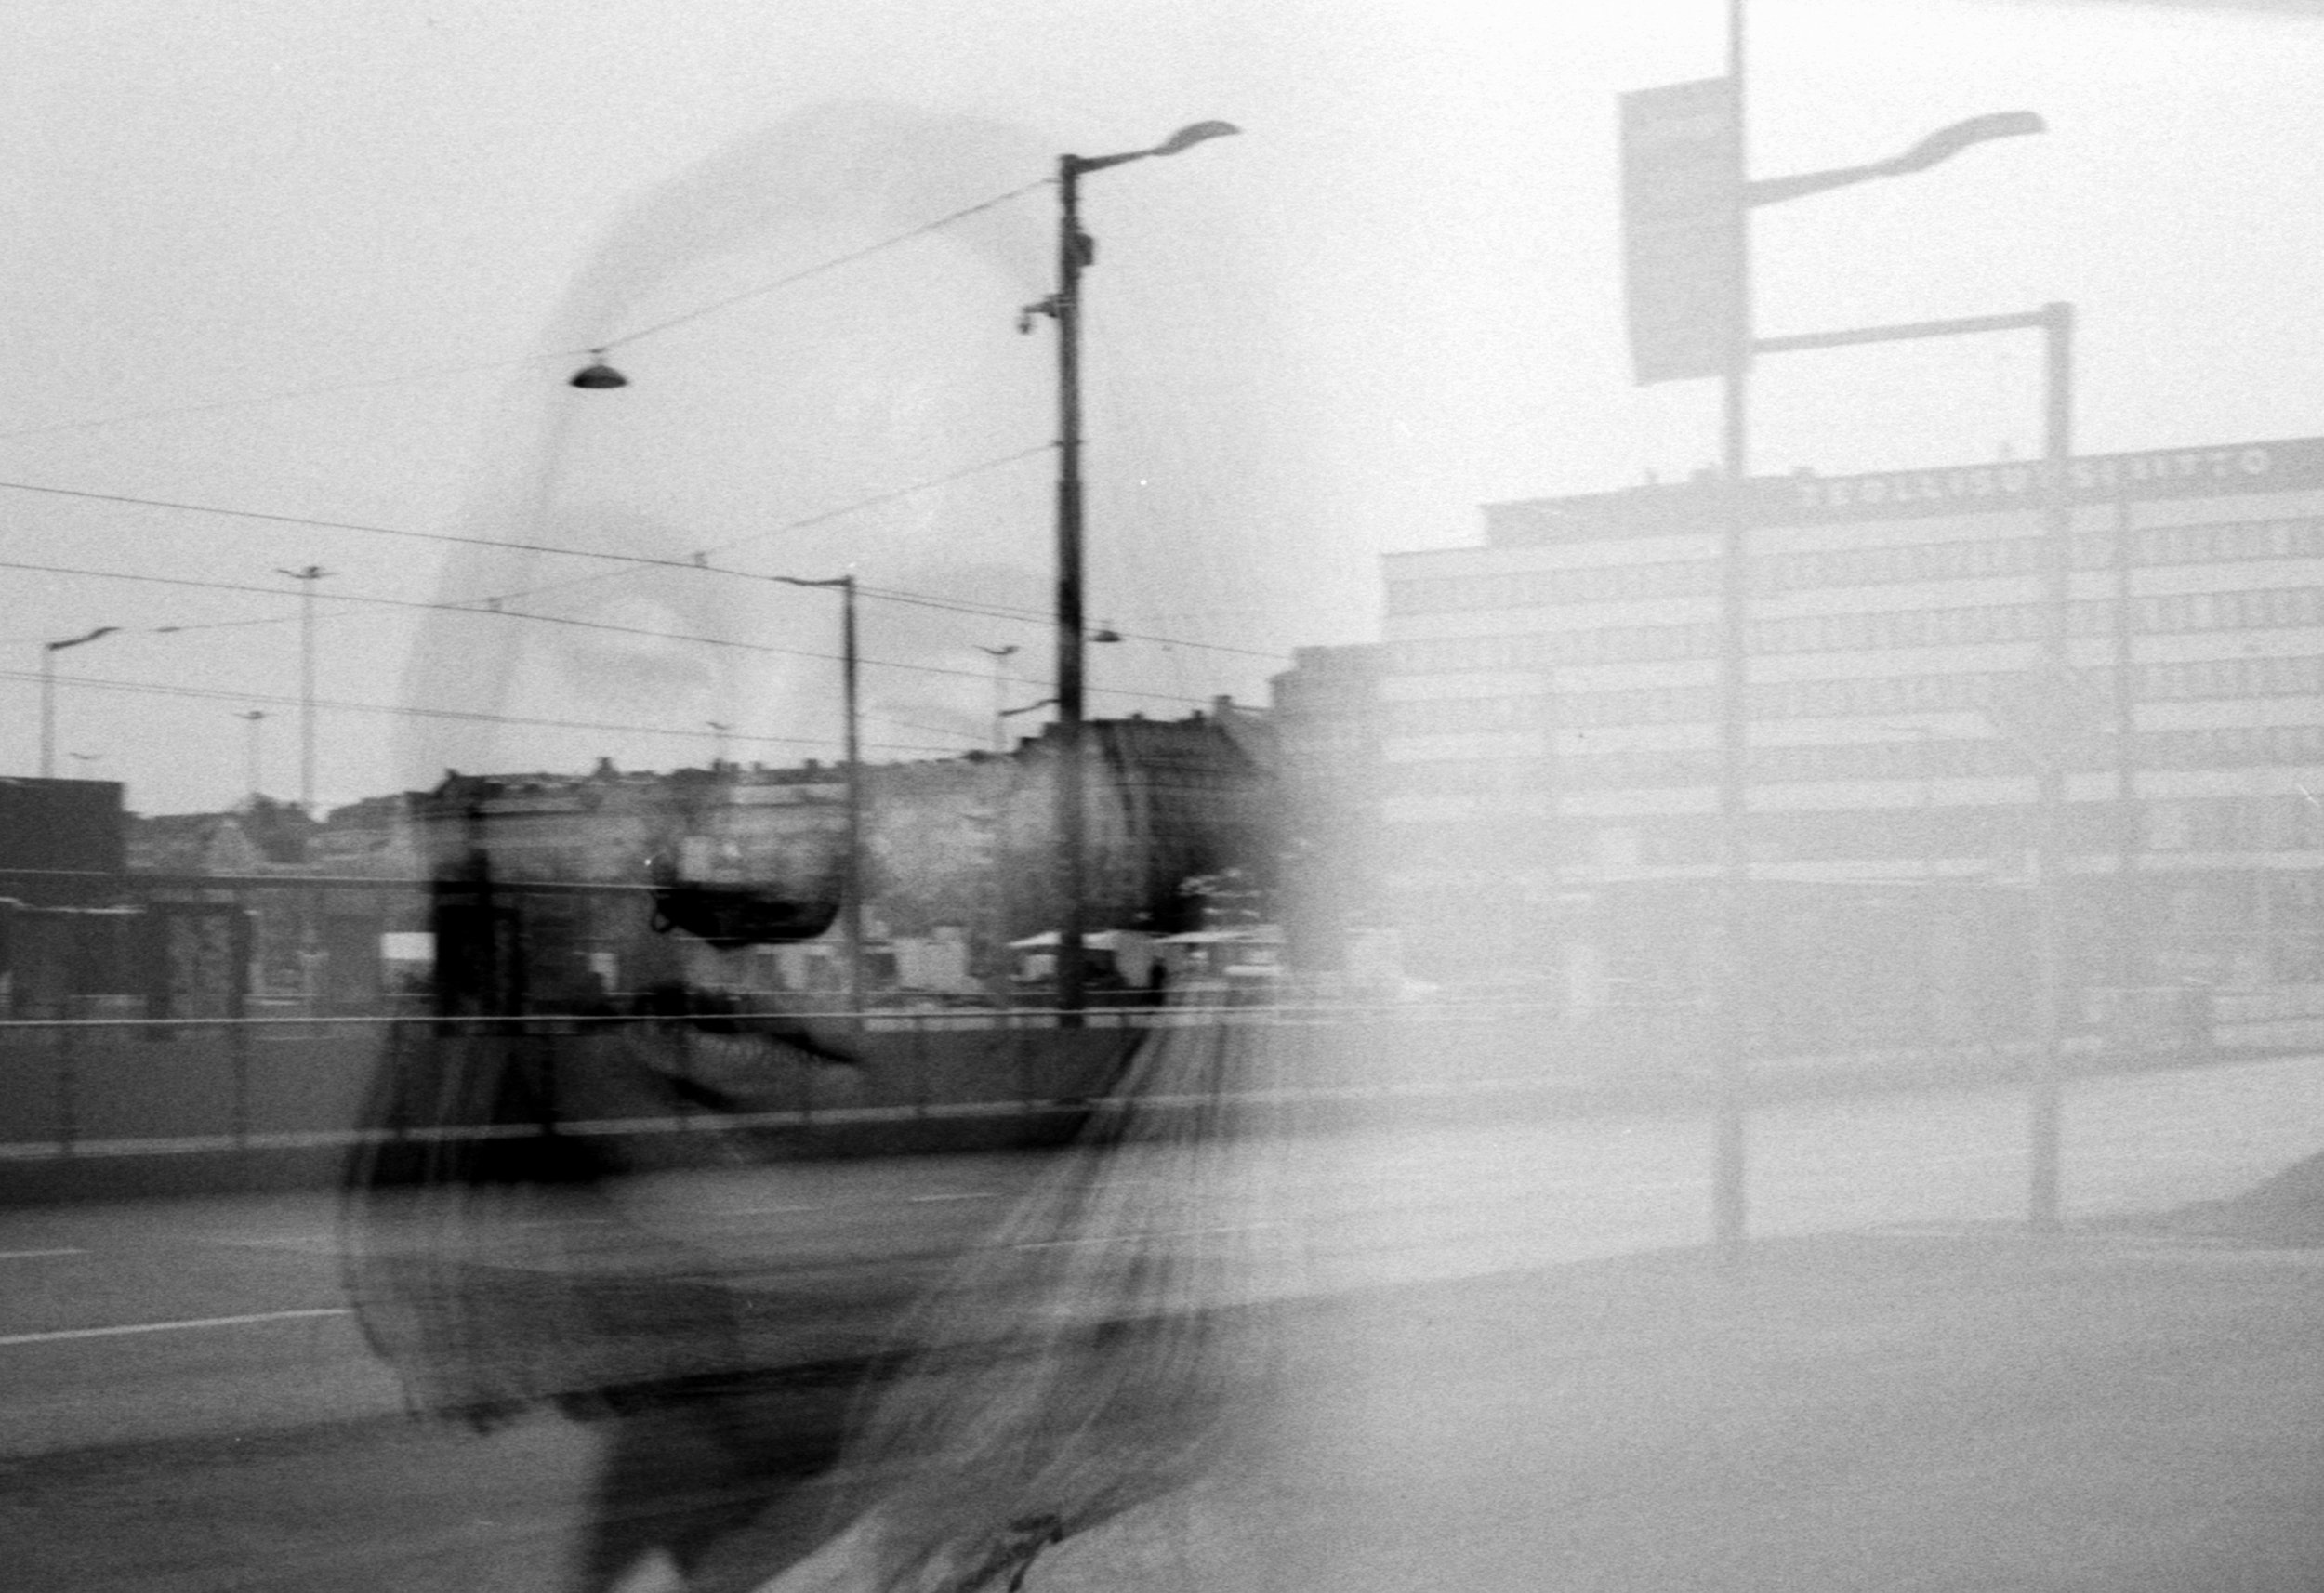
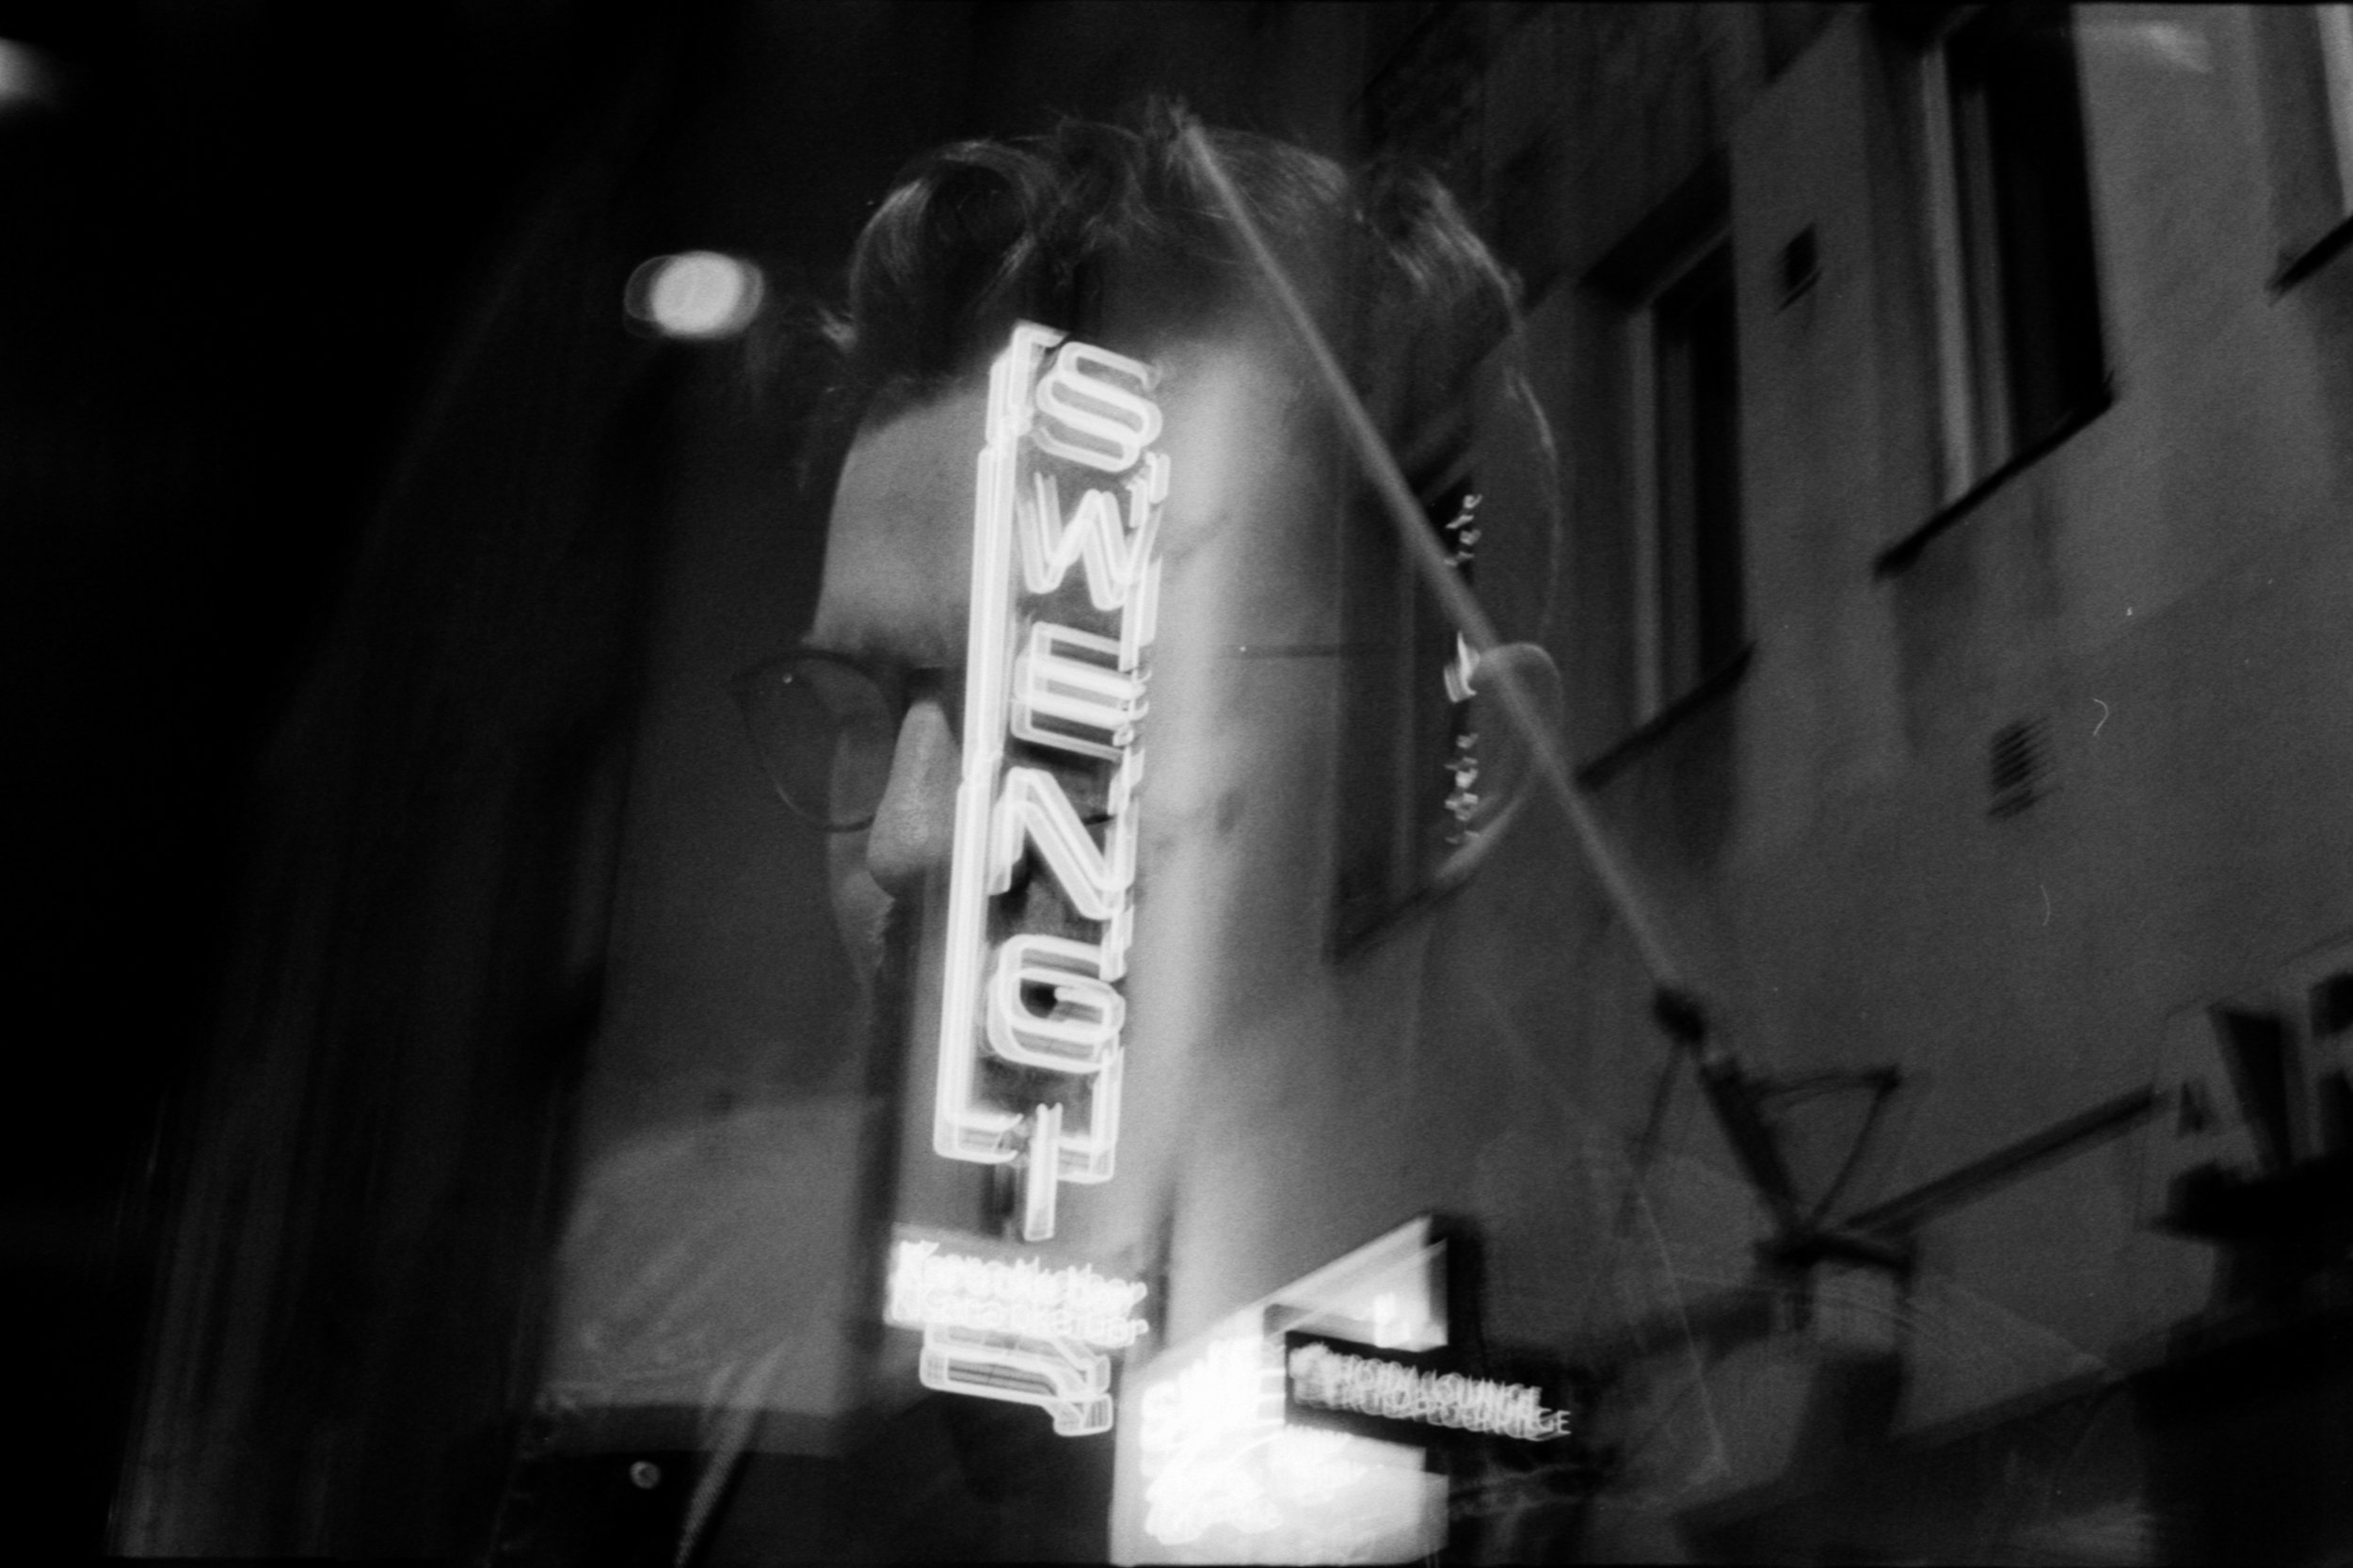
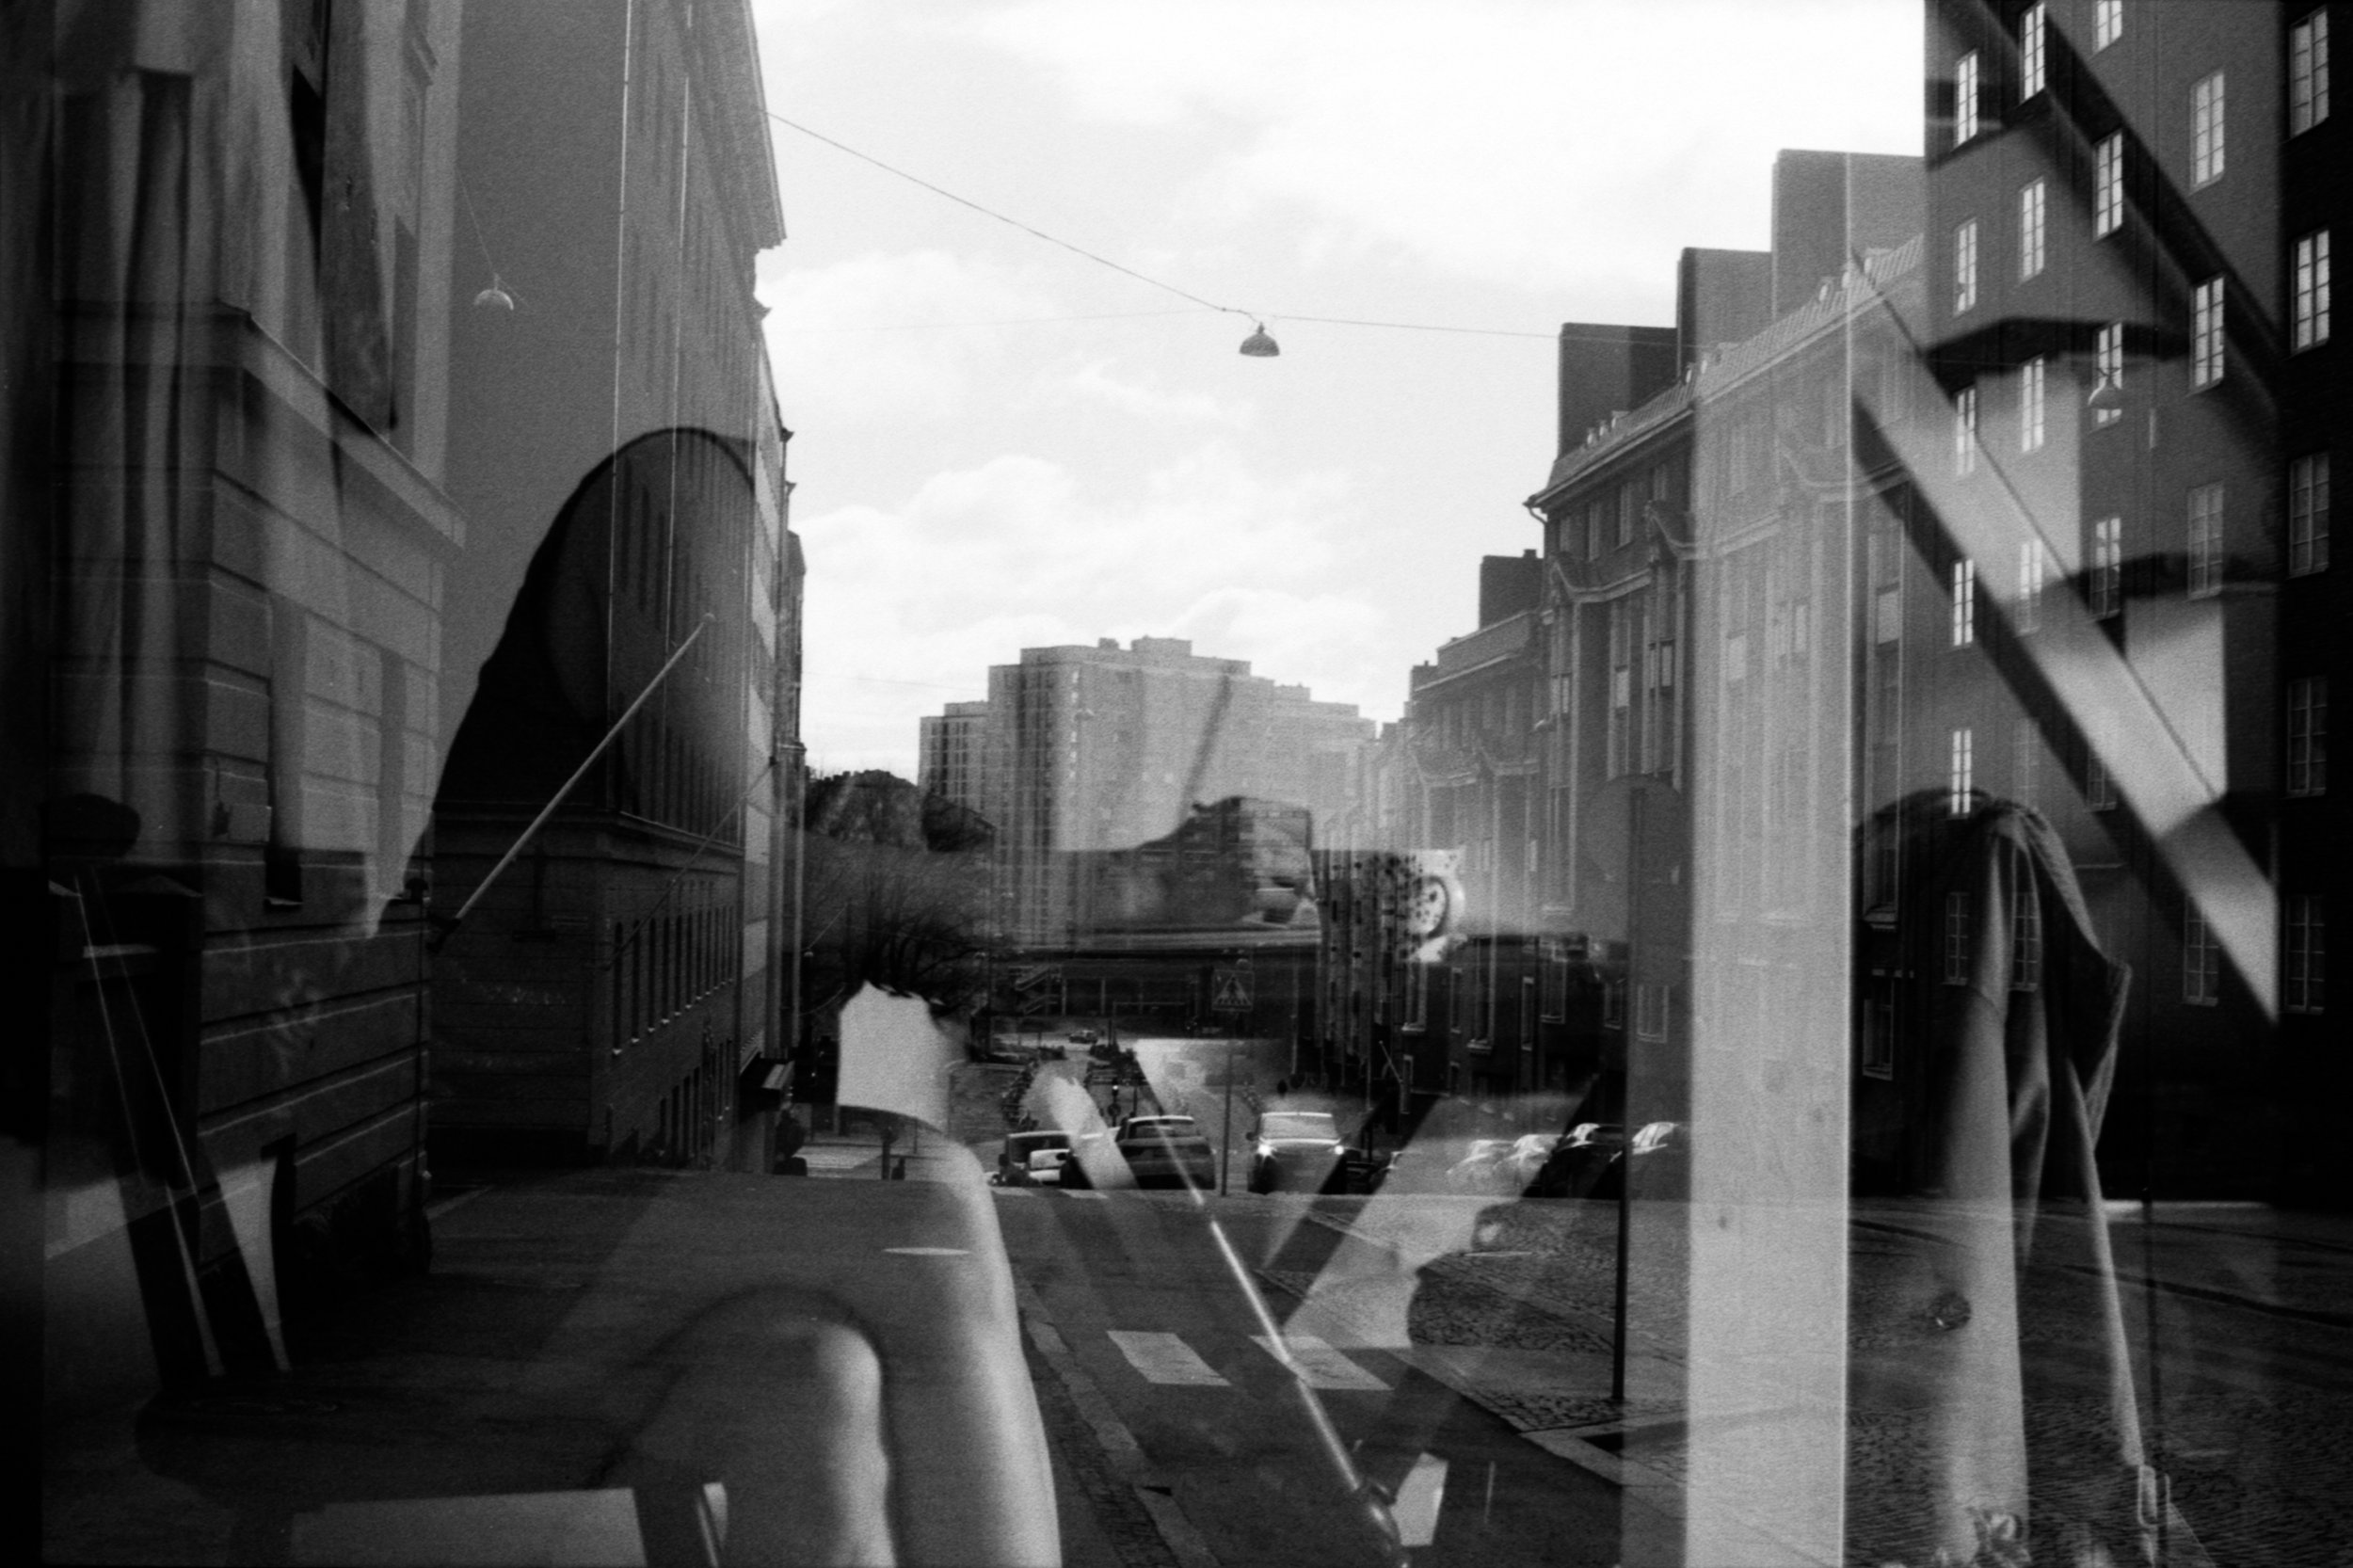

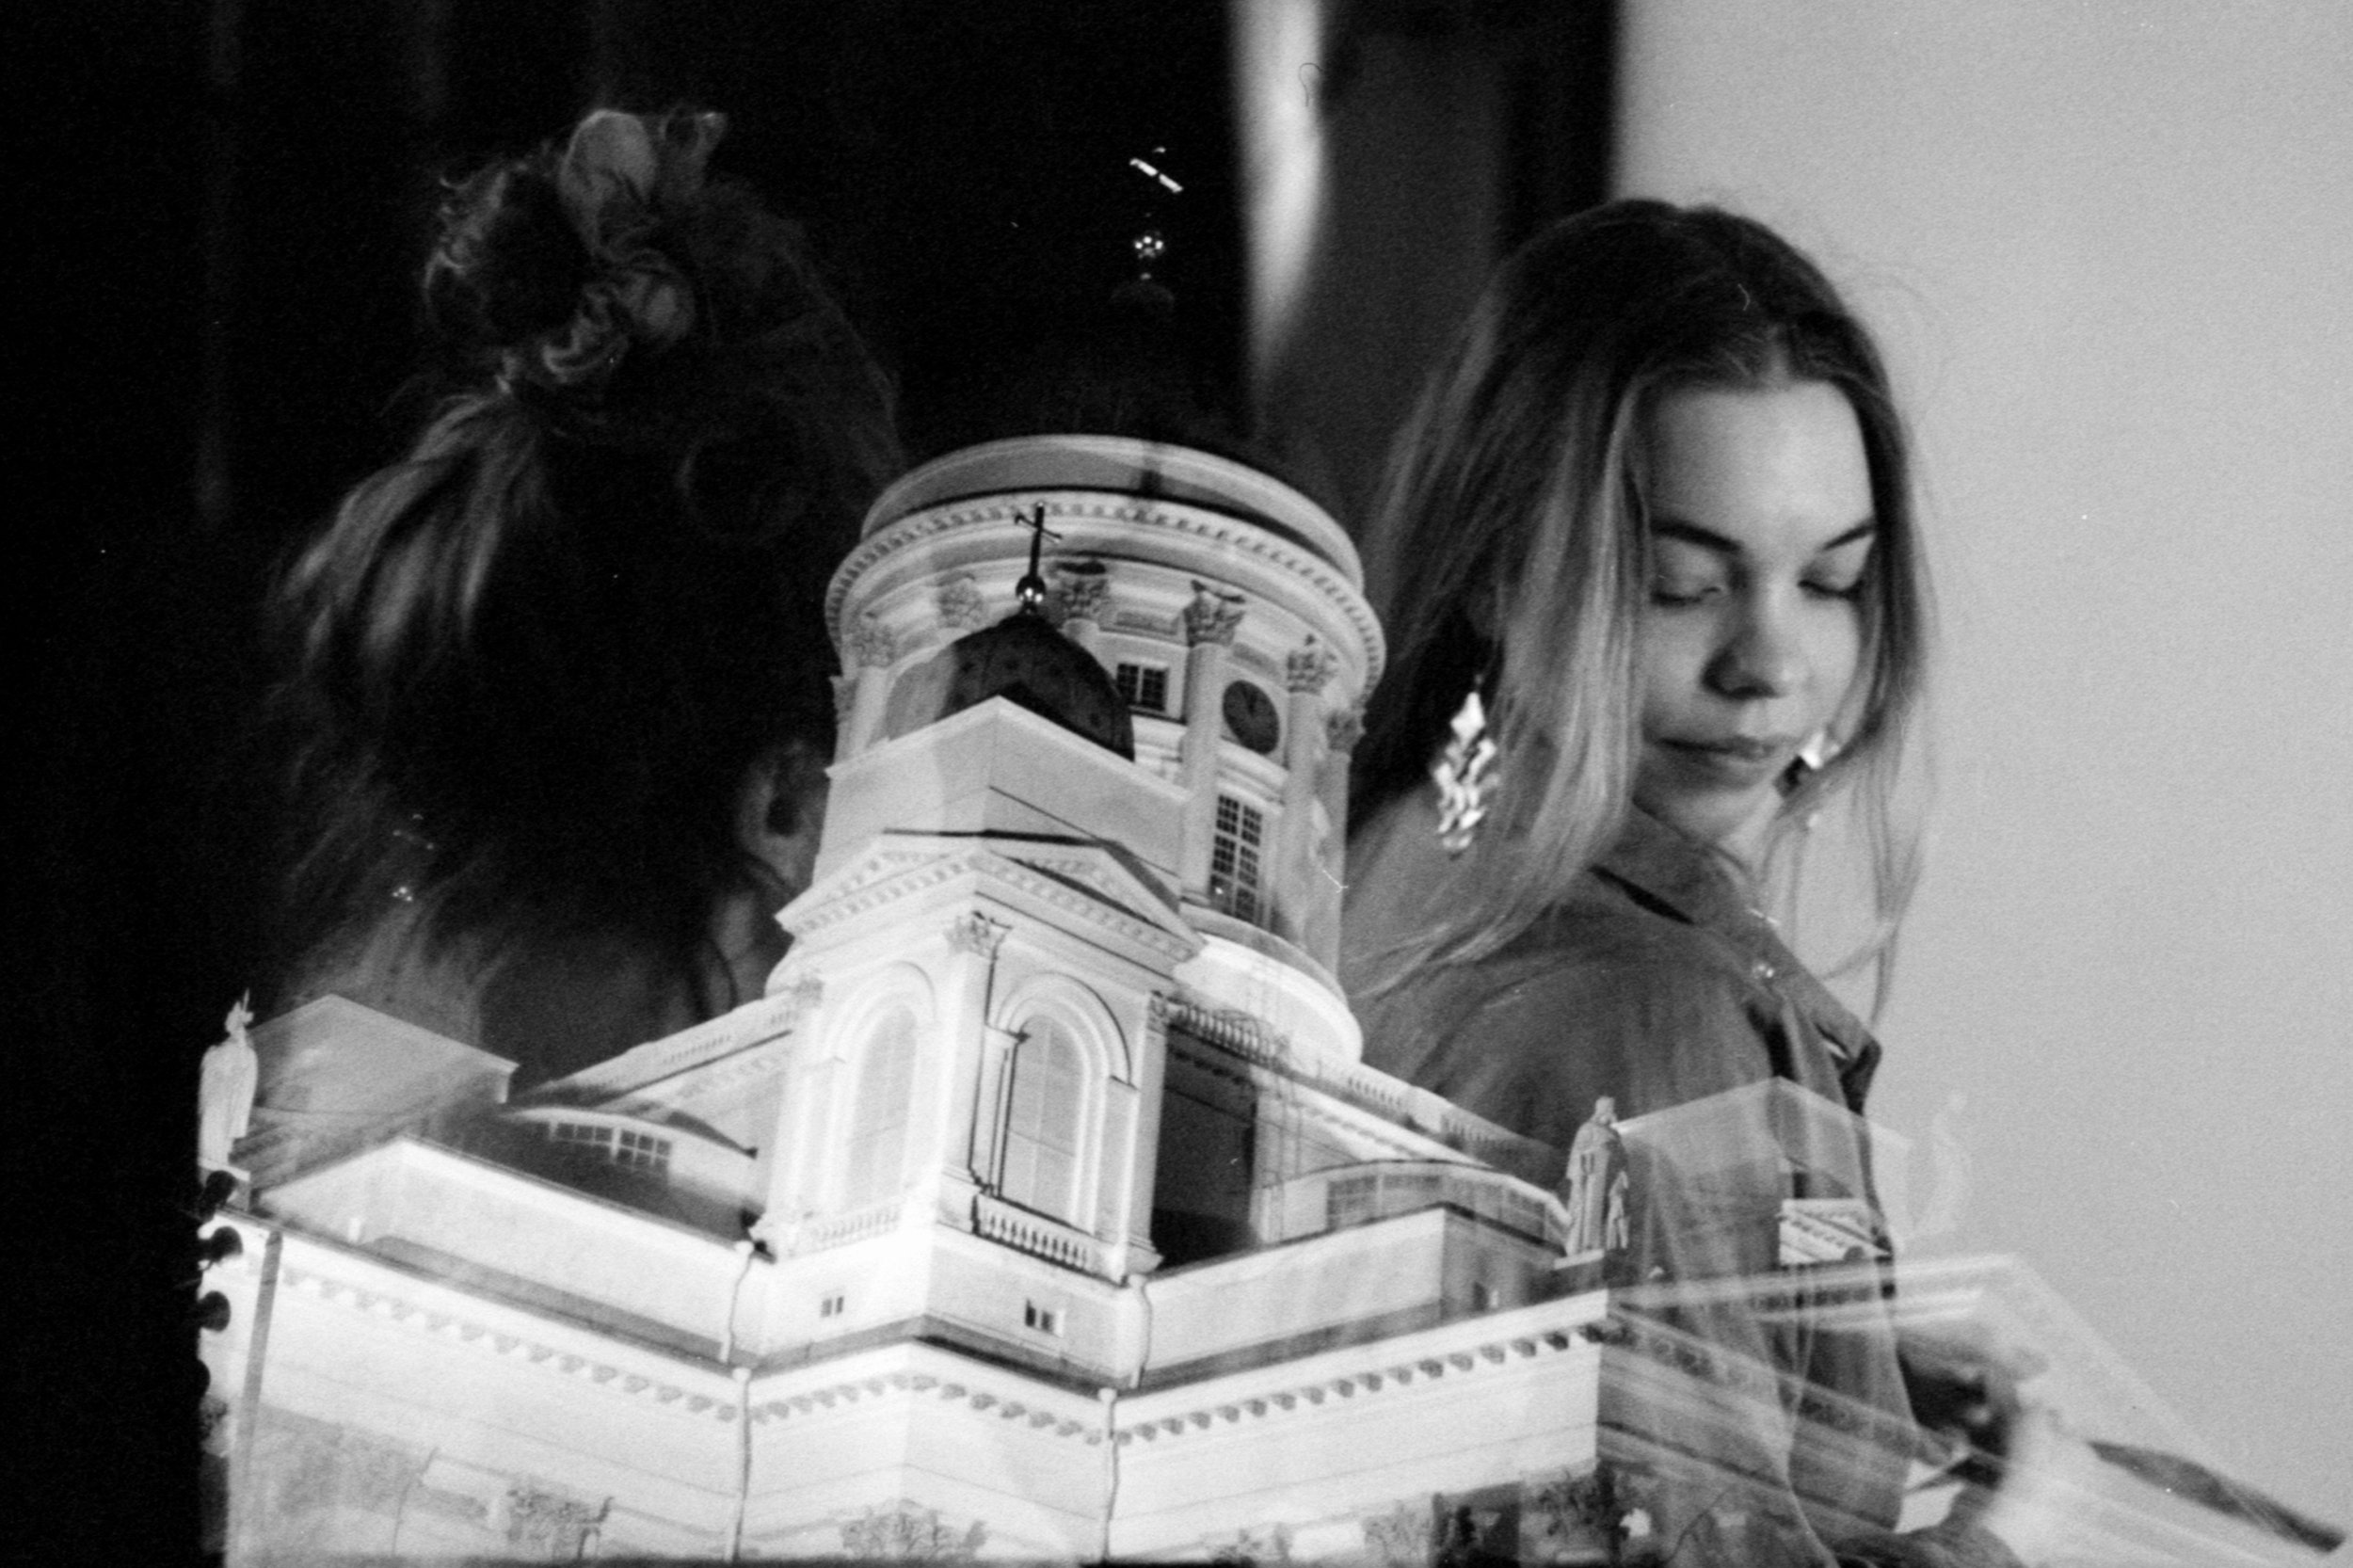
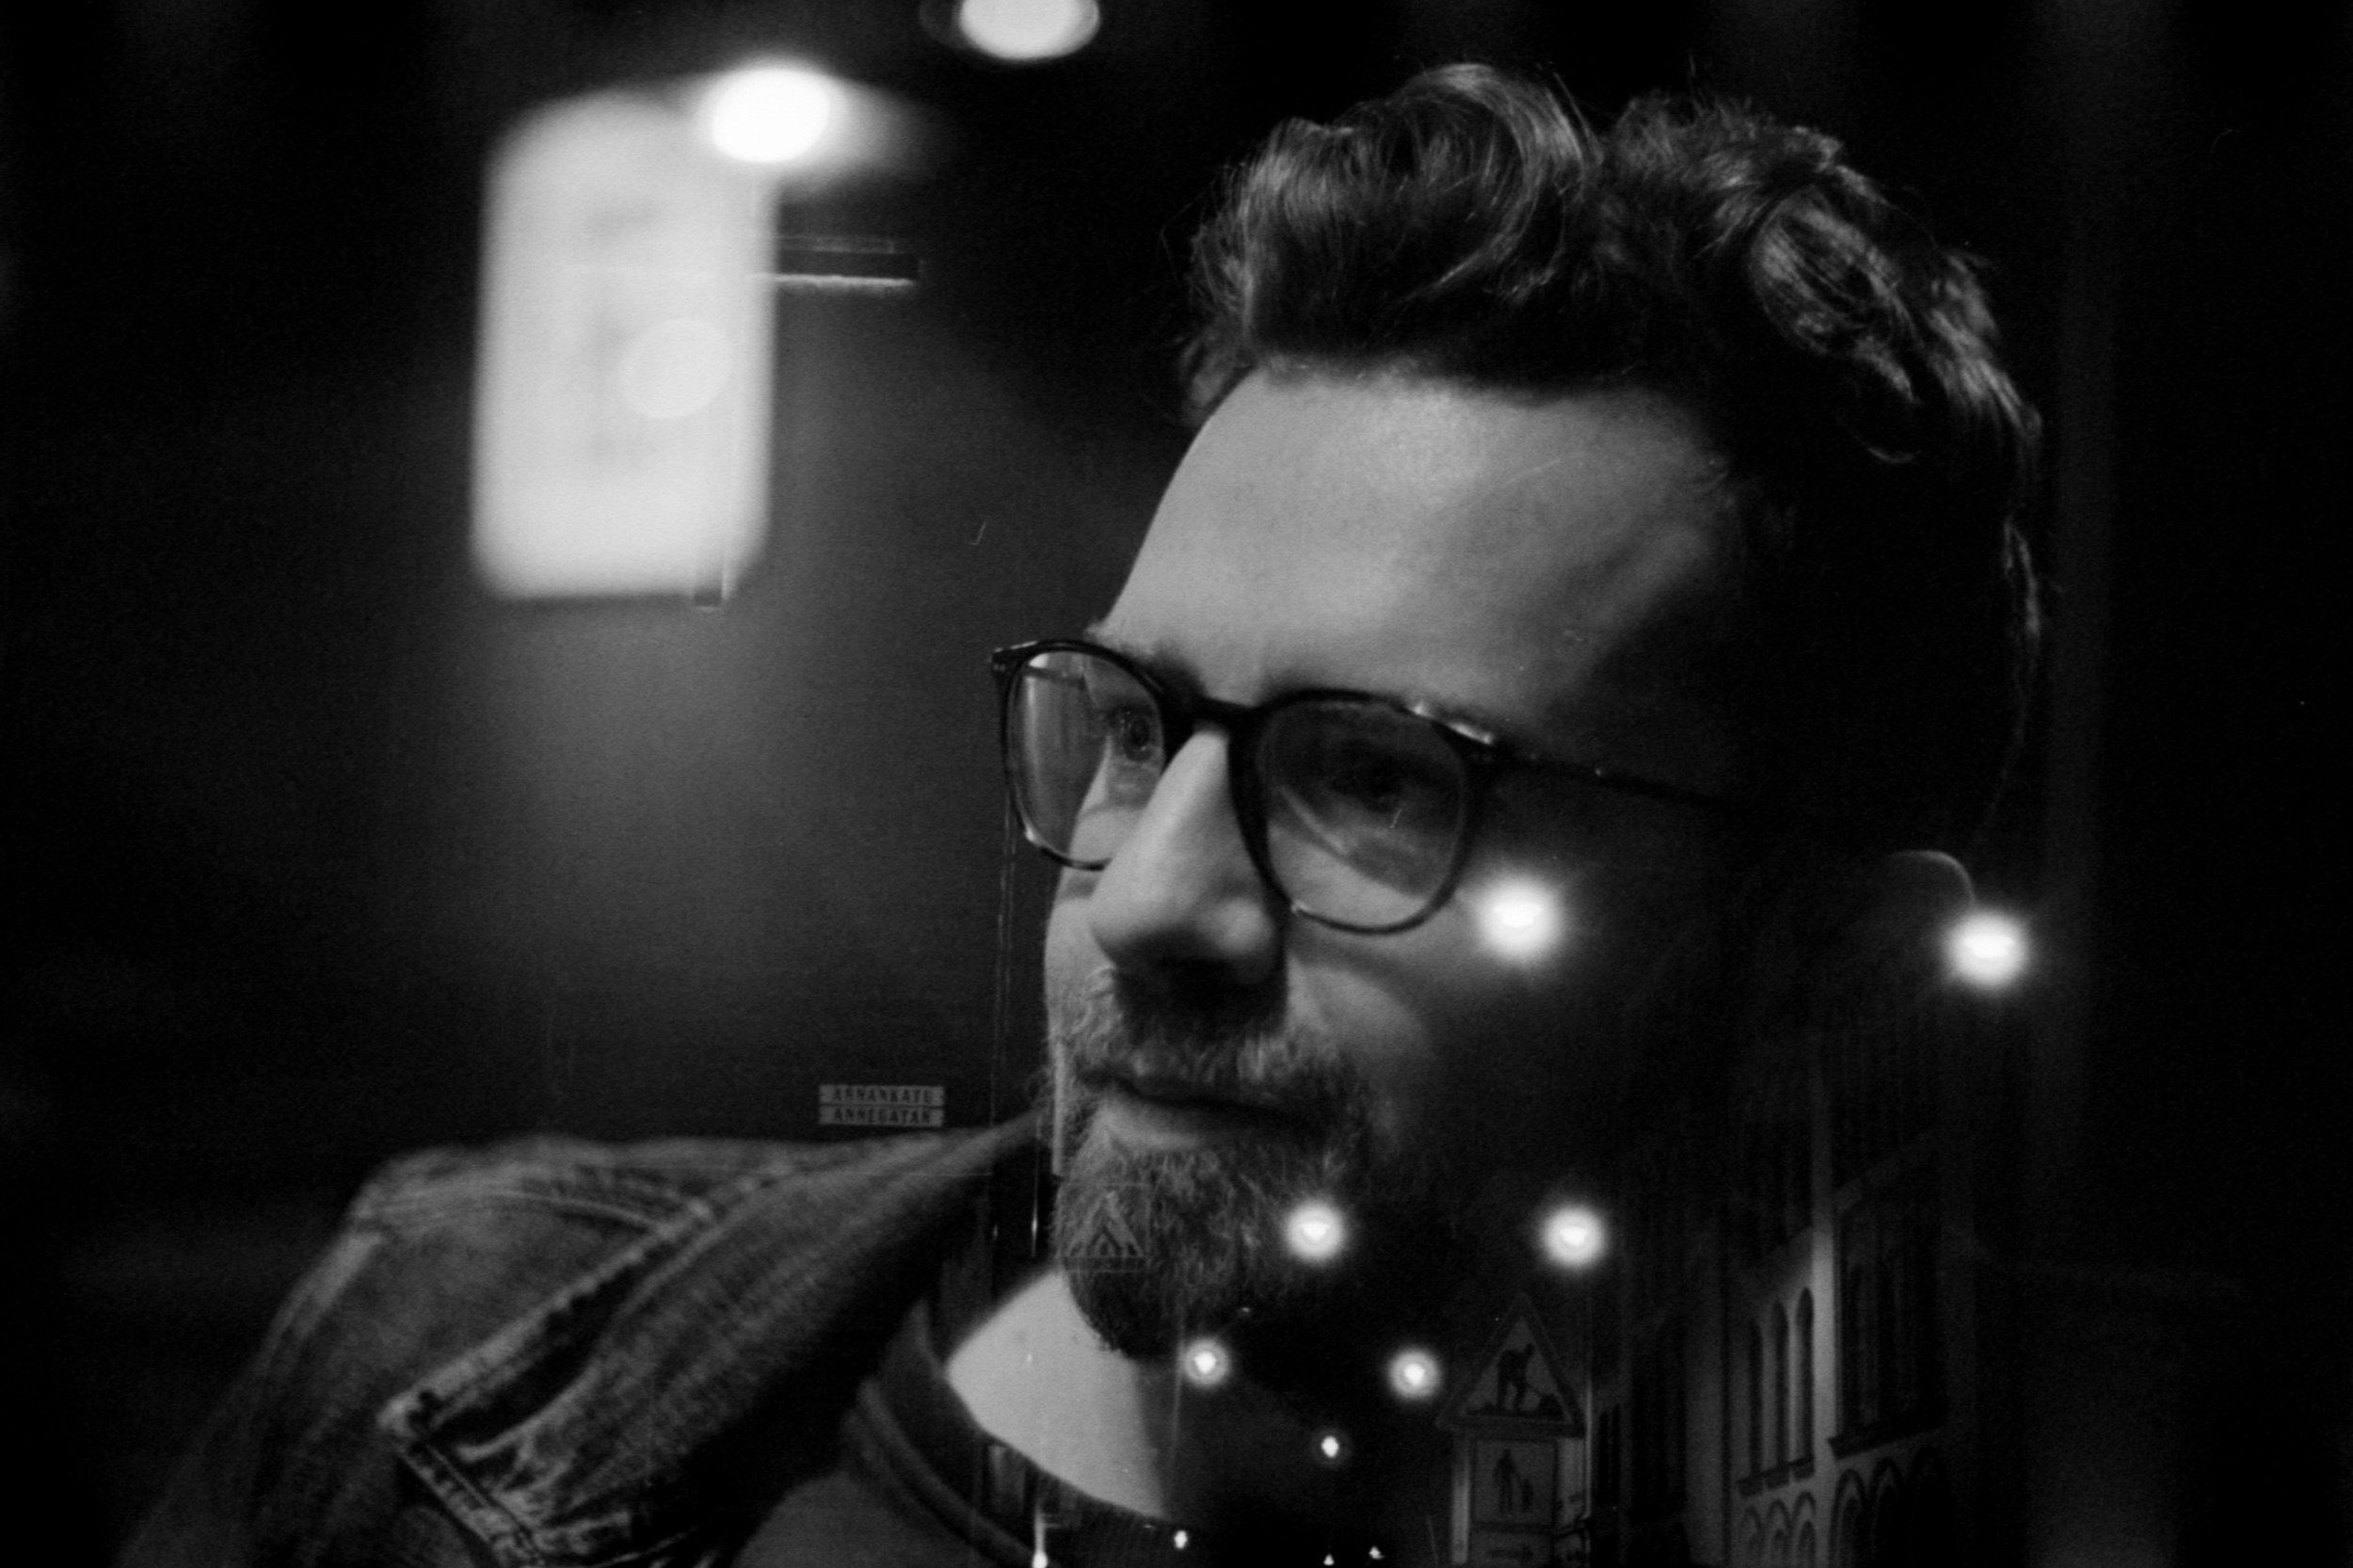
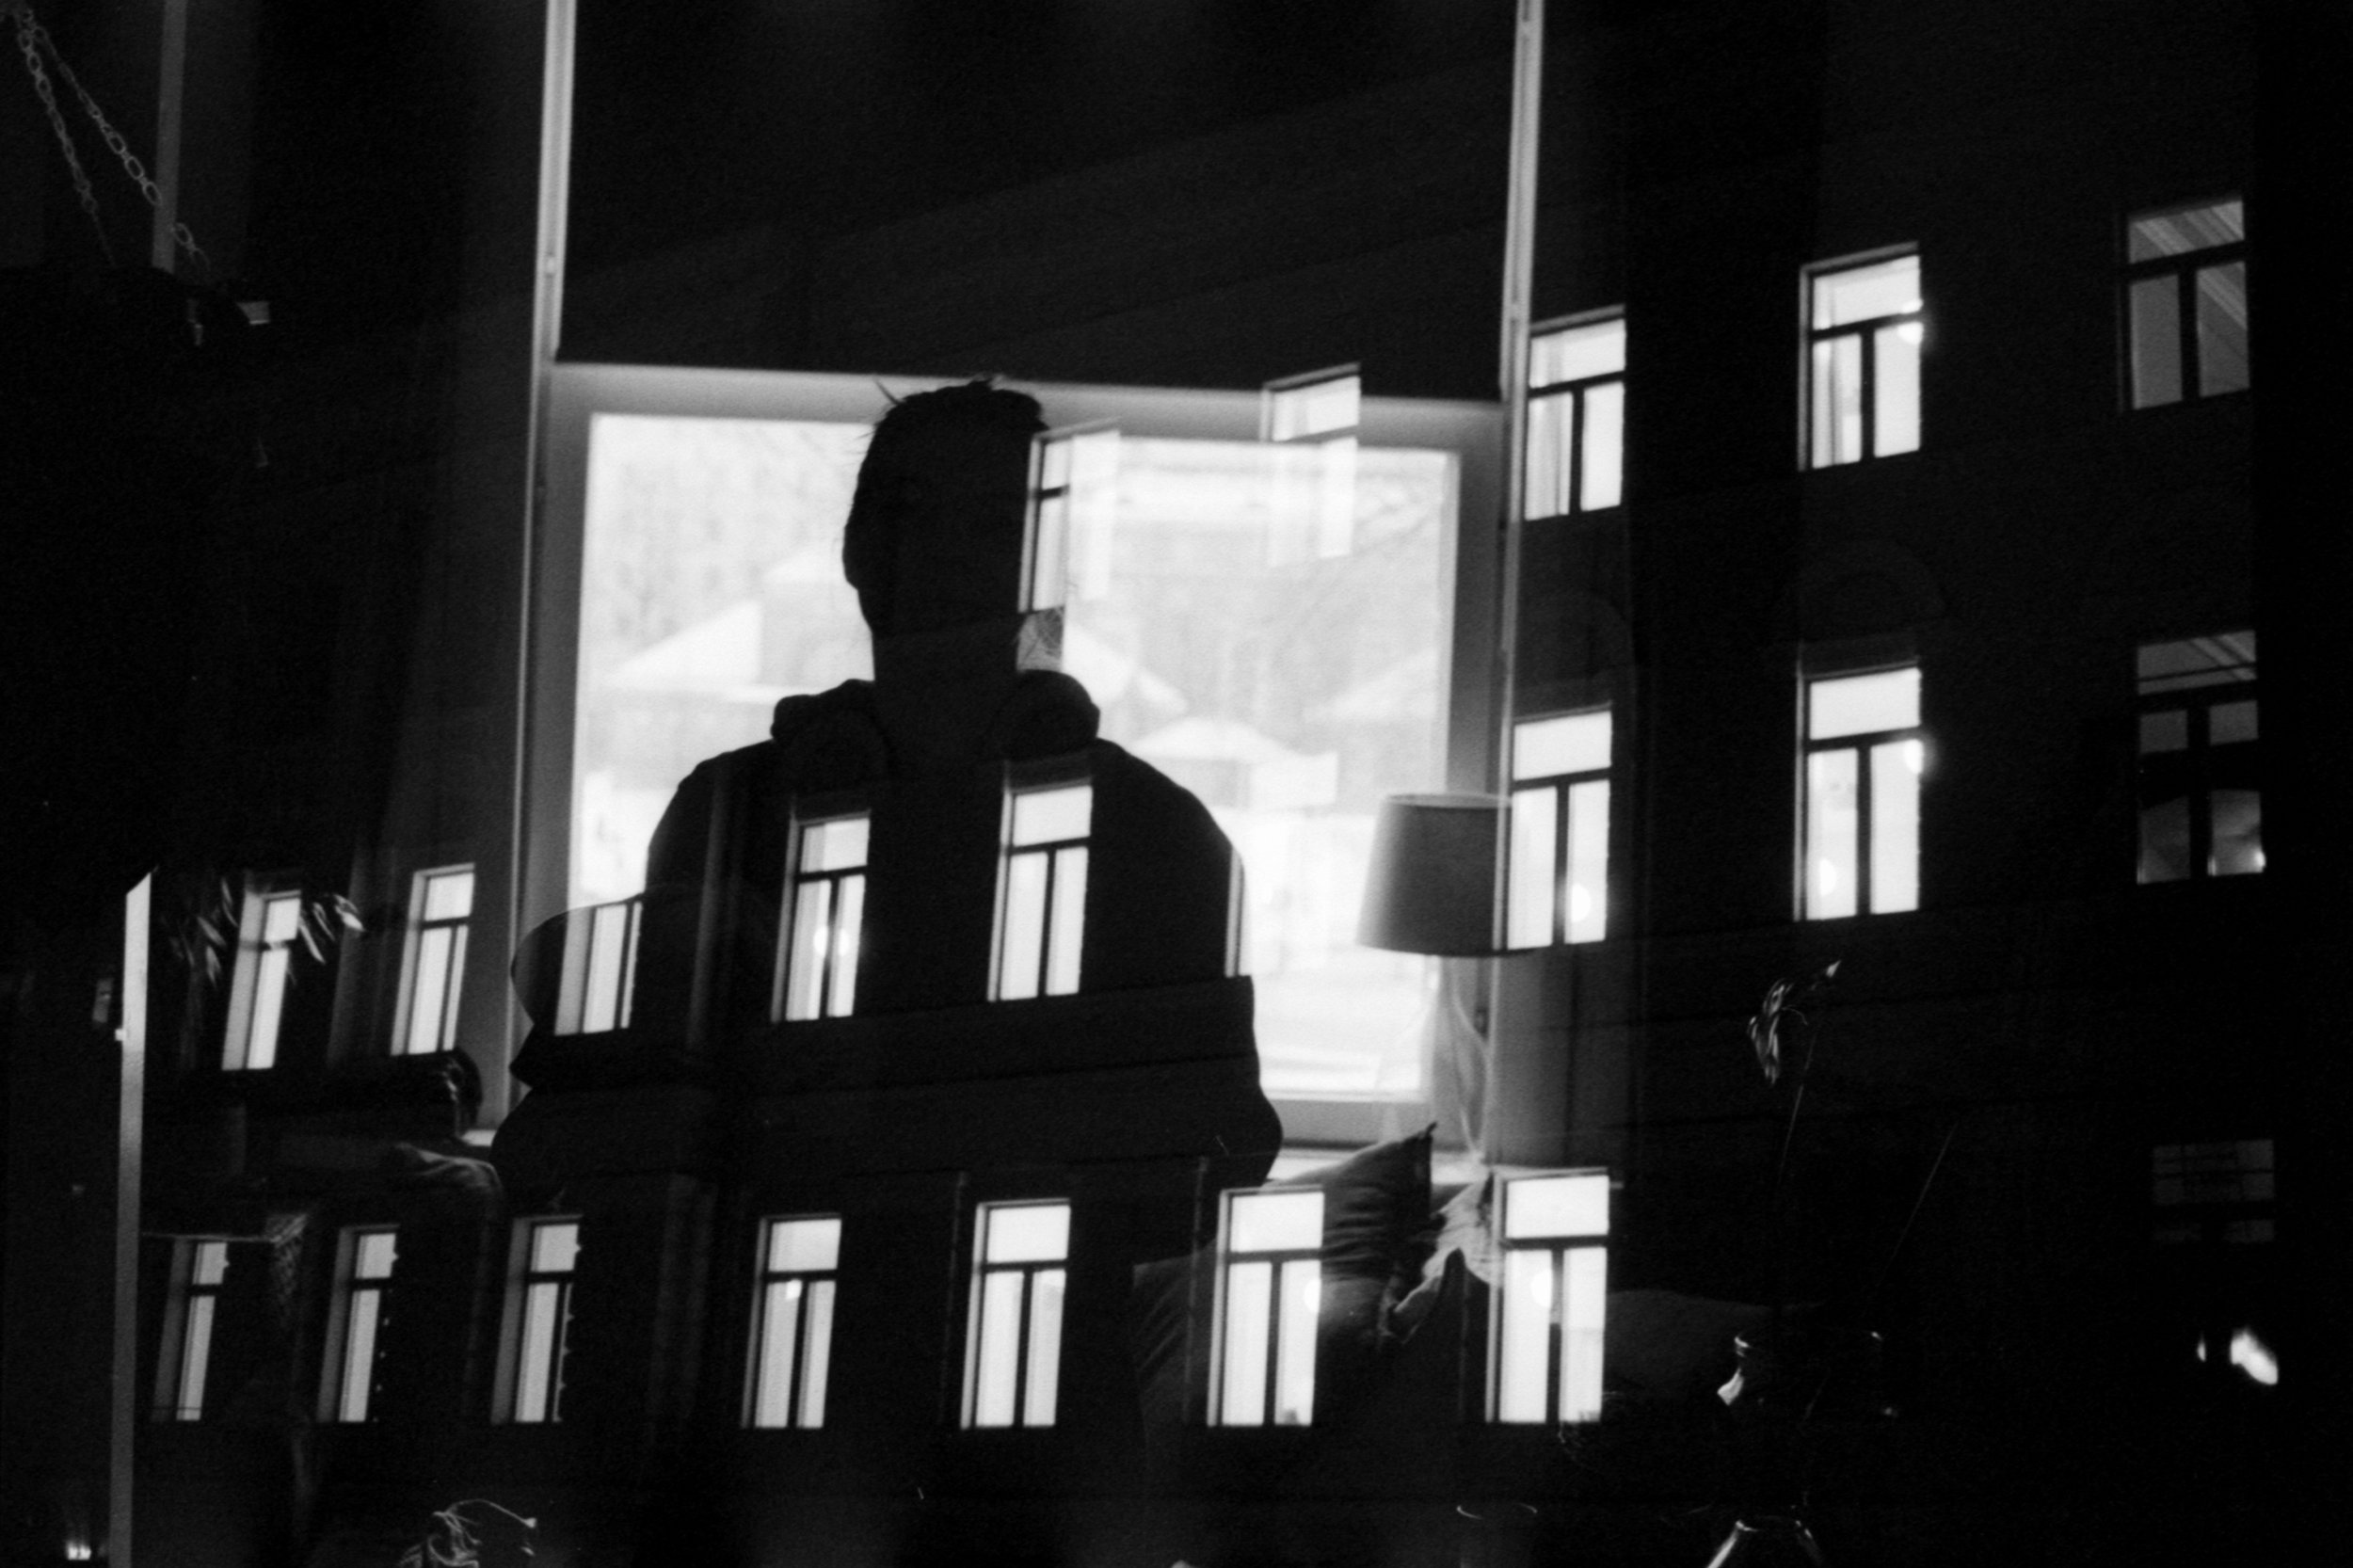
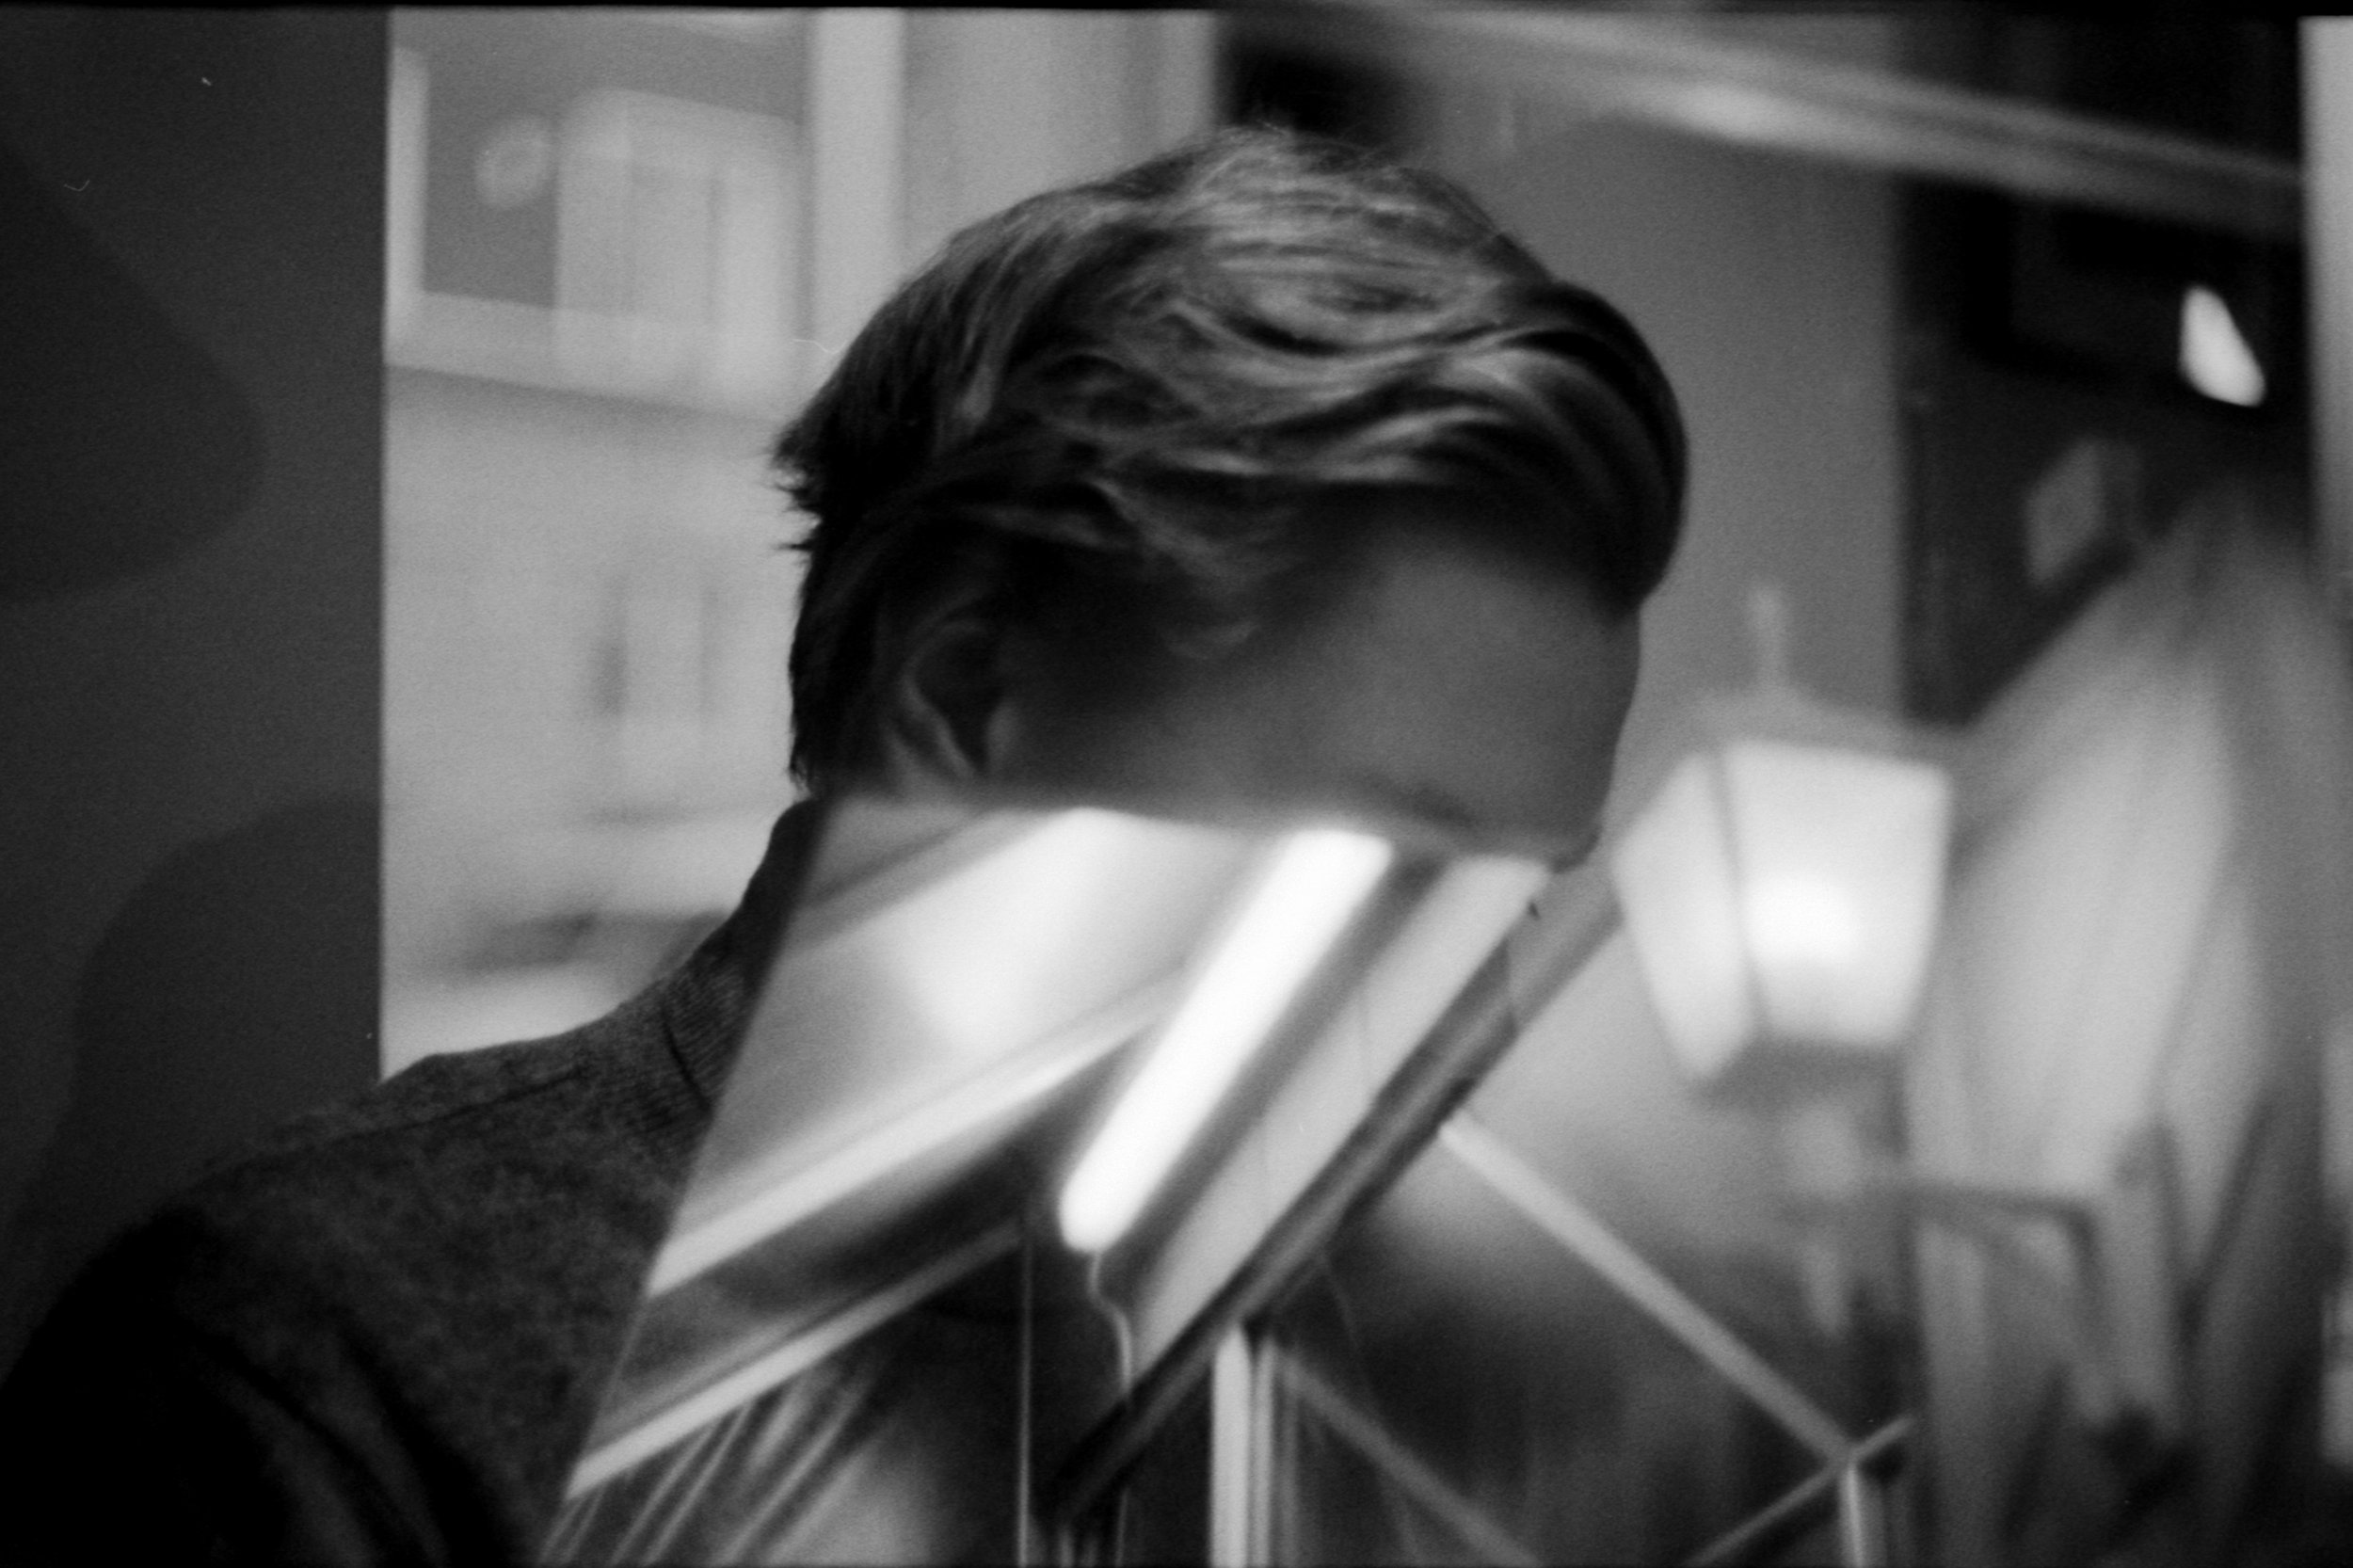

In these examples, I feel that both exposures are somewhat clear and/or create an interesting composition.
It’s important to note that on my first round exposing the film, I photographed only structures and high contrast scenes. I experimented a little in different lighting situations, including the night, and also with longer exposures.
The second round, I photographed (almost) only people. This would ensure I had both a scene and a subject in every frame, without me having to keep track.
With this approach, I intentionally made no other note of what I photographed on each frame, only to rely on “happy accidents”.
More on alternative approaches and improvements, later…
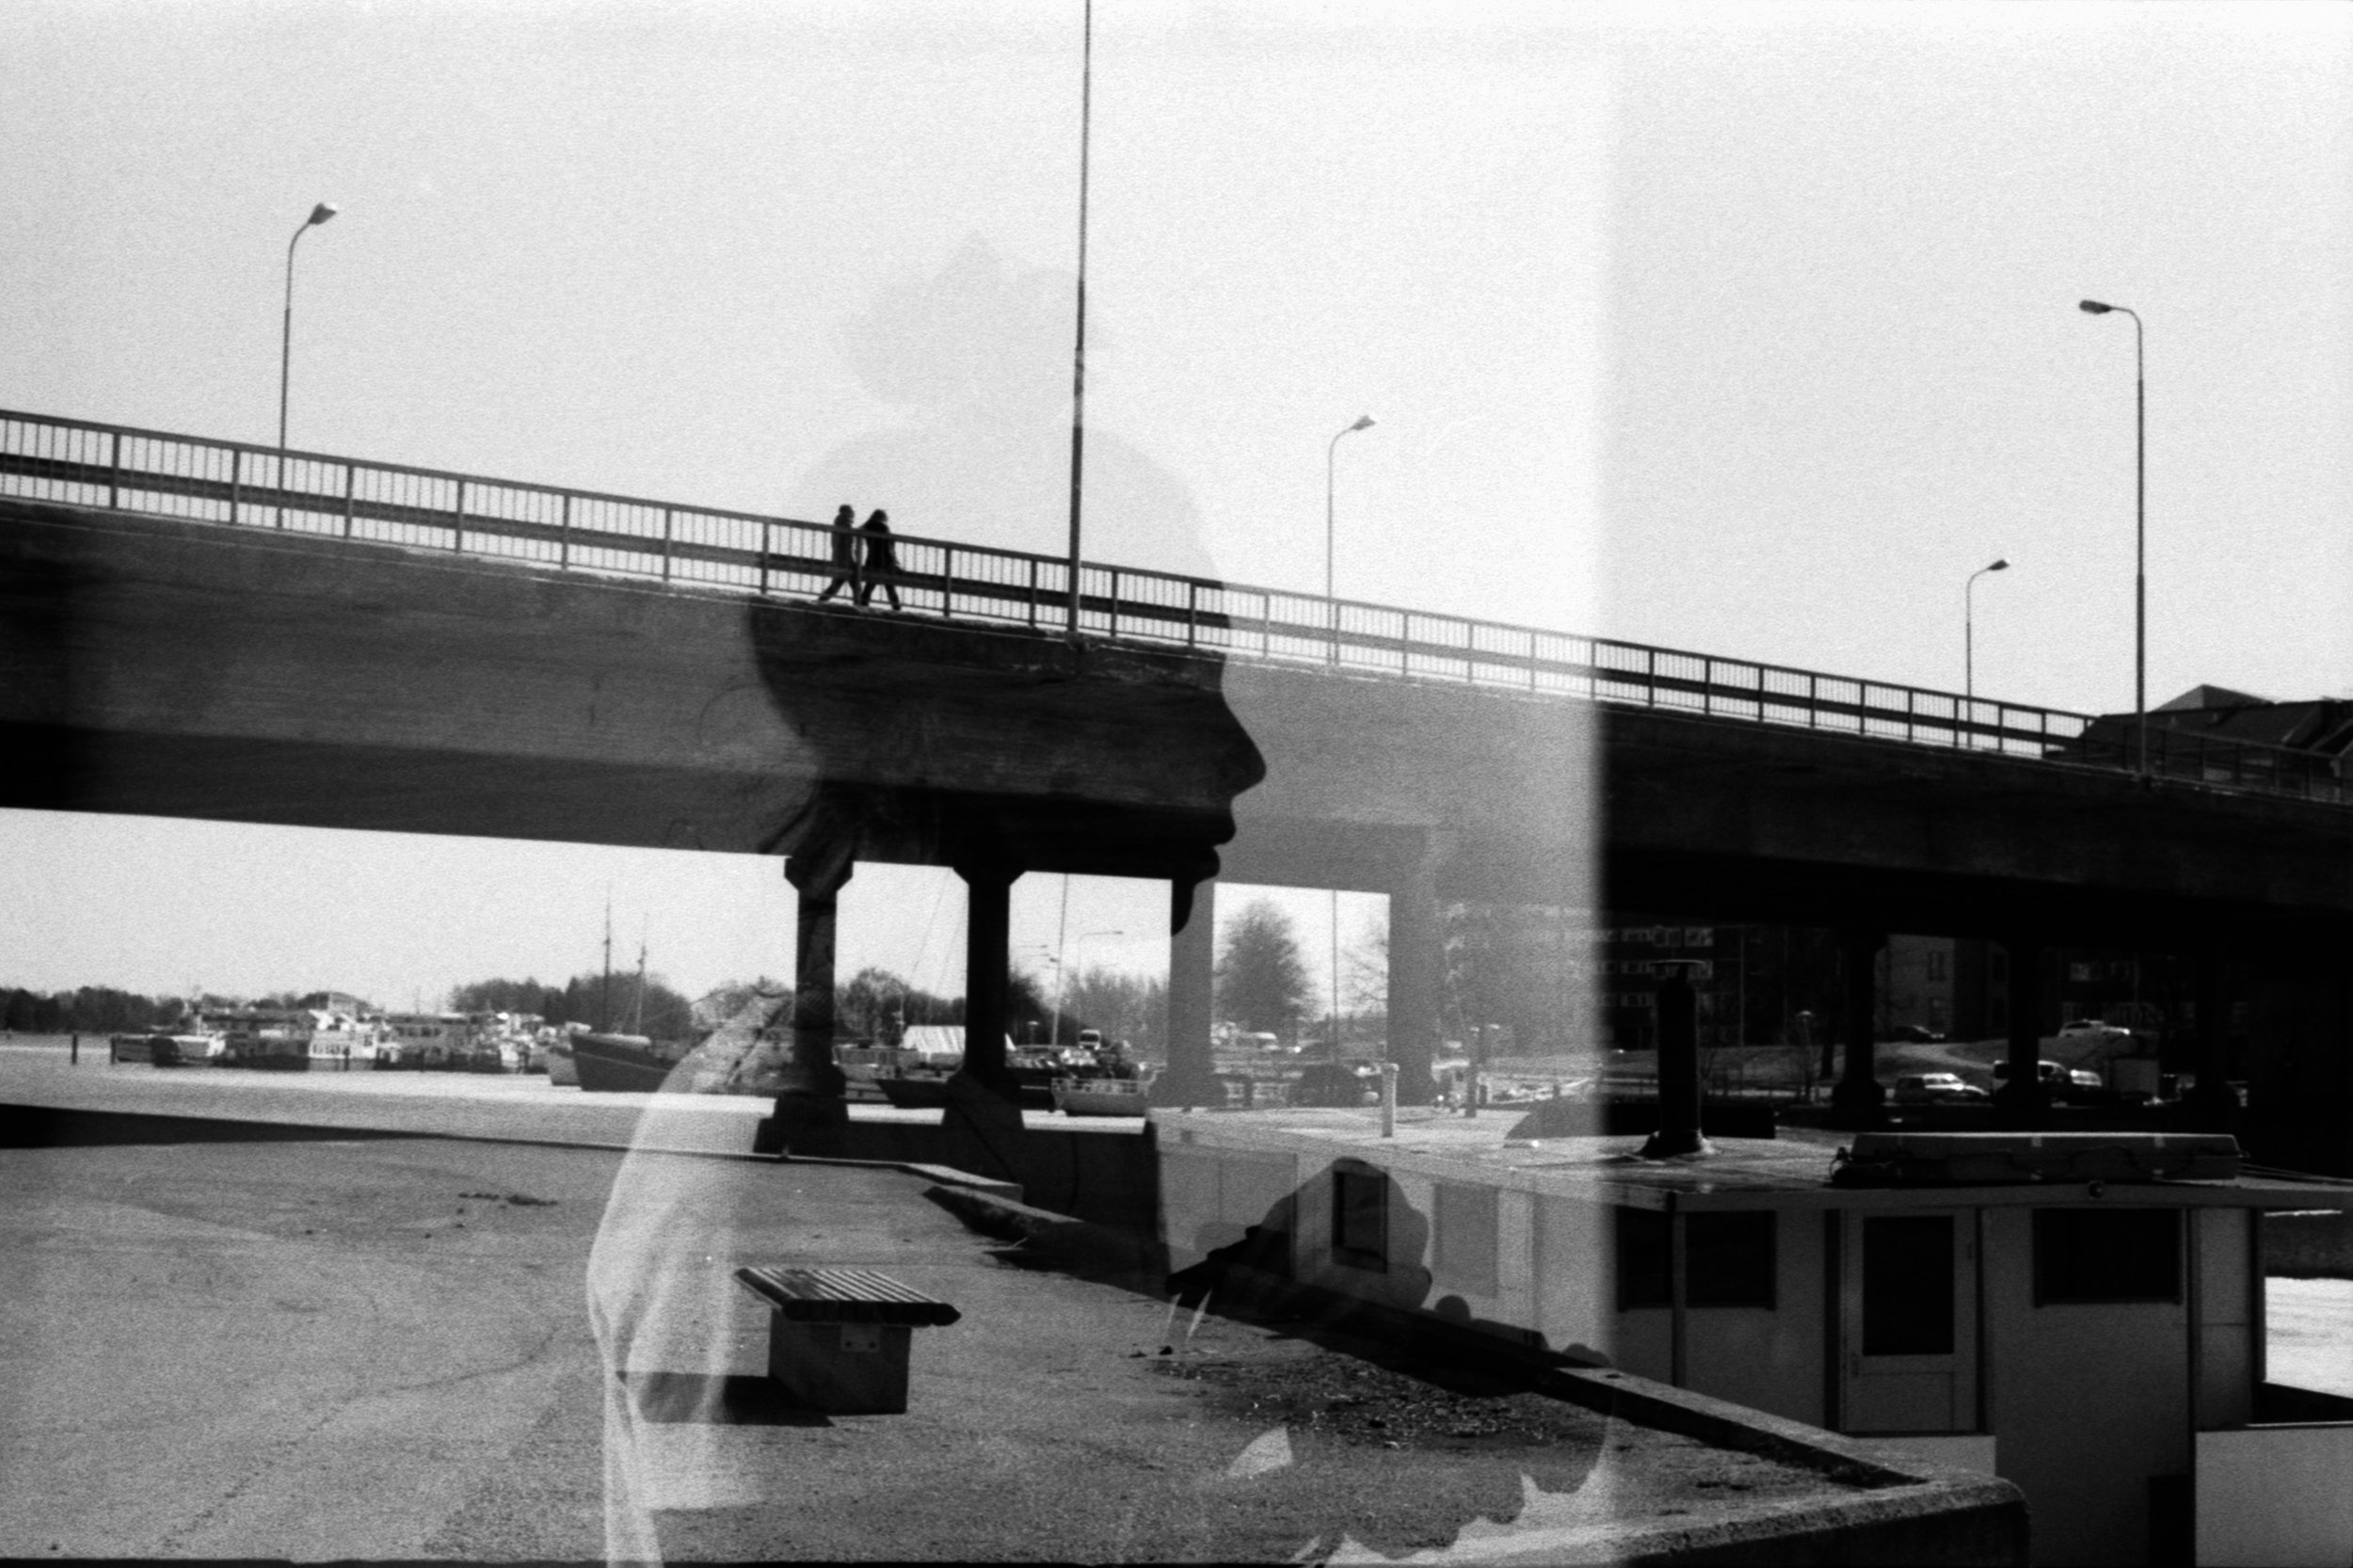
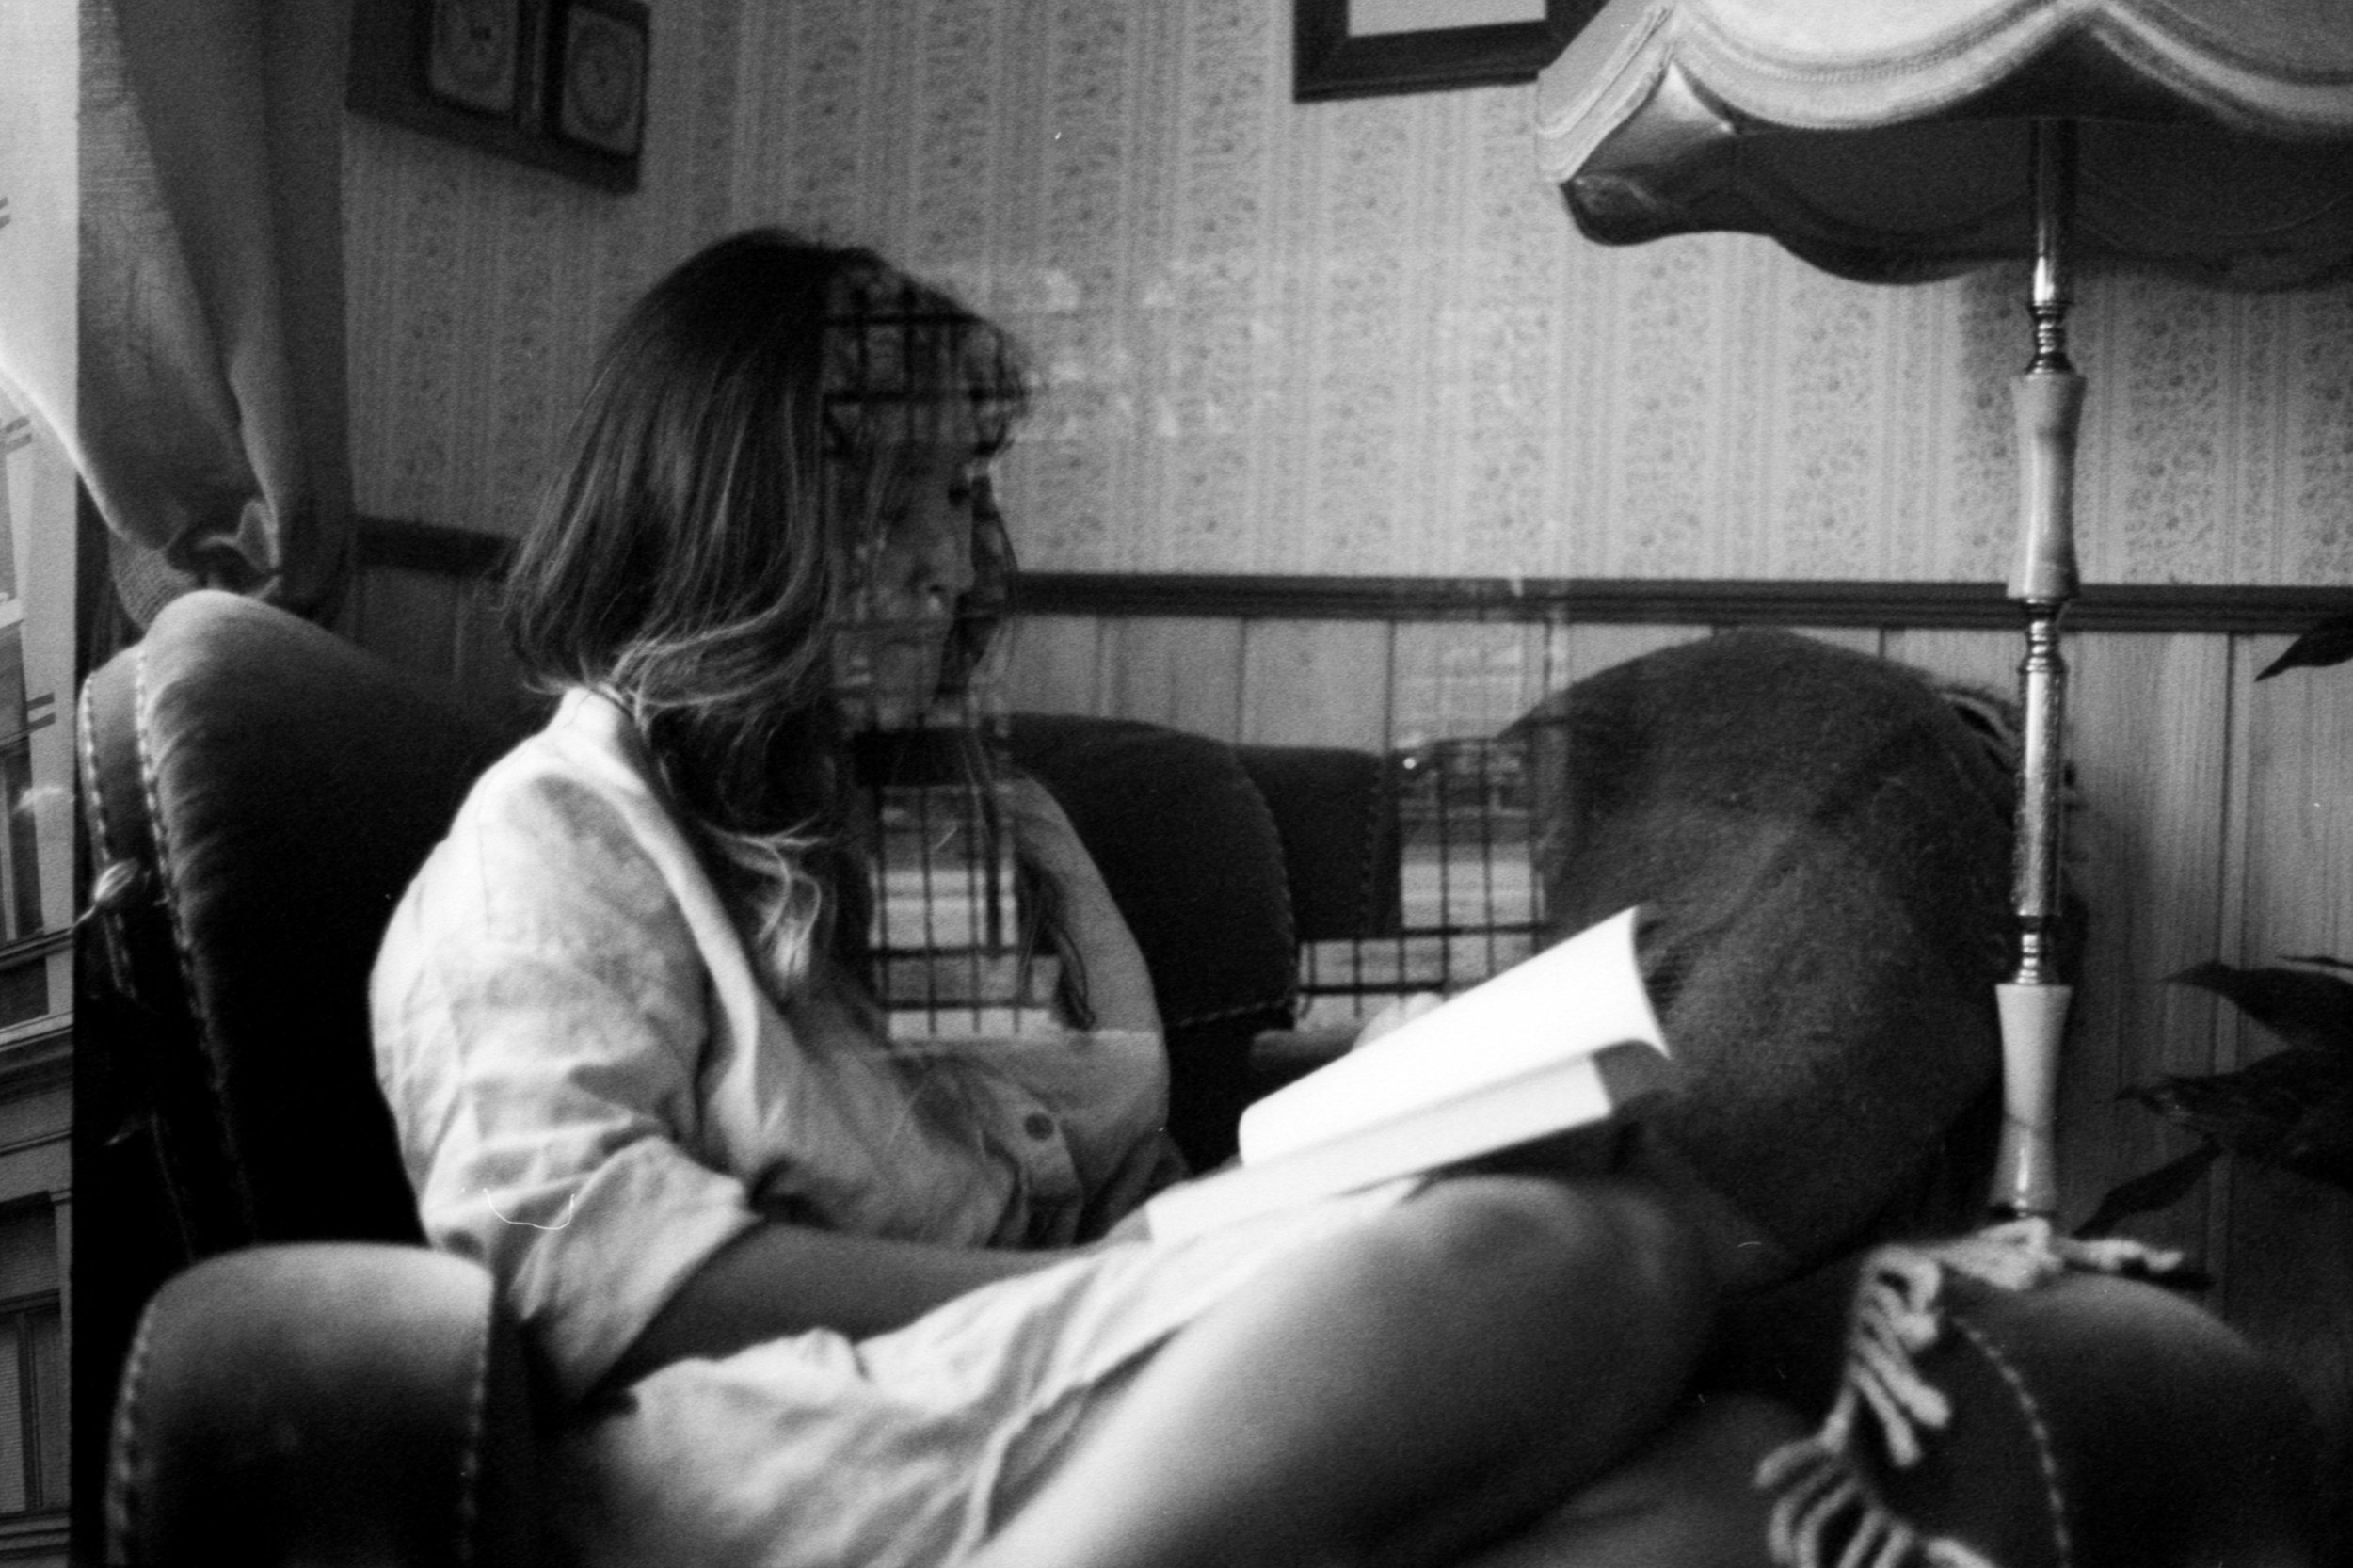
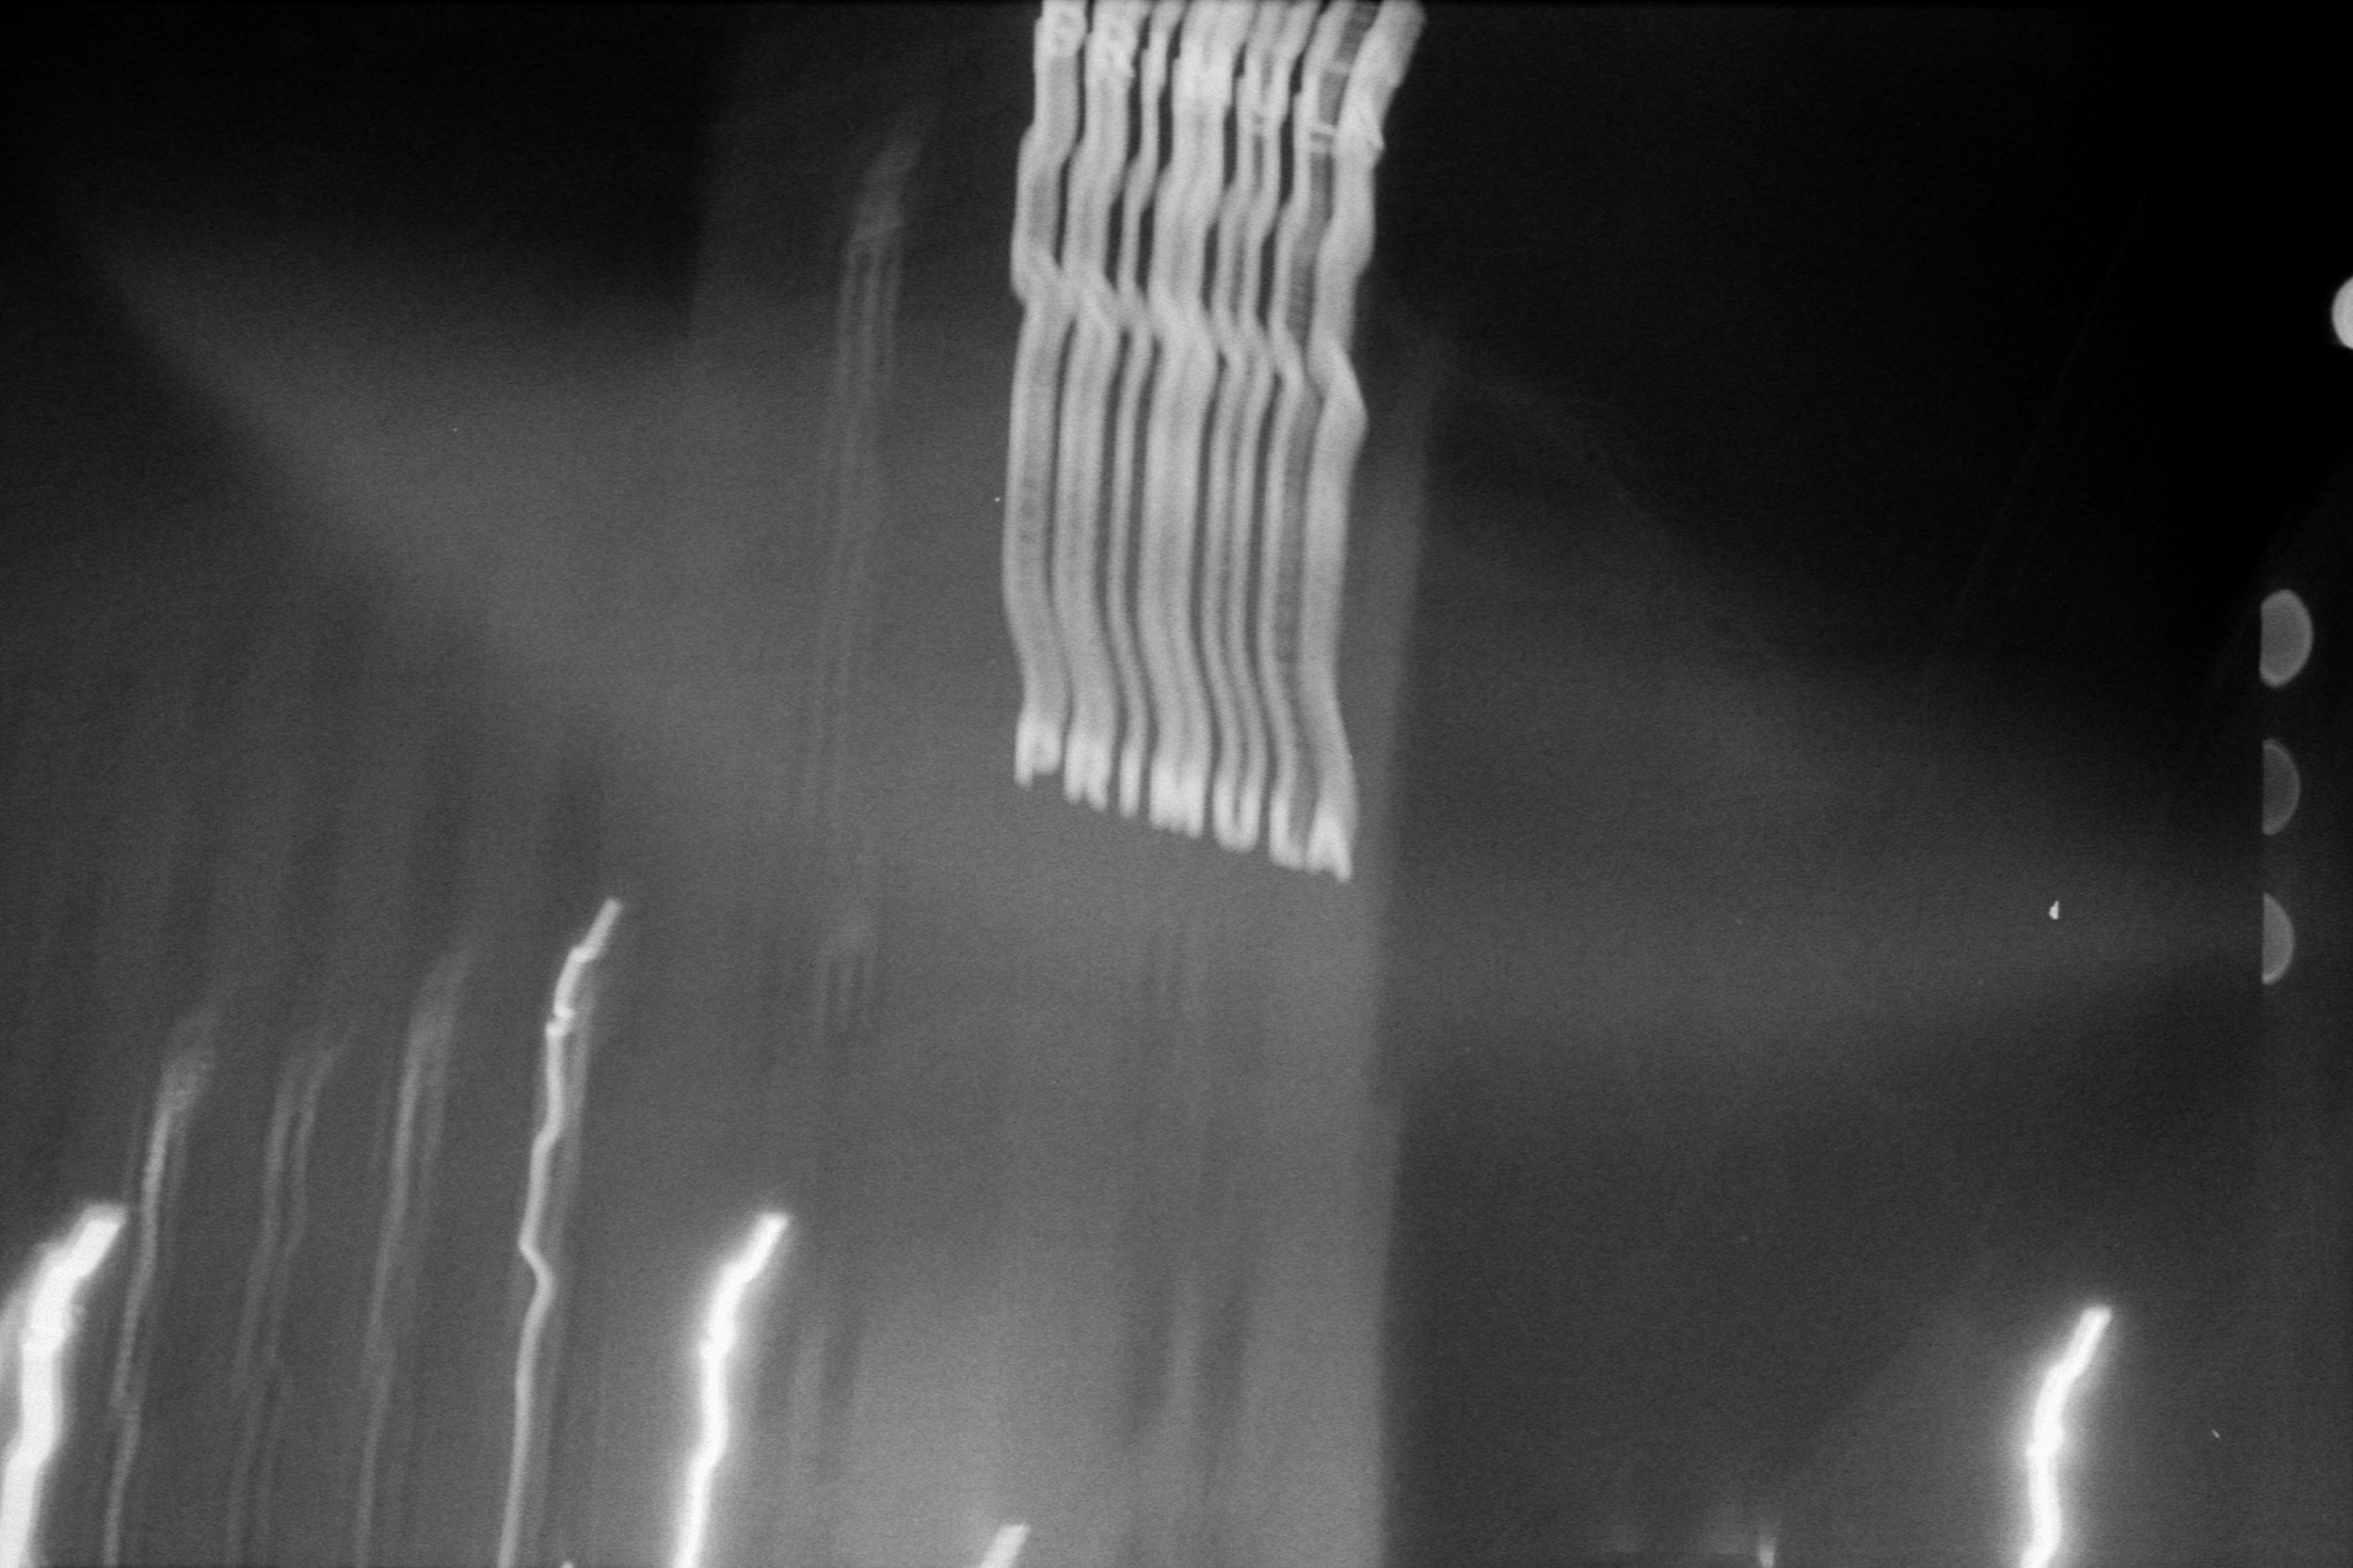
And now, for those not so successful results:
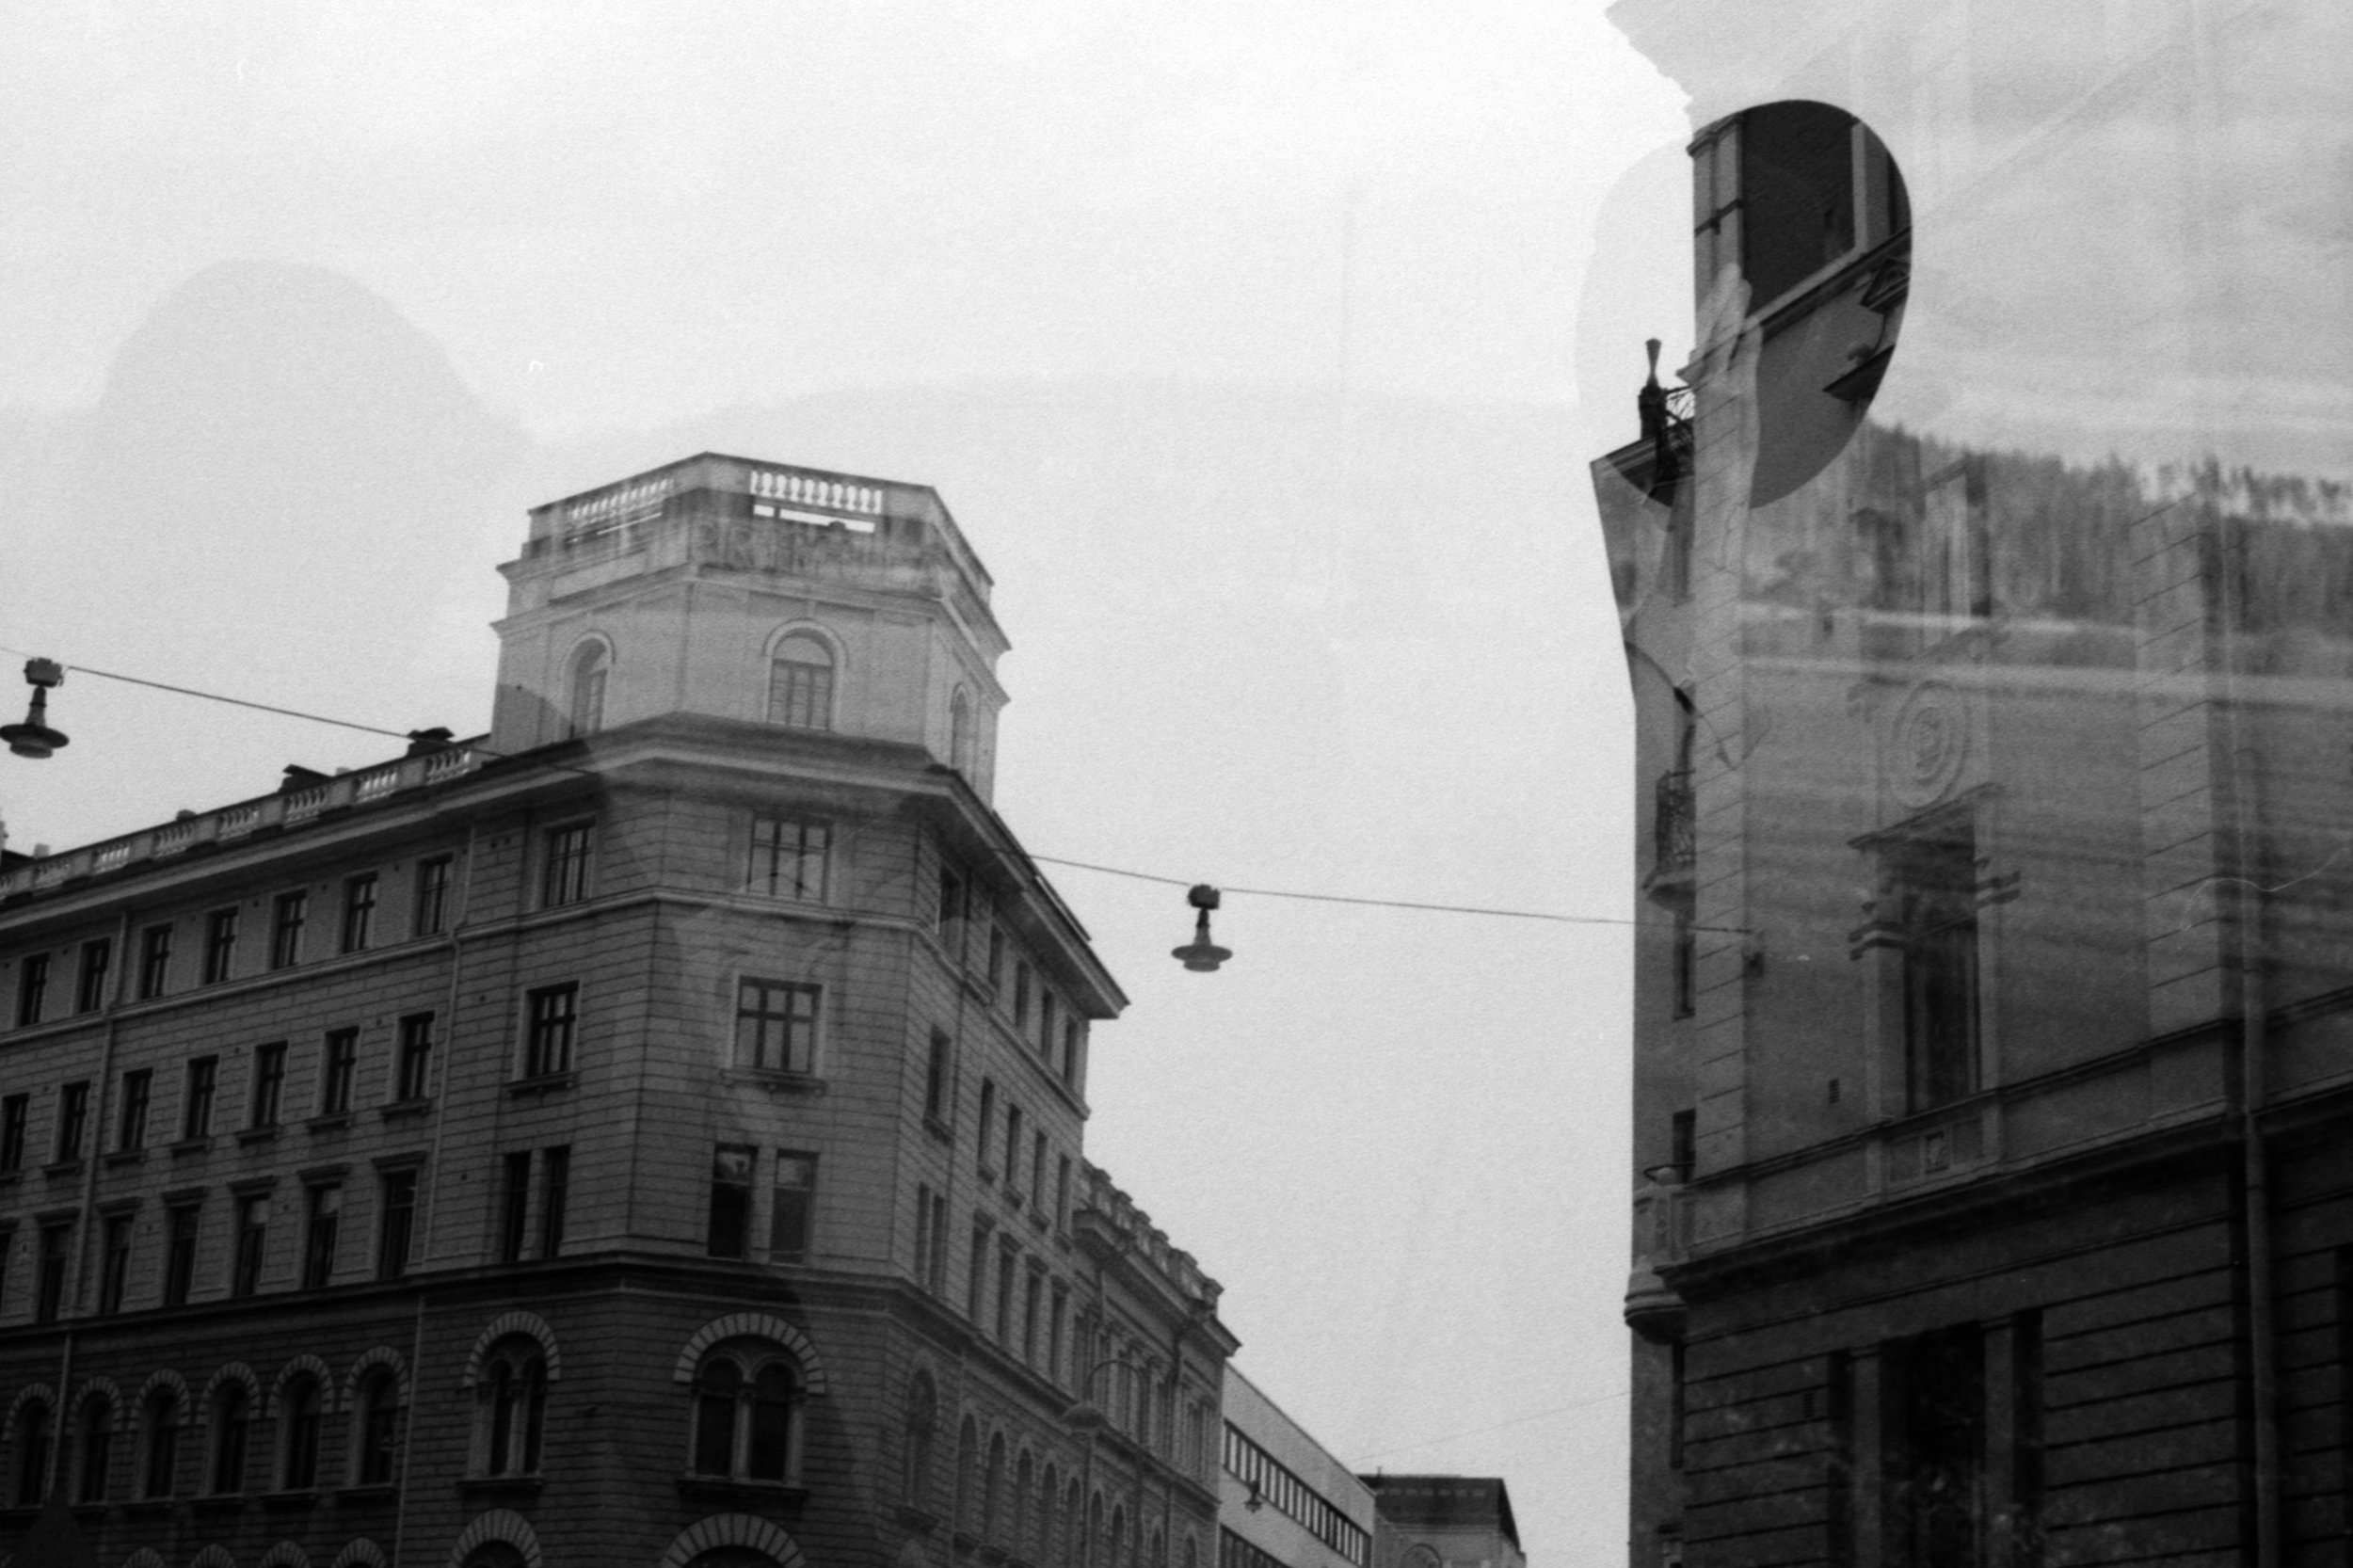
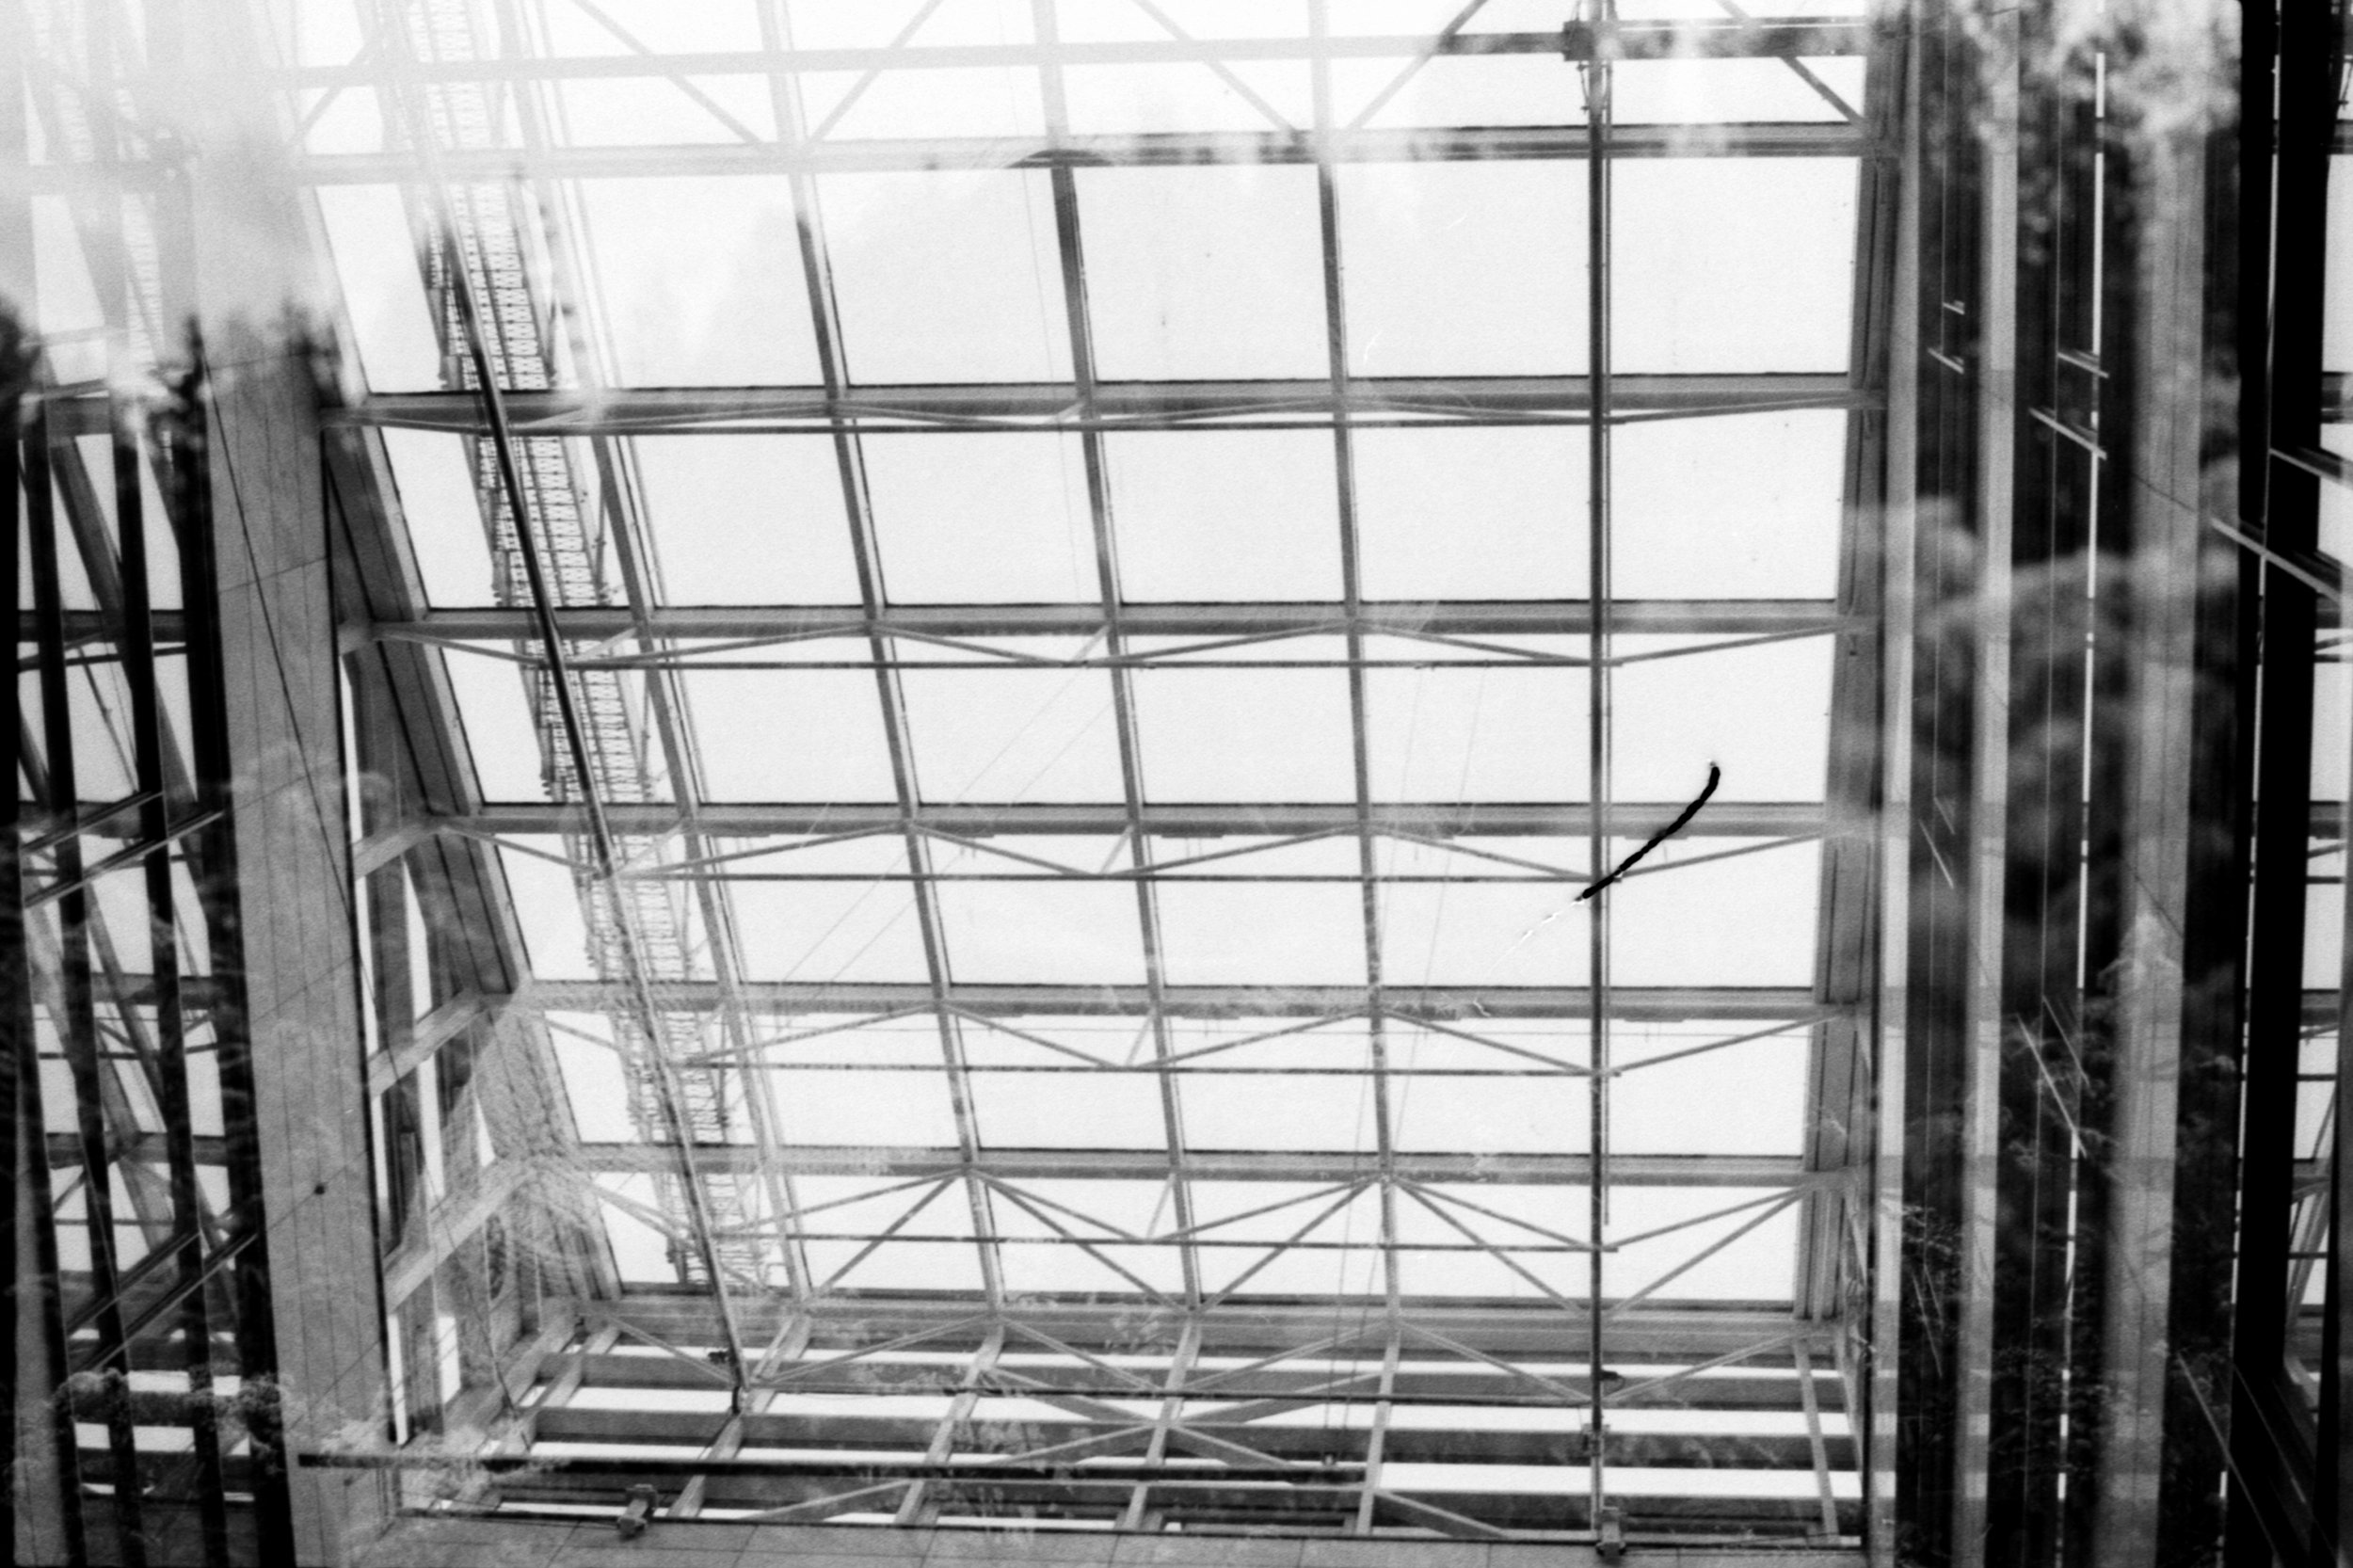
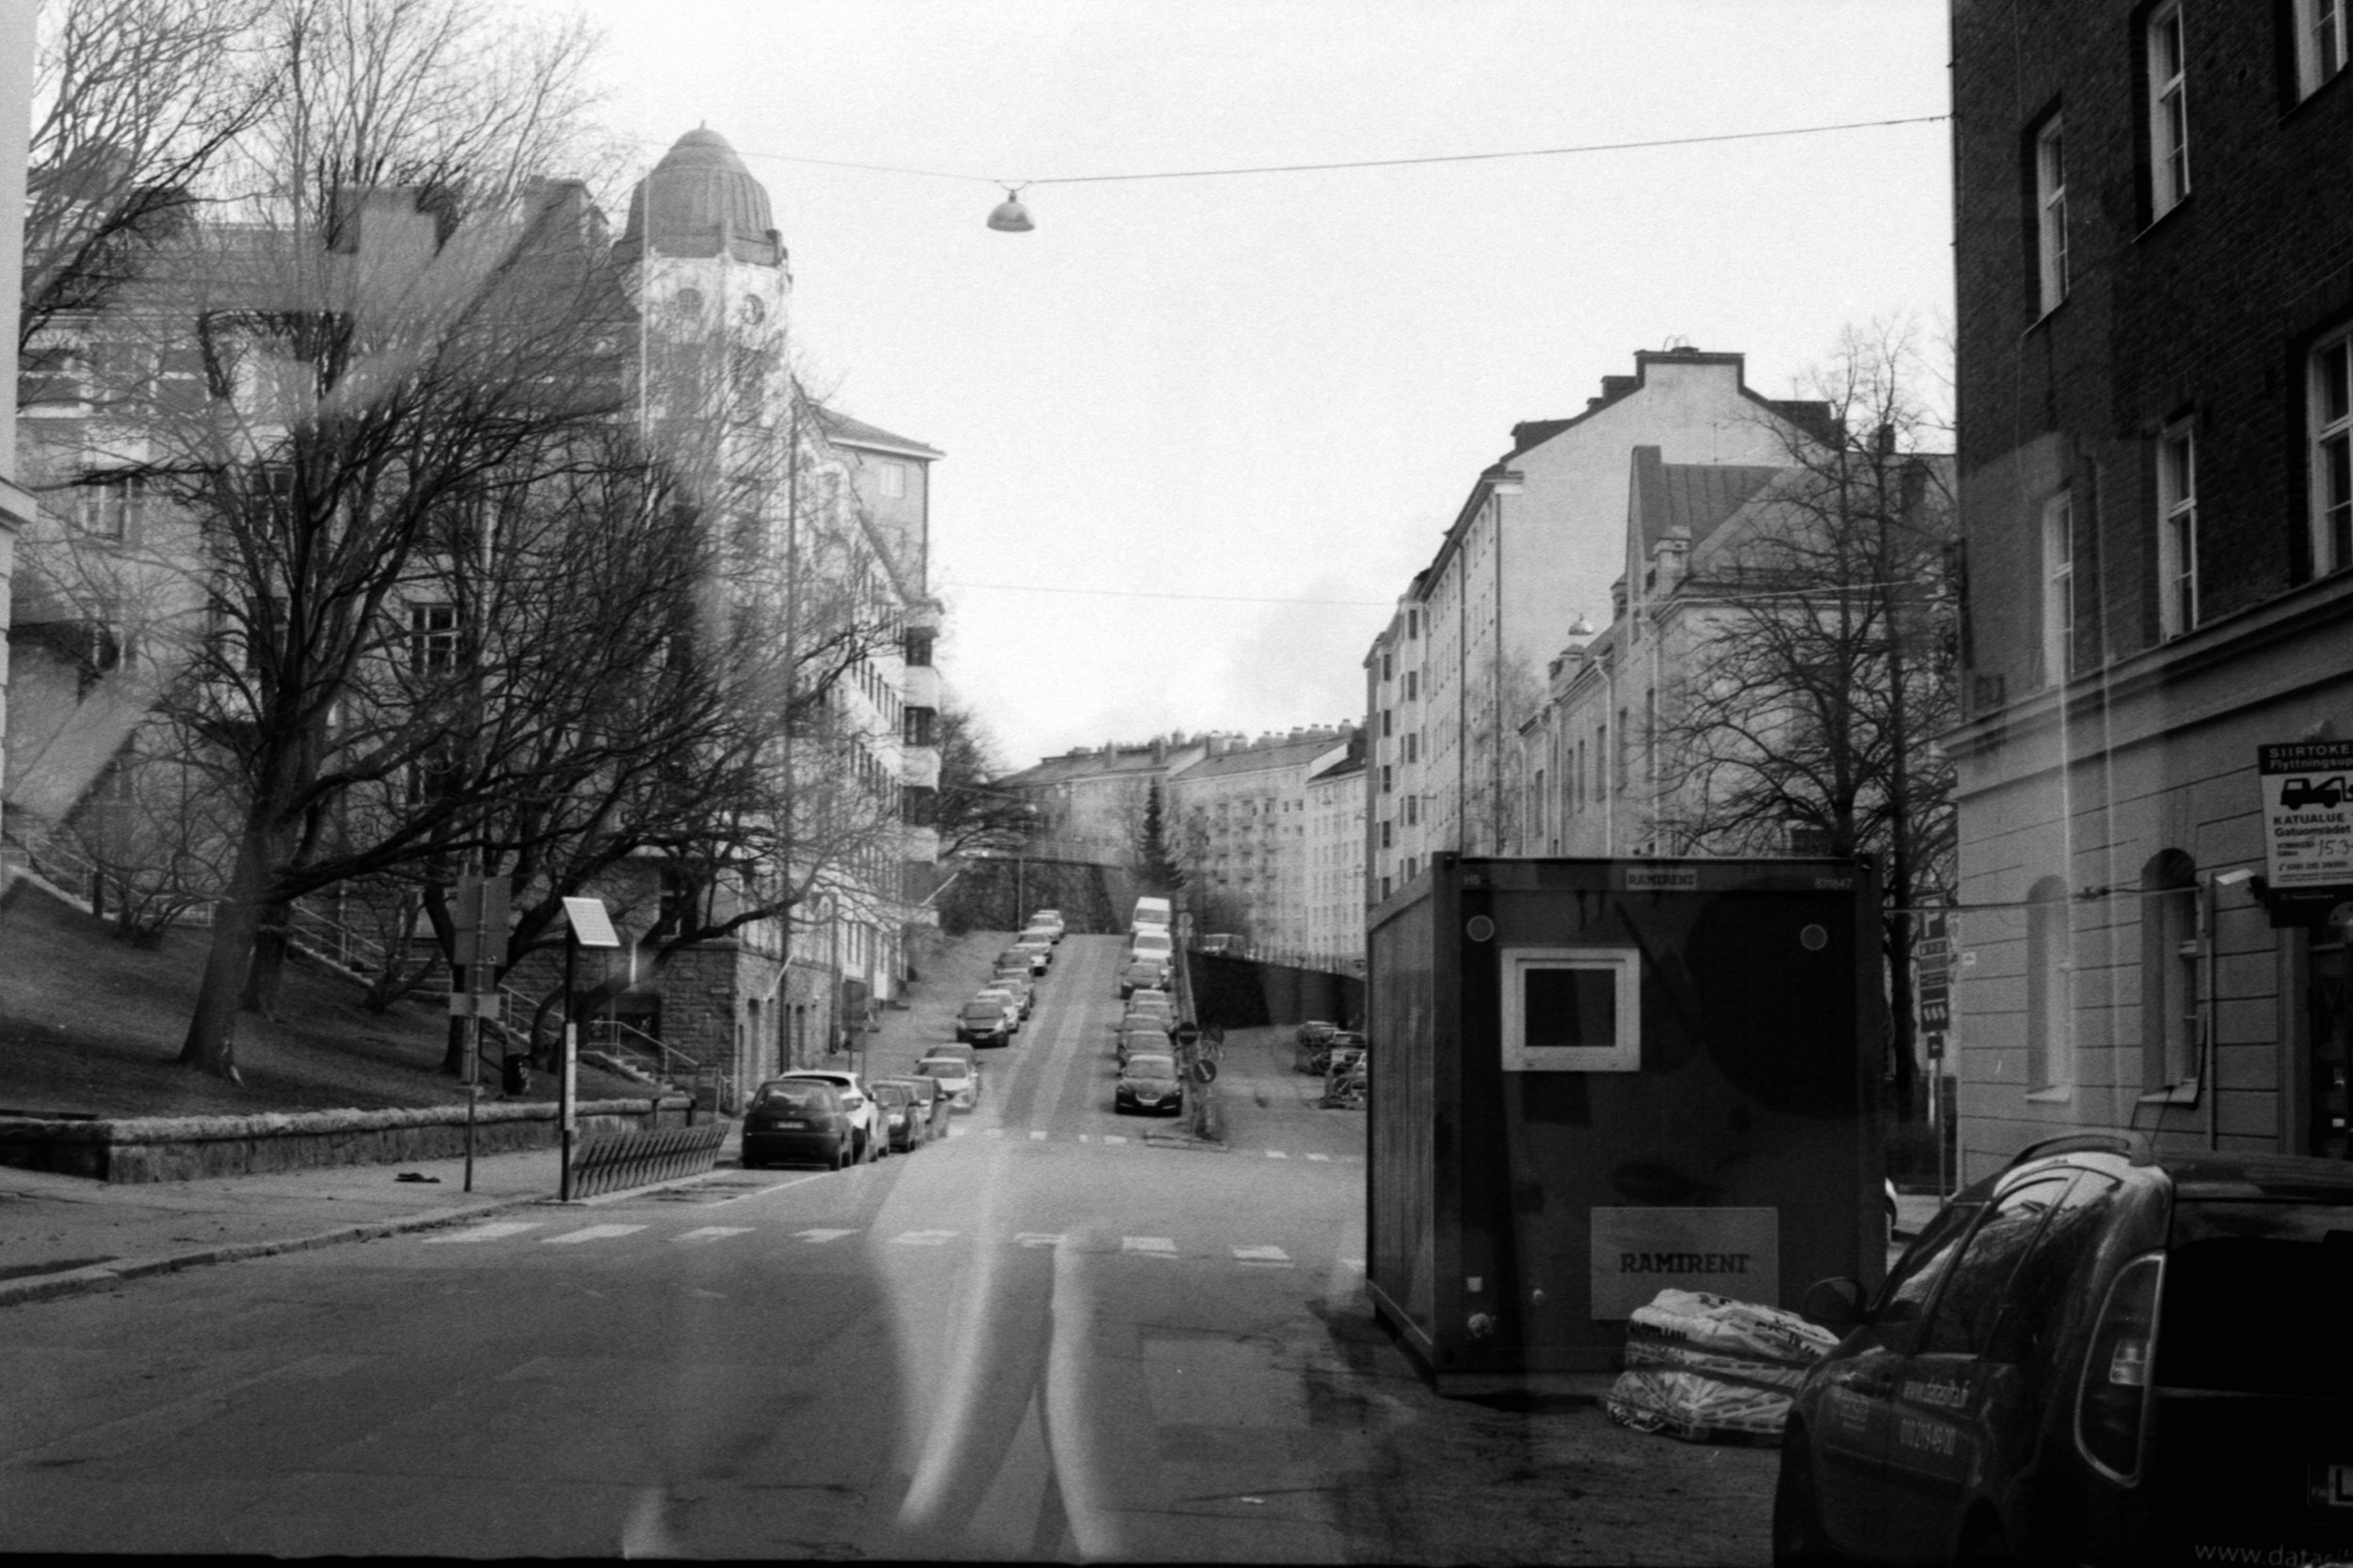
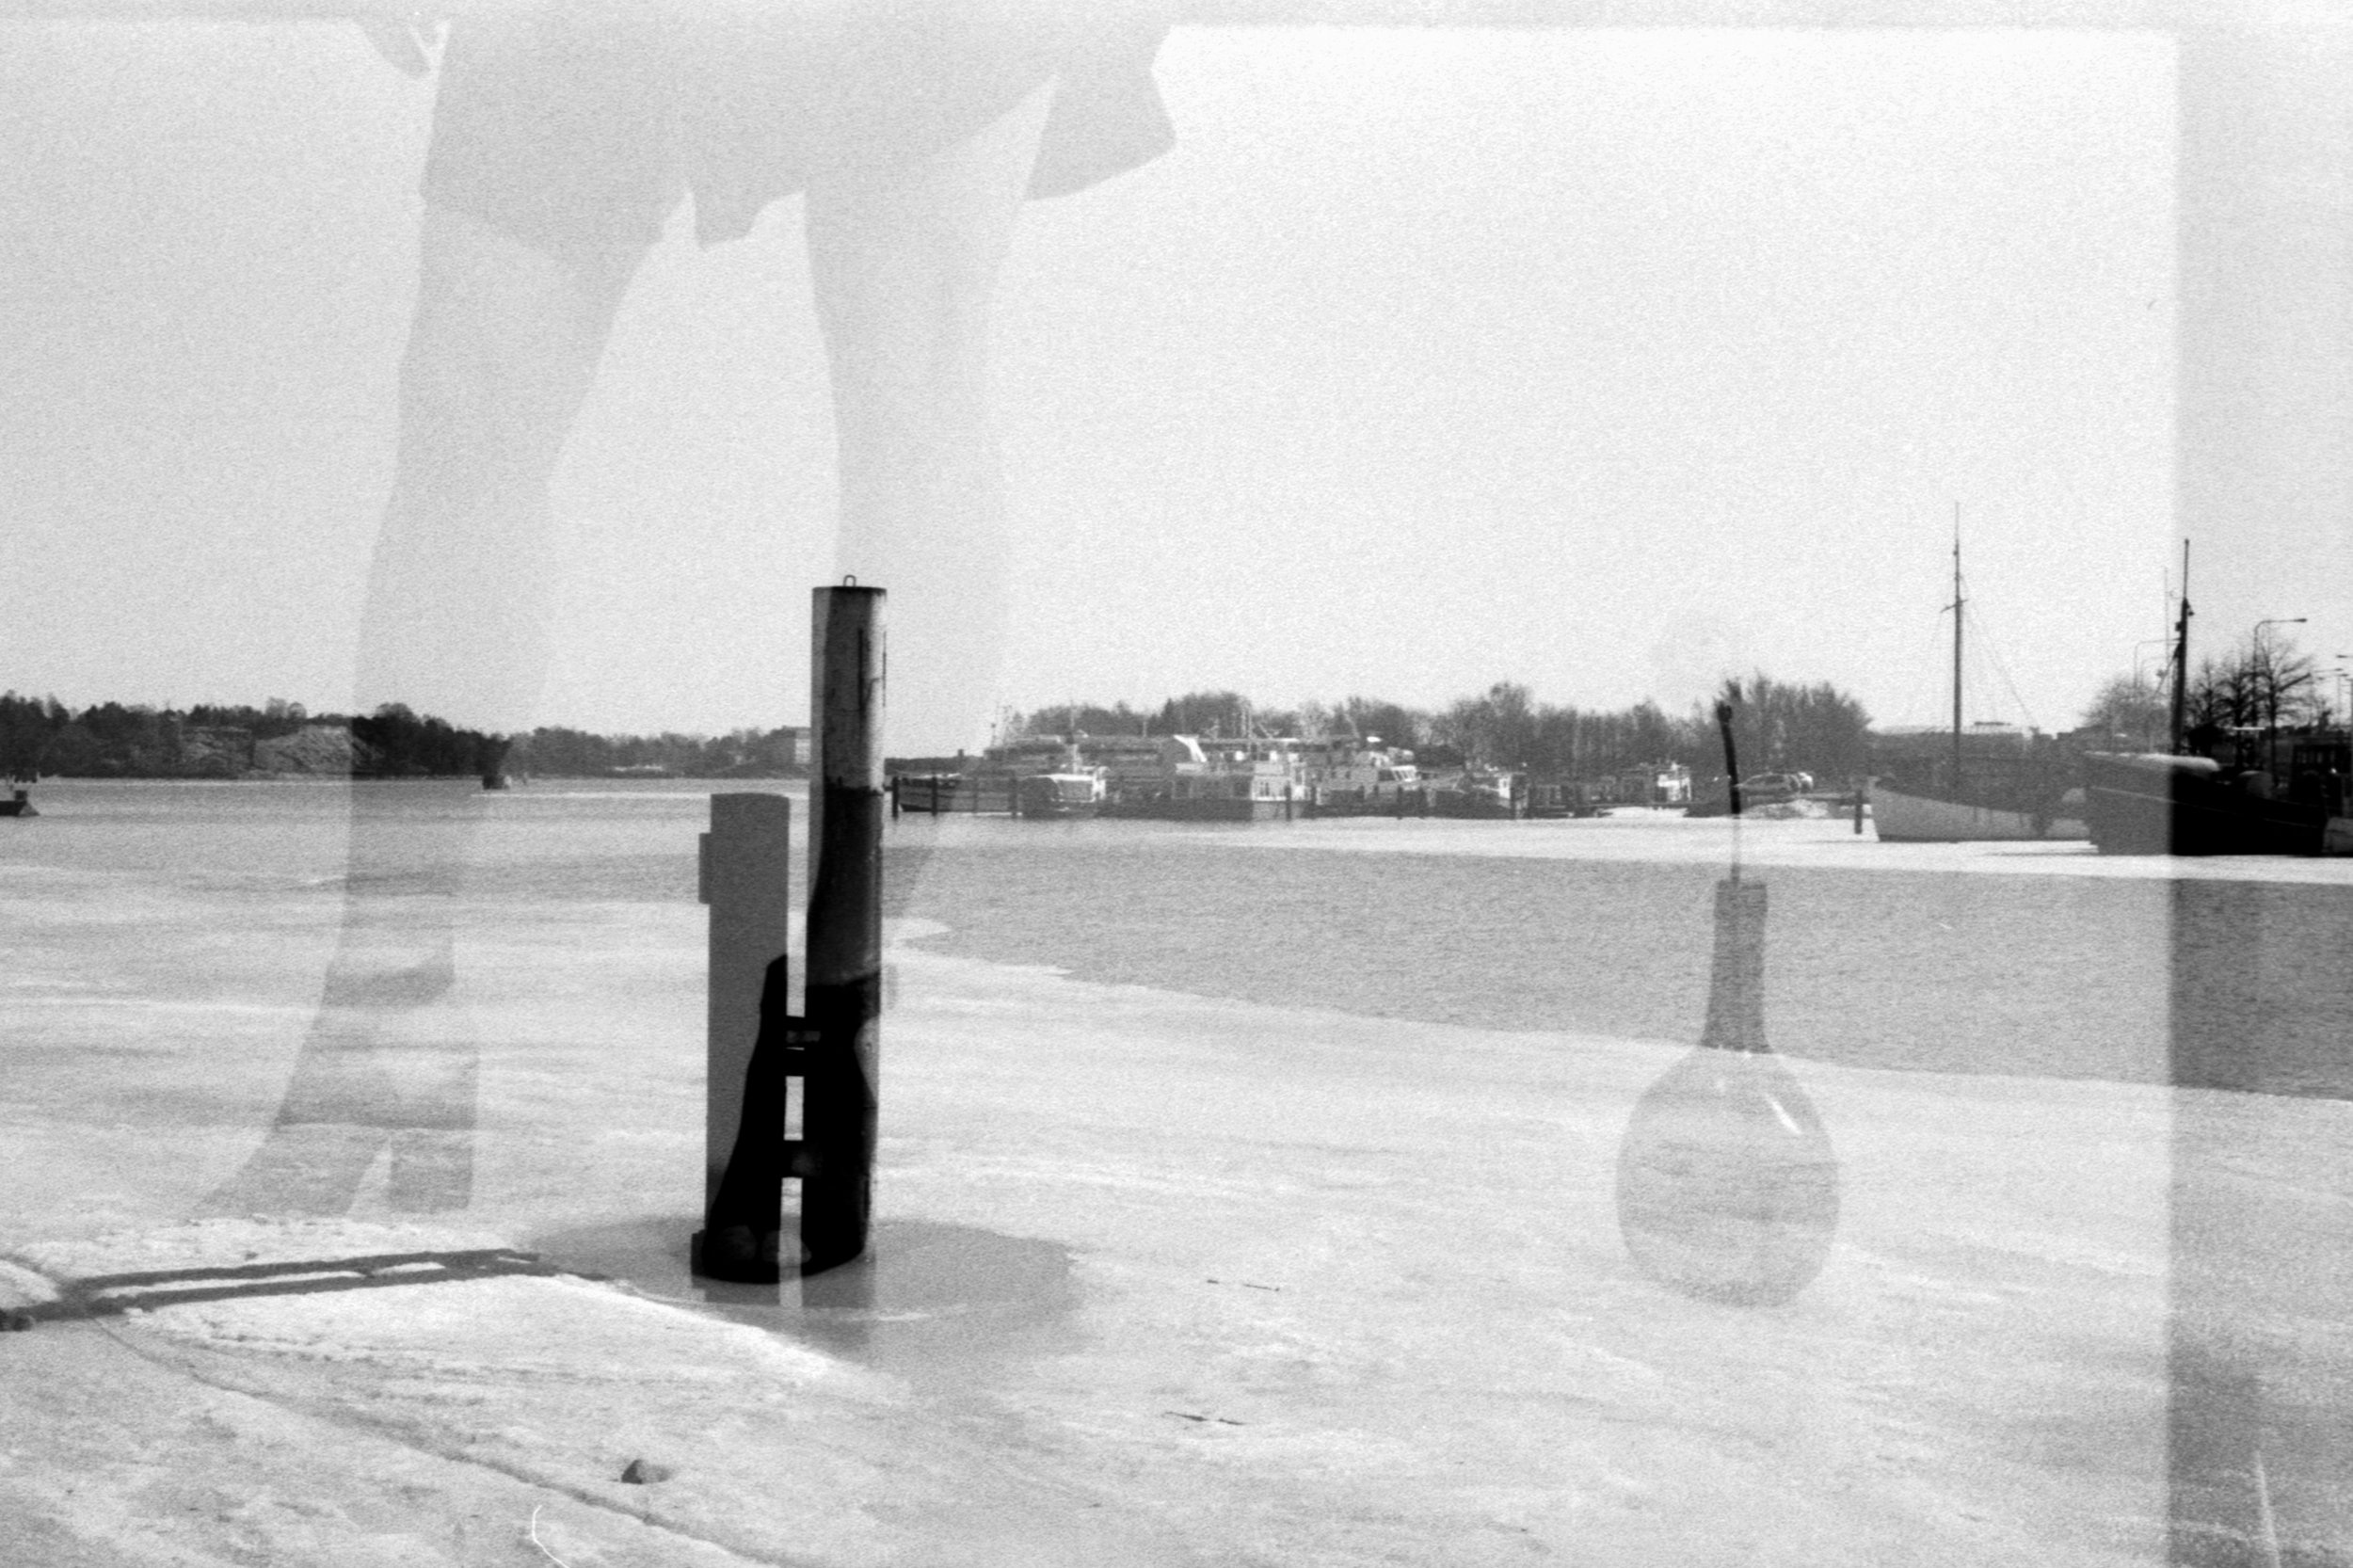
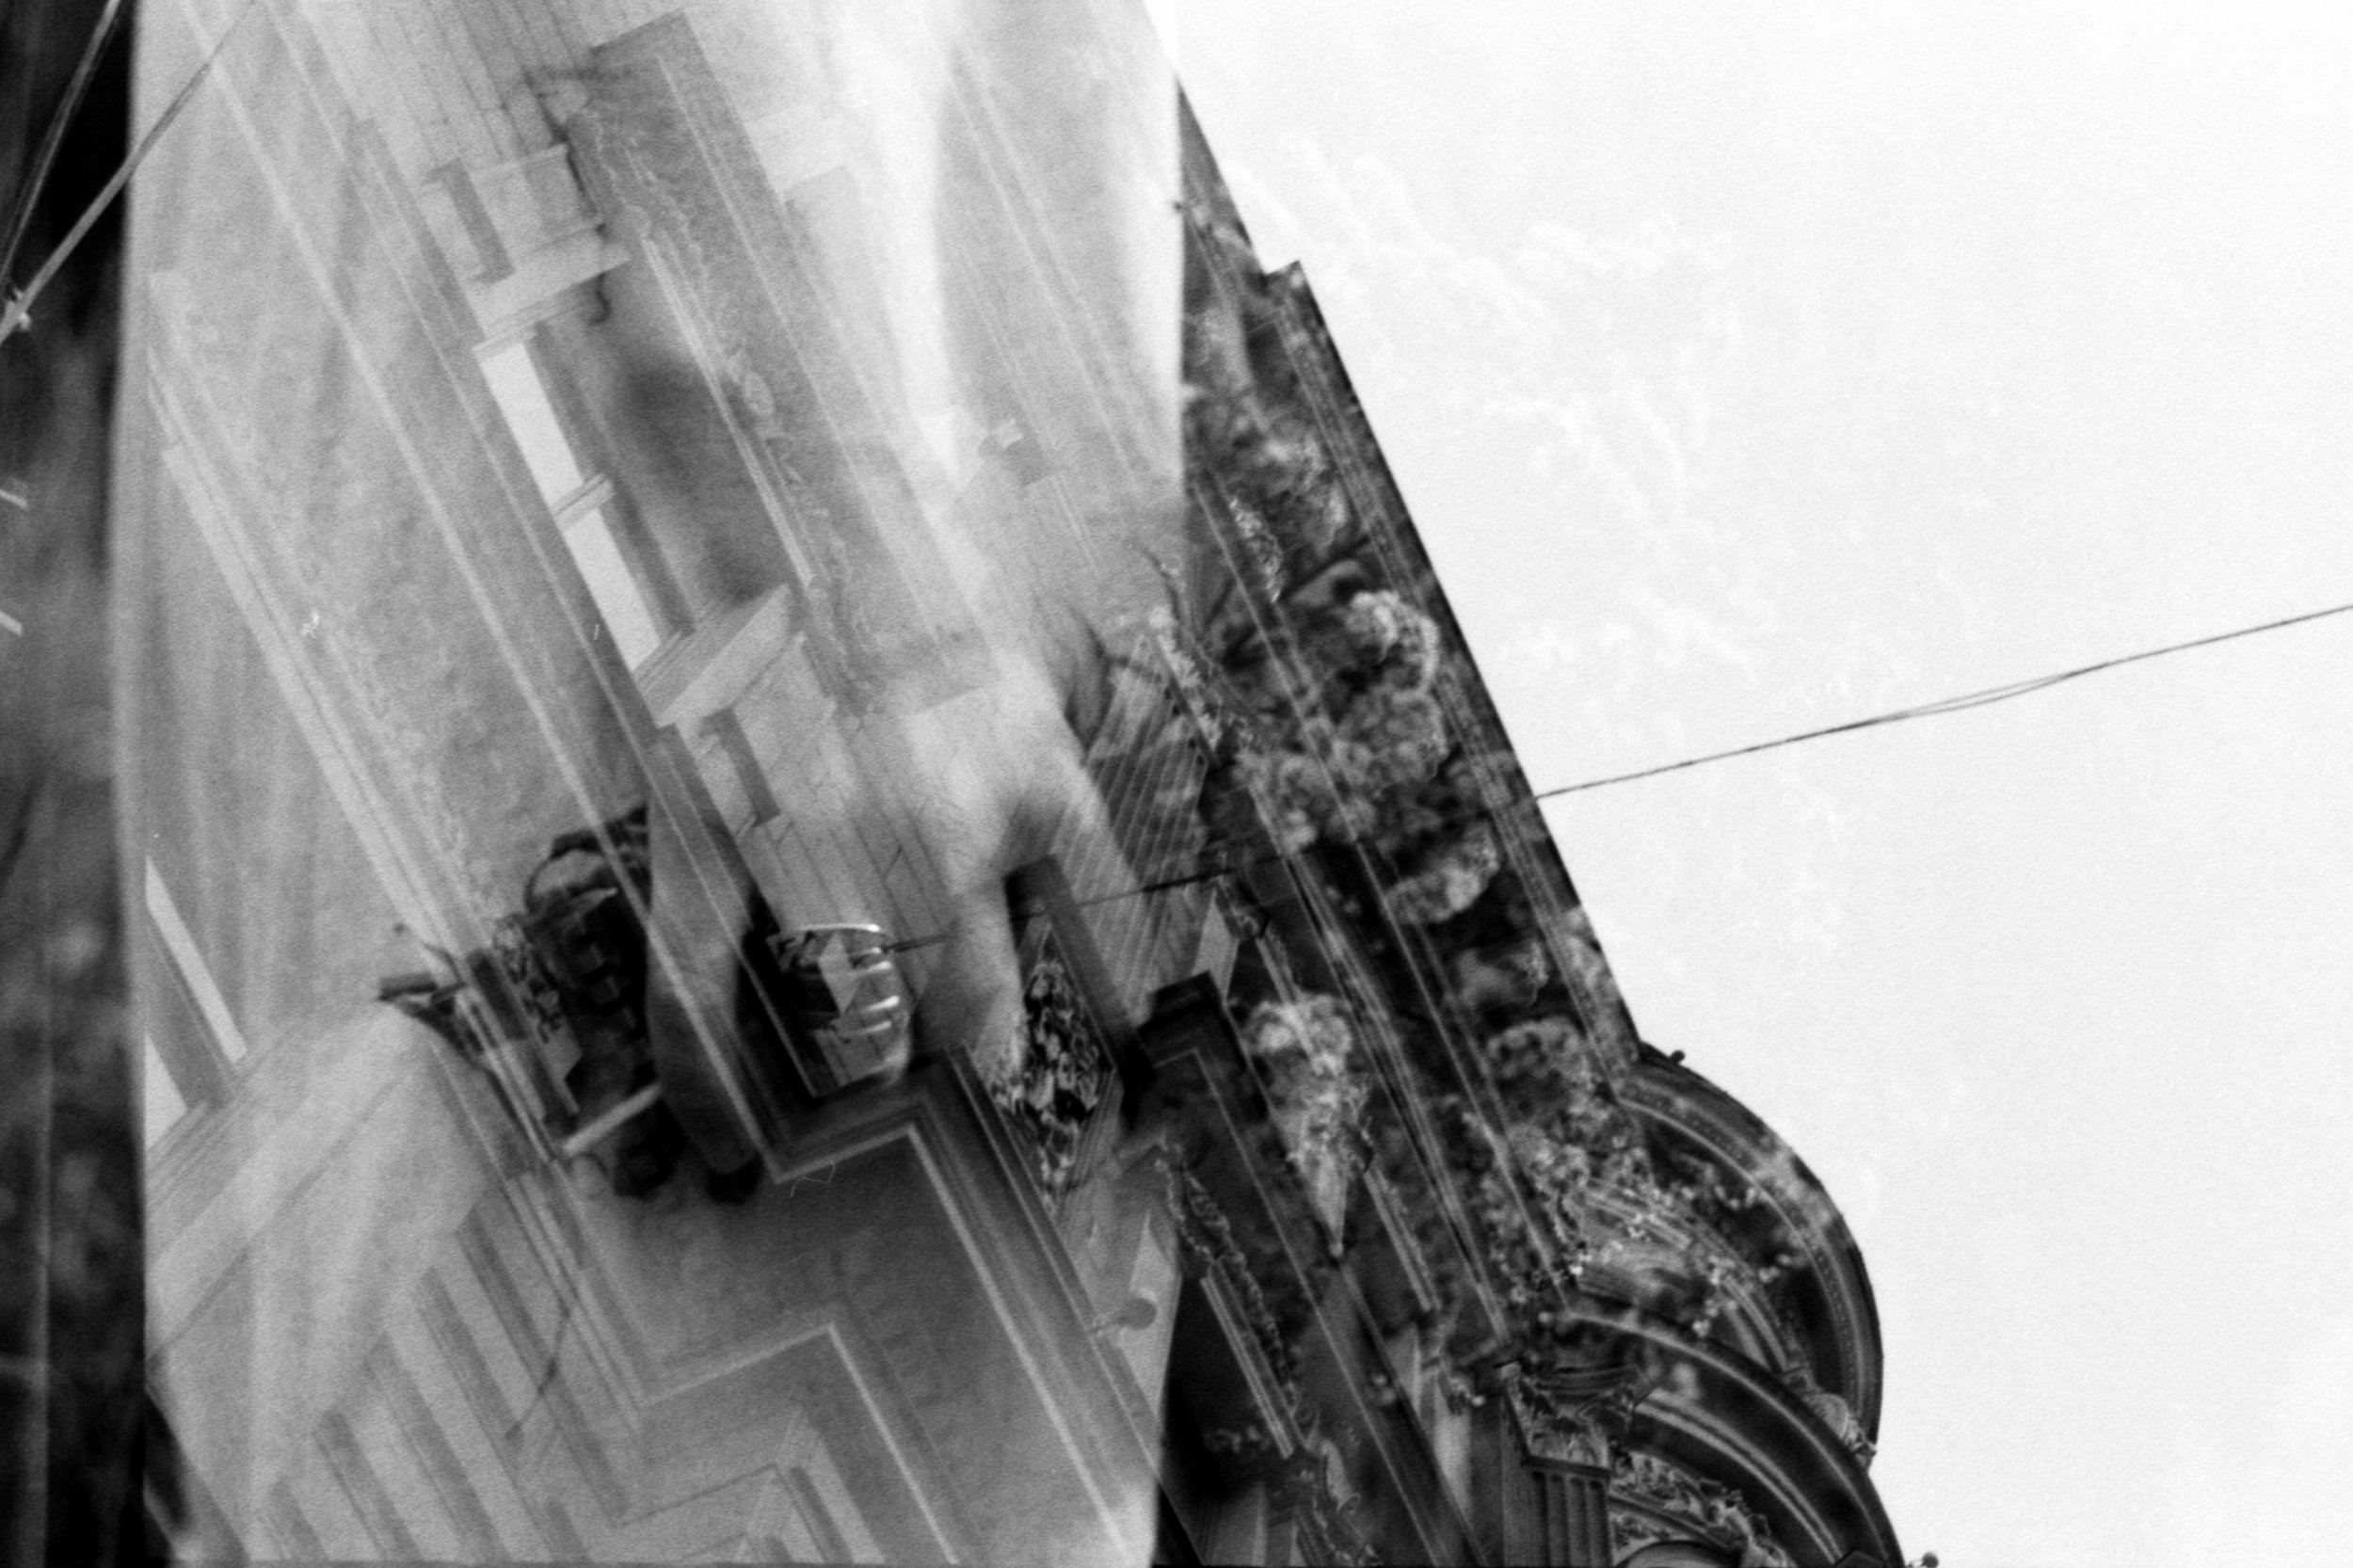

There were two common errors that I encountered:
“Bad luck” with the pairing of compositions (this I predicted as an unavoidable coincidence)
The first image not being dark enough/having too much white
Then there were those that, to be honest… I’m not sure exactly what went wrong.
So, how am I going to improve my next roll of Double Exposed Film?
Meter more accurately
I used my camera’s inbuilt light meter. I set the ISO to the same speed as the film and metered the viewfinder needle at roughly half of the “correct exposure”. This worked out for the most part but obviously it’s not an exact approach. Changing the cameras ISO to 800, for a 400 film and then metering correctly in camera should give you a more accurate metering for your first round to be “half exposed” (aka. pushing the film) - remembering we will expose the frame a second time and 0.5 + 0.5 = 1Consider shooting with controlled lighting in a studio
for what I would call the “base layer” aka first shot of the frame, you could experiment with controlling the light more, for example, in a studio. This would ensure you have a dark enough first-frame to avoid over-exposure.
Shooting at night is another way to do this is you prefer natural light (or, lack of).Make a composition sketch chart
If you fancy carrying a piece of paper around with you, as you shoot your first exposures through, you can draw up 36 frames (or however many your film provides) and make a rough contrast sketch of your composition. On the second time around you will have an idea where the darker areas are and can place your subject within them (remember, it is in the darker areas where the details of your second exposure will show through).
Again, no certain science here, but this ain’t Photoshop, baby.
Here is an example of a composition sketch chart:

Final tips and thoughts…
Shoot everything the same orientation
If you shoot everything both rounds either portrait or landscape, you’ll have a better idea of how your compositions will turn out. I mean, experiment and have fun, but here you can have a little control over the luck involved in getting a good final result.
If you want to shake it up a little, try flipping your camera upside-down during landscape photos and shooting verticals both shutter-side up, and shutter-side down. This will ensure your frames are same orientation, but will stack at a 180° rotation to each other.
Here you can see a vertical frame stacked on a horizontal one and how it feels a little offset.

Here I experimented holding the camera upside-down on the first frame (note the upside down cathedral)
Try out many combinations
In my example today, I used scenes (mostly buildings) to set the backdrops for candid portraits of my friends but there is a world of possibilities here. Shoot portraits on portraits, architecture on nature, slow shutter speeds on macro details. You get the idea. Think about what combinations you would like to try and go for it!
For me, Double Exposing this roll of Ilford HP5 was about experimentation, the process, the anticipation, and breaking the mould of familiar creative safe-zones. Truth is, I had fun and it’s something I am looking forward to doing again. Besides, at current film prices you’re basically getting two uses out of each roll so, thrifty gang, you’re welcome!
And of course, there are really no rules outside of the technical aspects which will bag you an in-camera Double Exposure, so have fun, make mistakes and hope to get lucky.
If we wanted perfect double exposures, we could do all this in photoshop instead.
If this article helped you out, or you think it might help out a photographer friend, consider giving it a share, Subscribing to my YouTube, and/or checking out my Instagram! A little goes a long way… Cheers!