Best Settings for Street Photography
“What settings should I use for street photography” - you ask? Here are what I would consider the best settings for street photography.
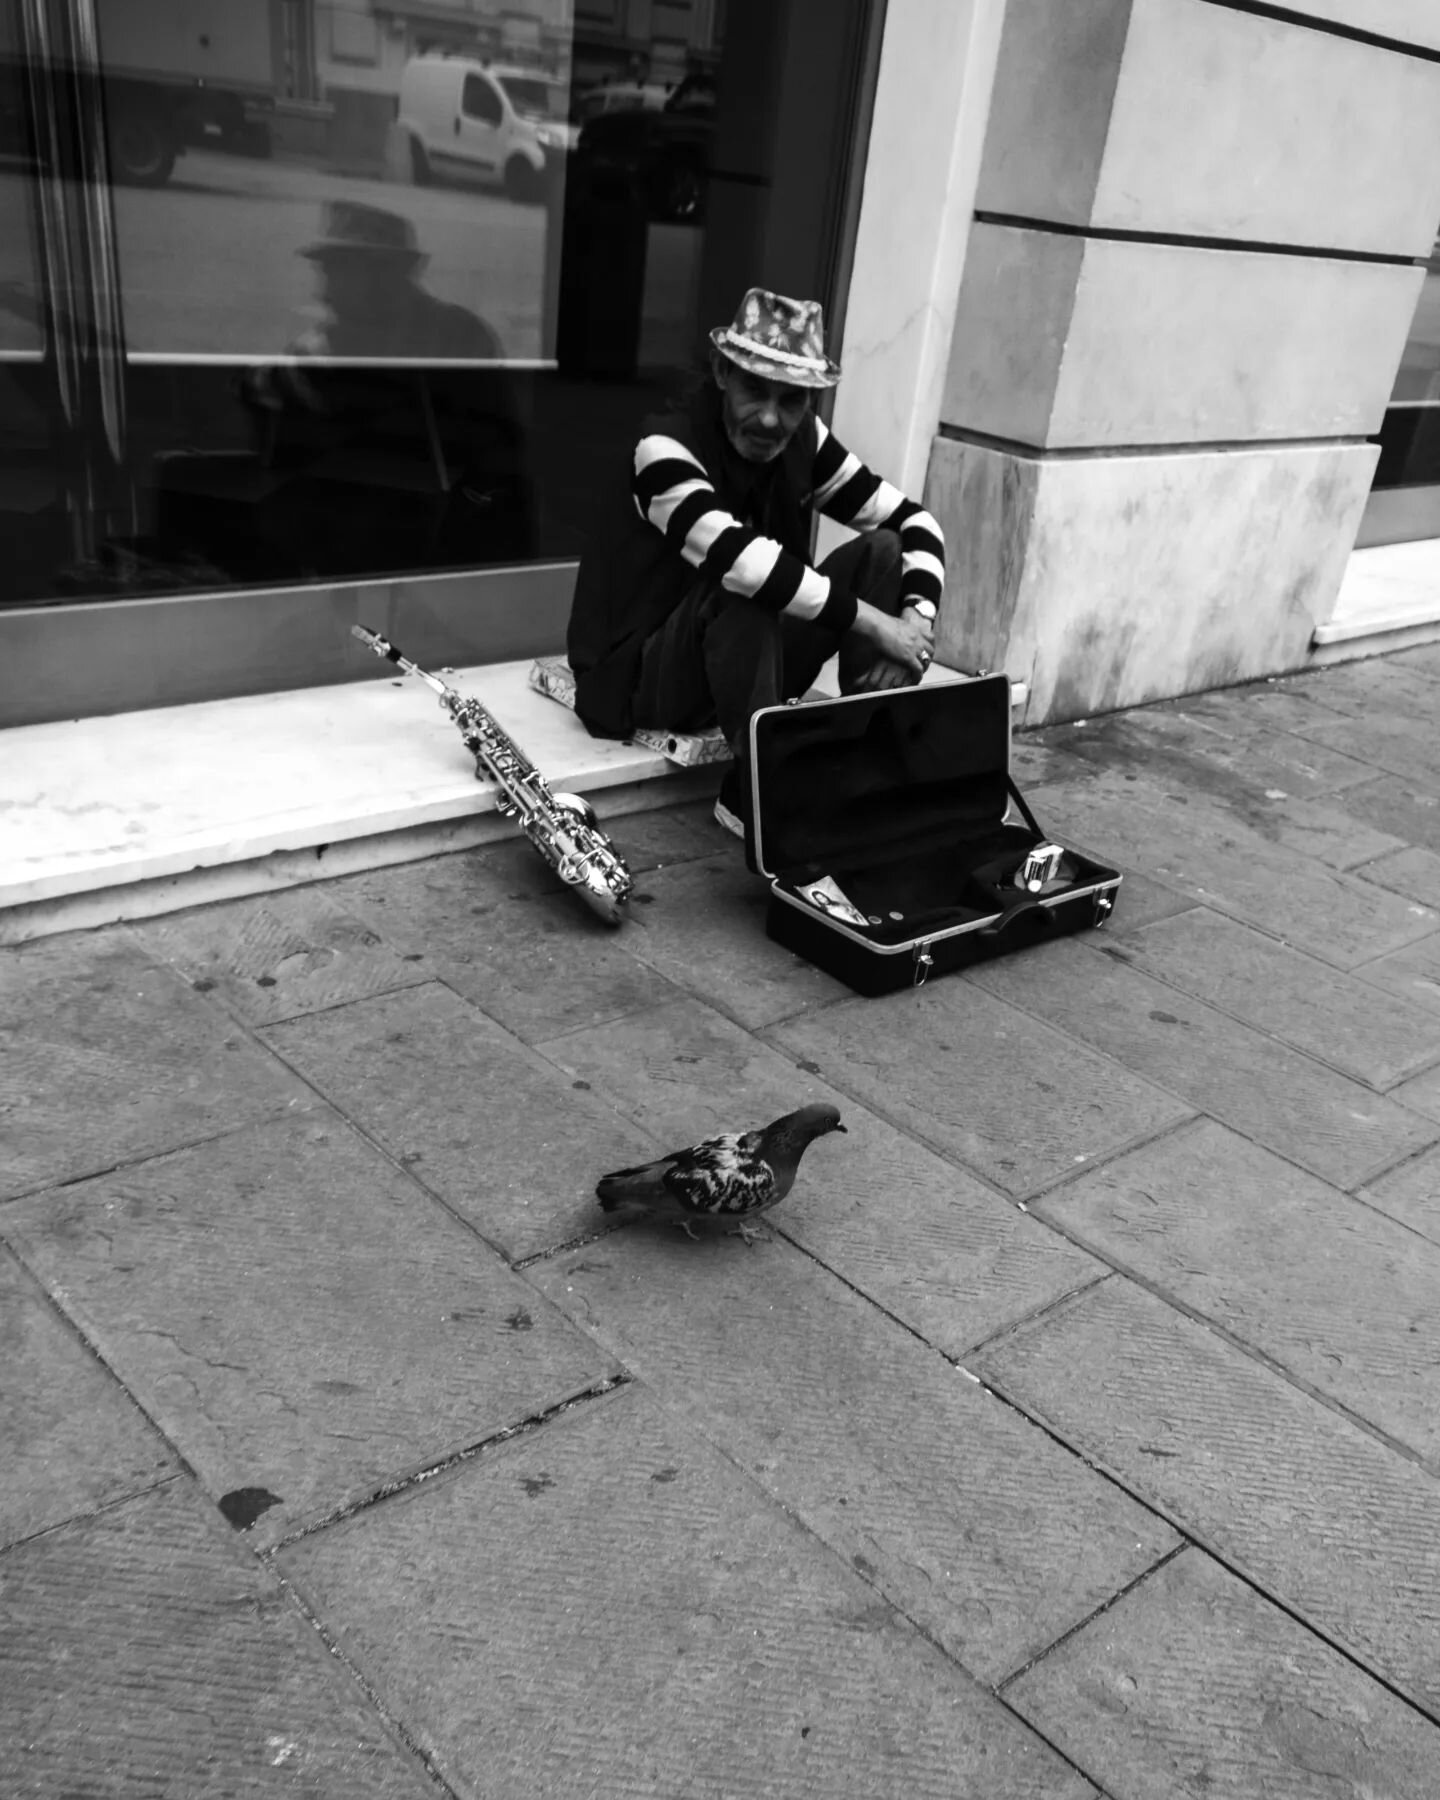
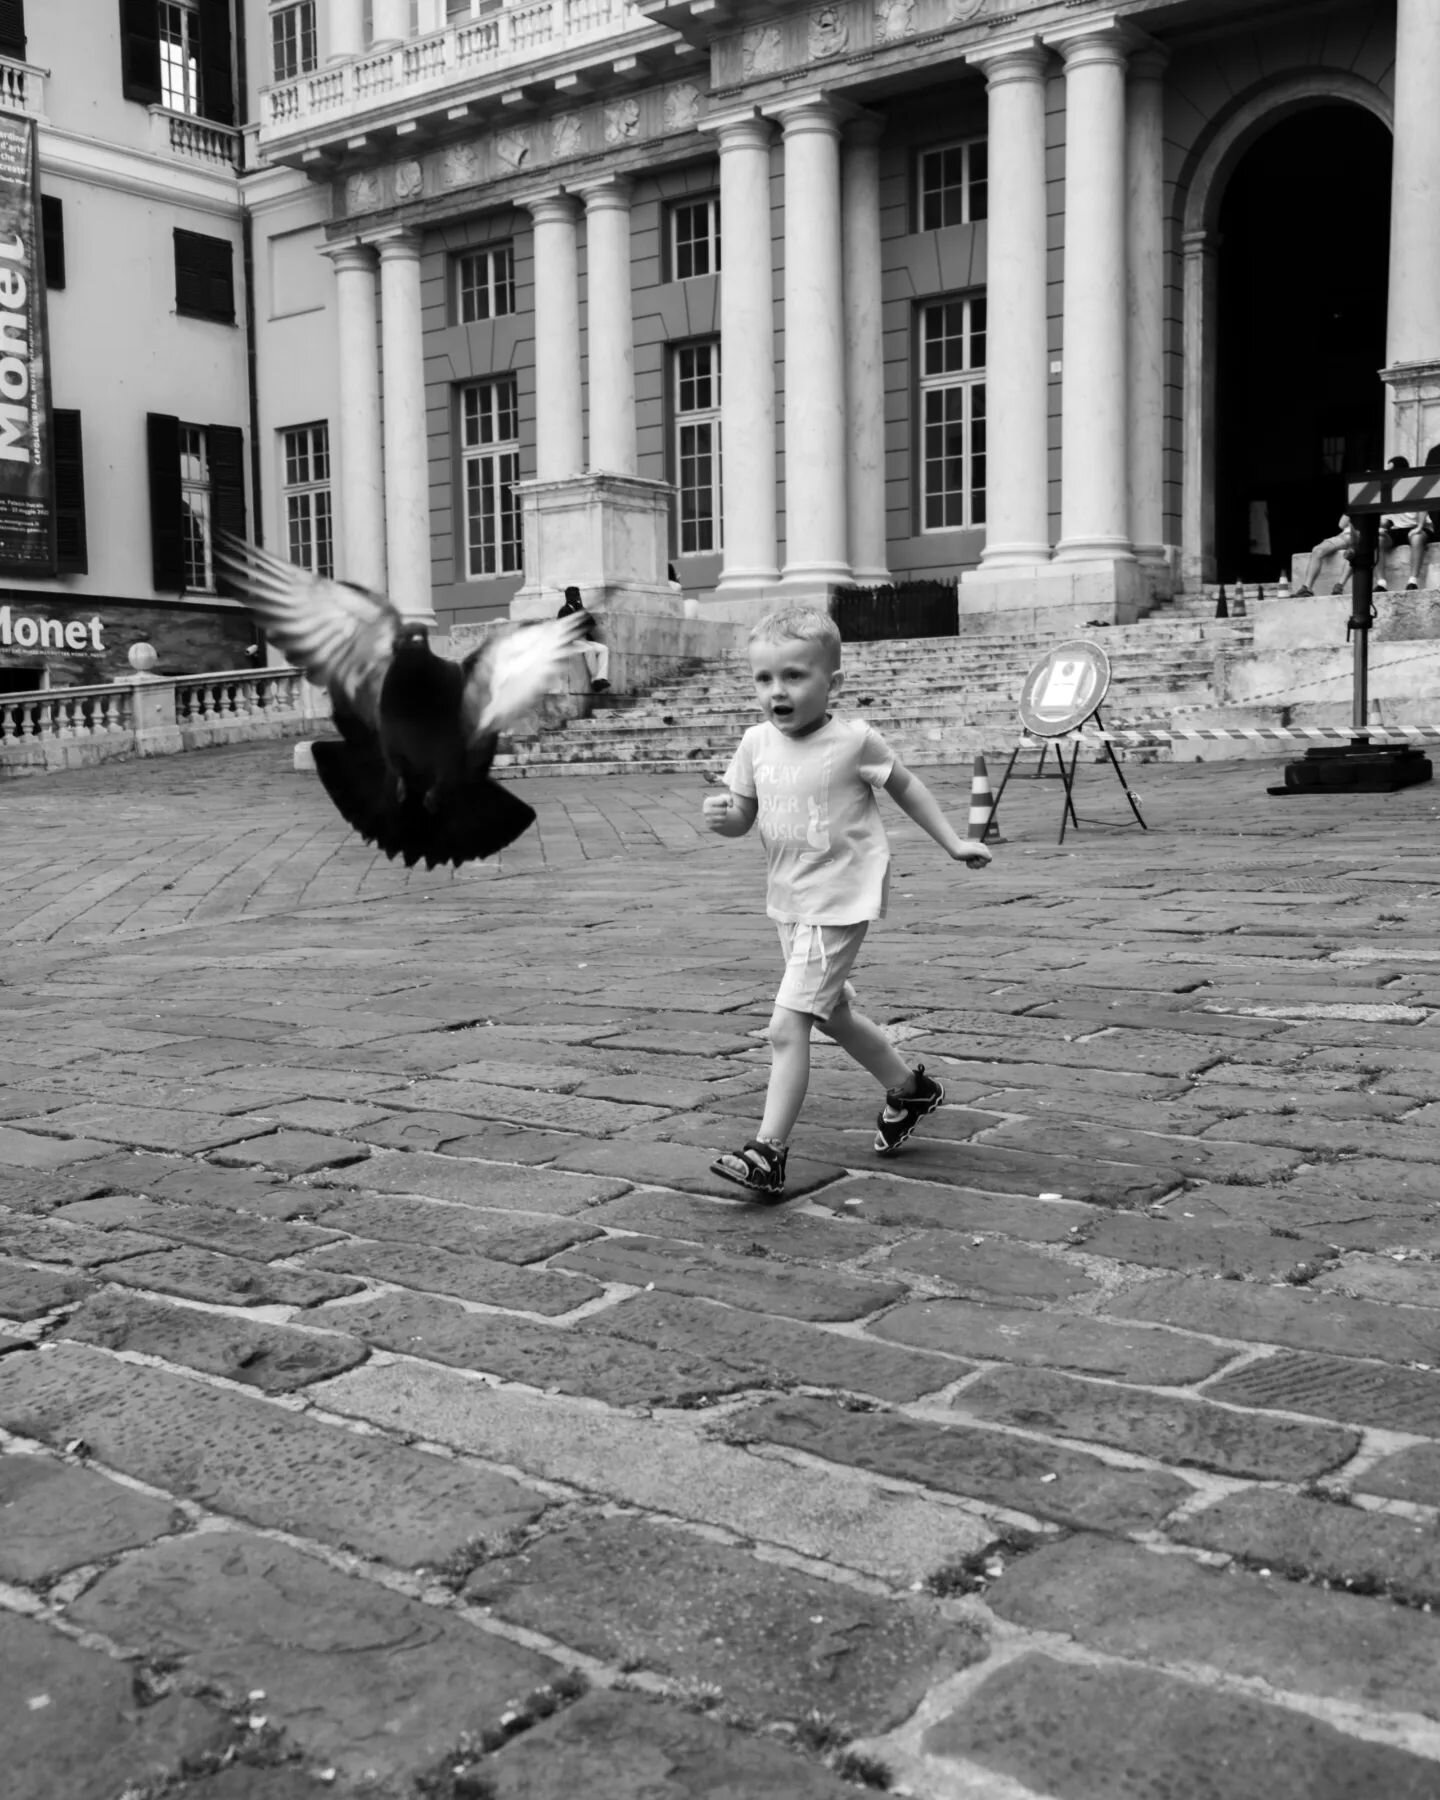
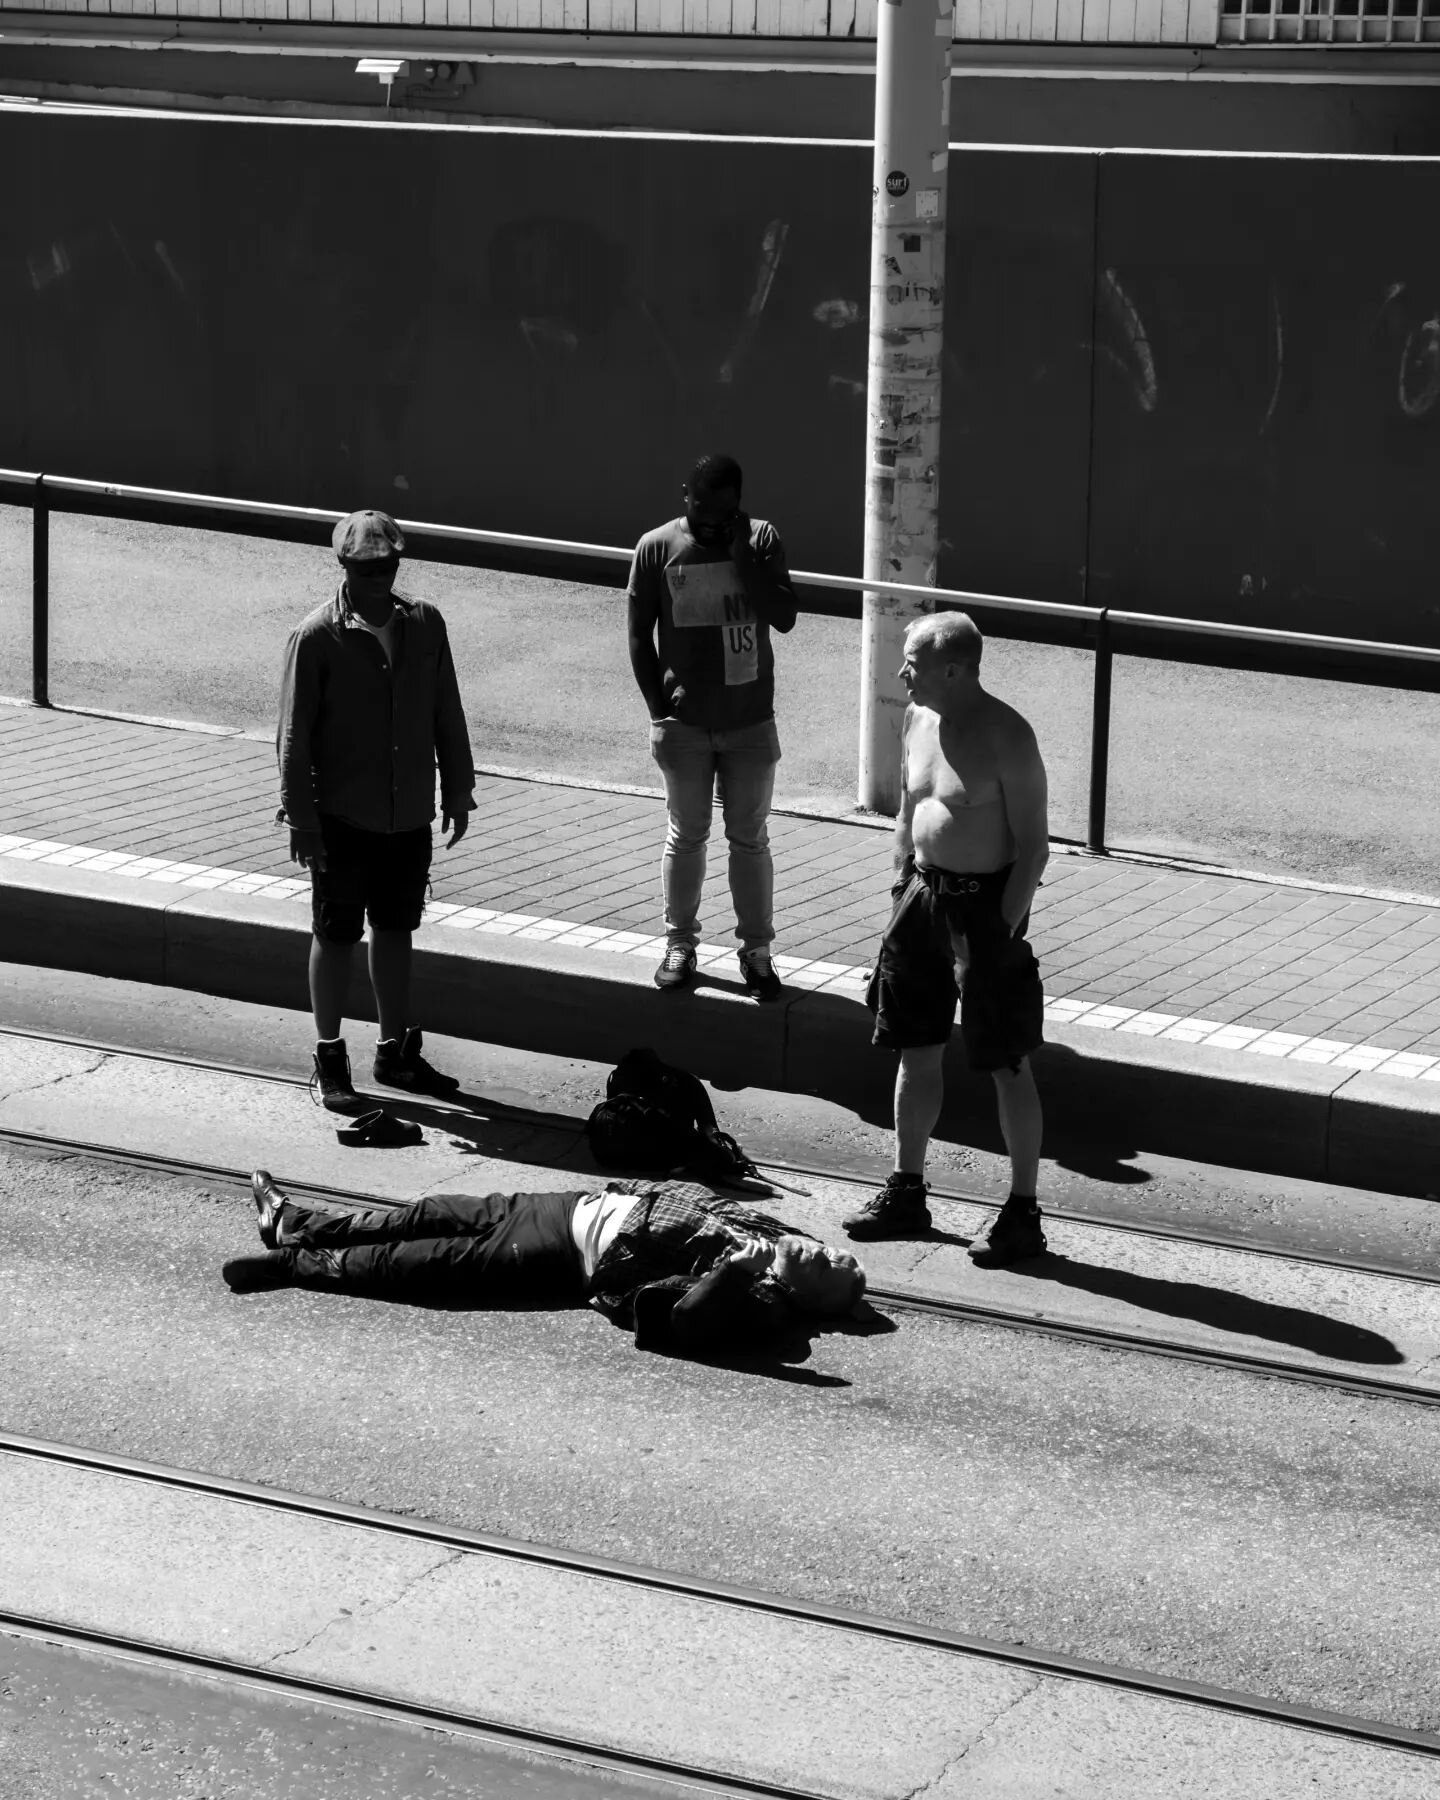
These settings I have used all over the world in many light and weather situations to photograph all of what you can find here, on my Instagram.


Shutter Speed
“What shutter speed should I use for street photography?”
Now assuming you want a sharp shot (no motion blur) and available light is possible, I would recommend no lower than 250th of a second. This will ensure a pretty sharp image almost every time. You could go as low as the focal length of your lens, however when shooting street photography we tend to move and so do our subjects so the 250th of a second will help eliminate any blur. Anything above the 250 will help even more so.
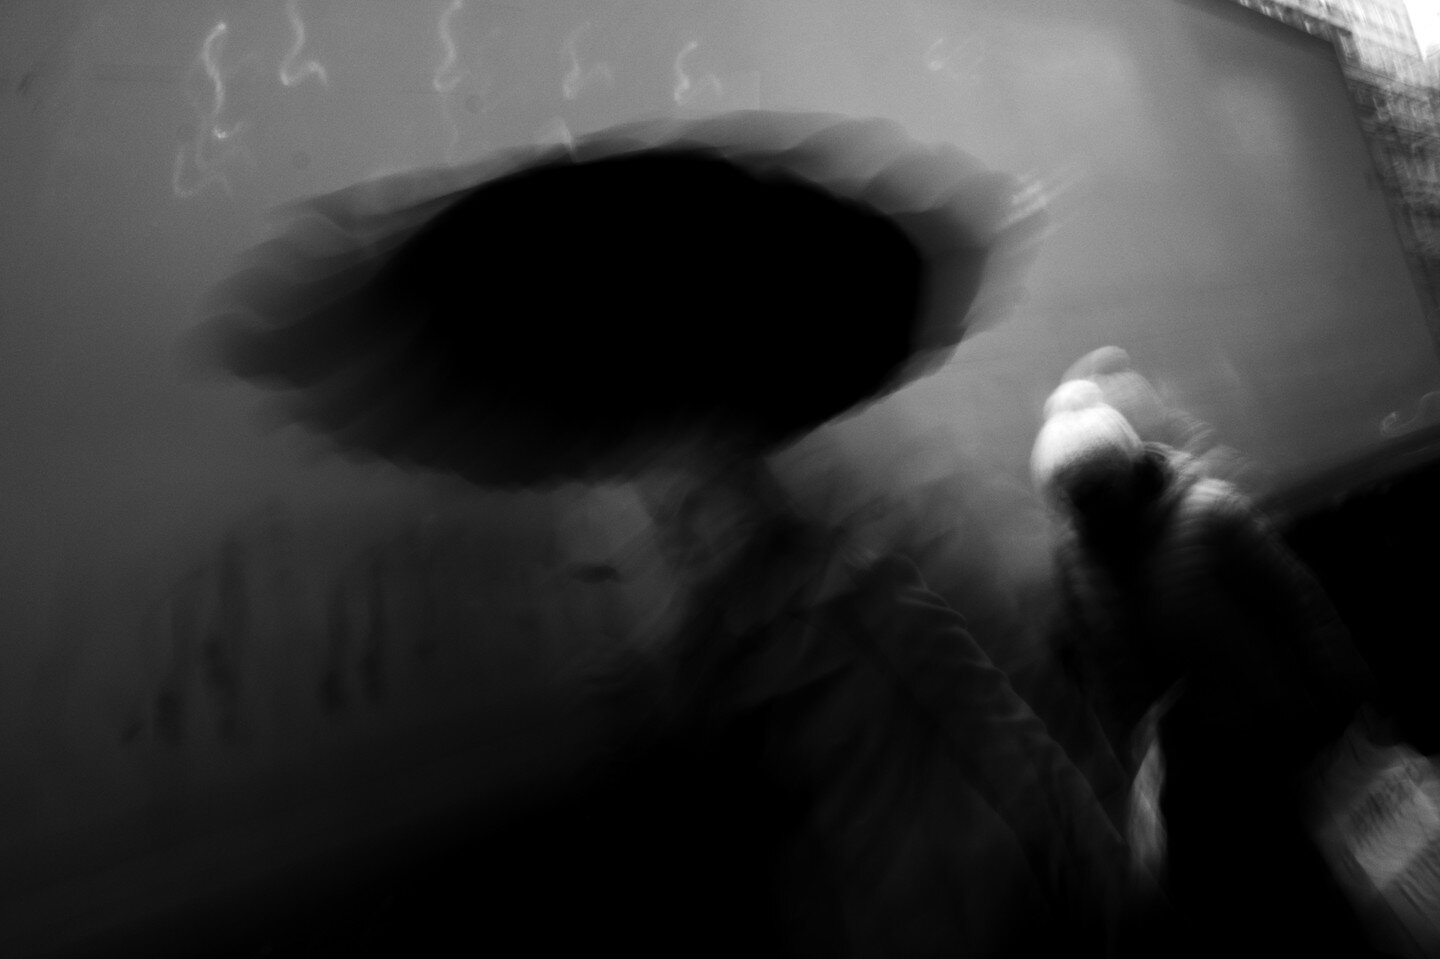
Should you want to add motion, you can experiment with going as low as you desire to achieve the look you are going for. The lower the shutter speed, the more movement you will introduce.
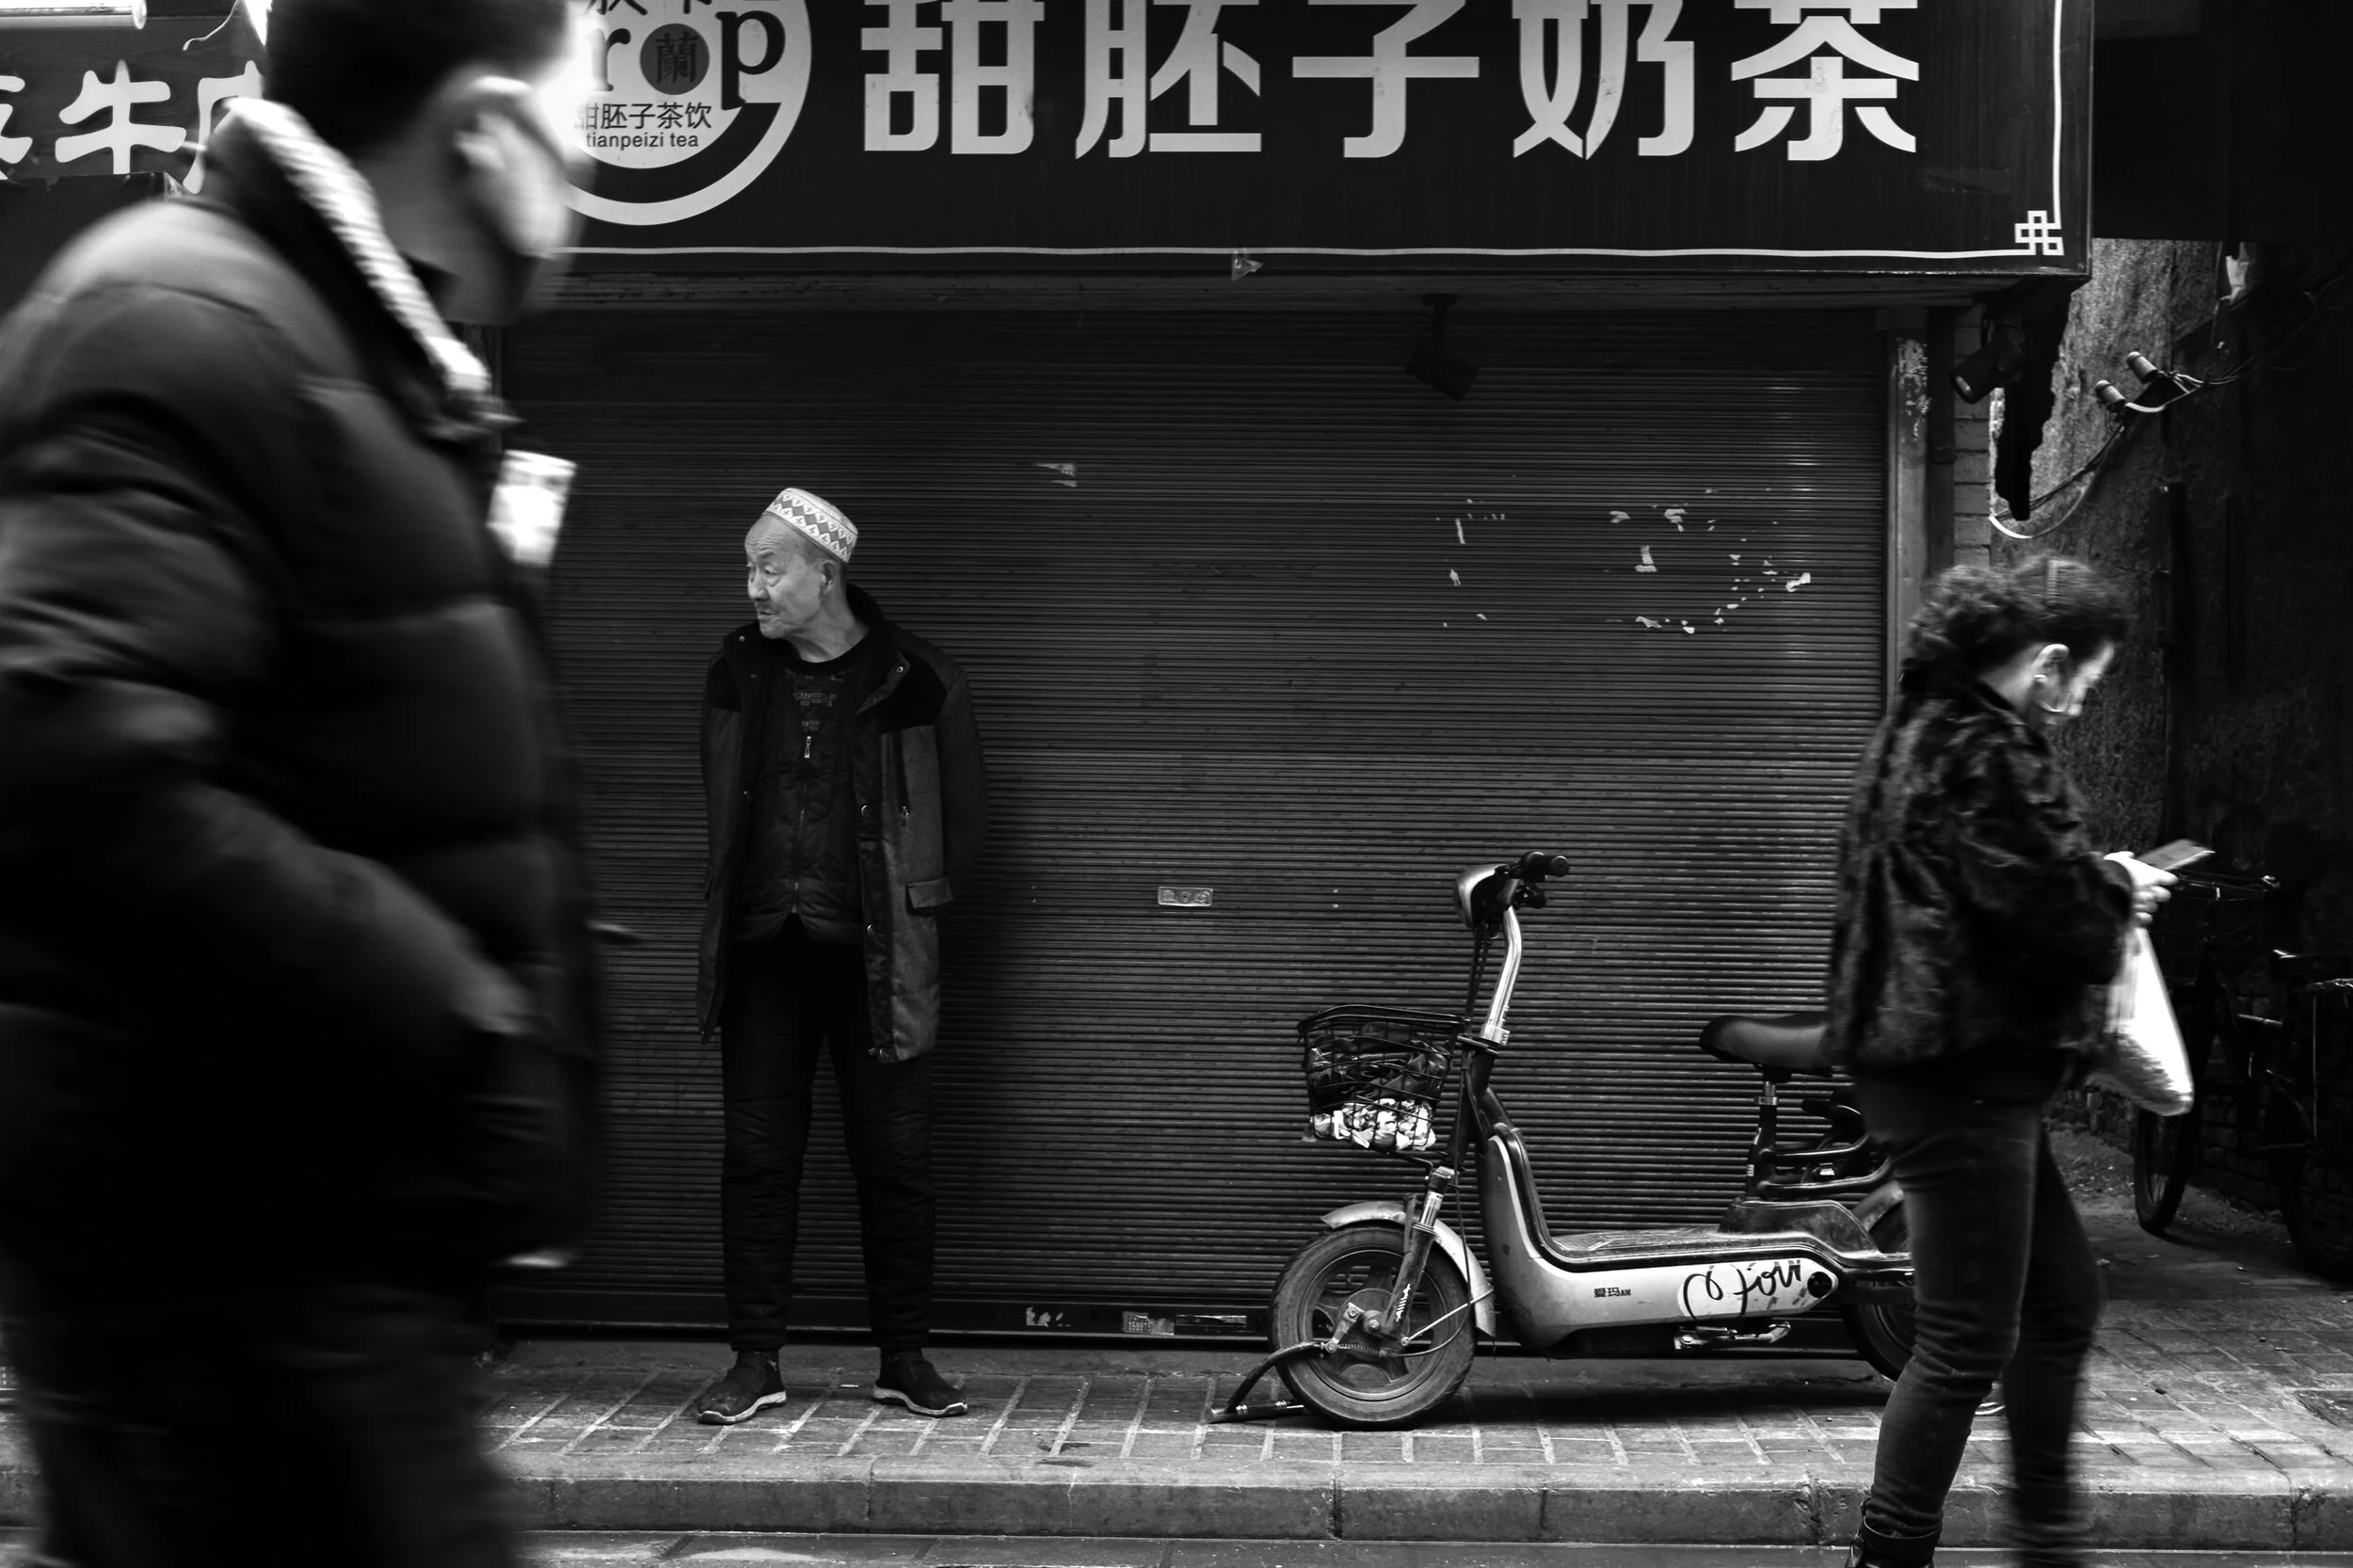
A happy medium - a fast enough shutter speed to have the stationary subject sharp, and those moving by with some motion blur/movement.
Aperture
“What aperture should I use for street photography?”
For me, the focal length of the shot is what will be most important when it comes to the “look” of the image (assuming again, I want a sharp shot). This is why I prefer to set my F number on manual as my main priority and balancing my shutter speed and ISO around the aperture.
On a bright day I prefer somewhere around f8.0 - this will give me more room to hit my focus (remember, things on the street move unpredictably) so it serves as a technical choice but also a creative one. Blurring out backgrounds with creamy bokeh is nice and all but we’re shooting street! So get the street in there too, don’t blur it all out.
Of course as the evening approaches or as winter comes, you will have to lower your aperture number as a compromise.

Winter in Helsinki - dark (and cold) shot at f2.0

Helsinki Senate Square on a Summers Day - Shot at f8.0
ISO
“What ISO should I use for street photography?”
ISO I keep set to auto. I find that ISO effects the creative outcome of my image the least and having that third side of the SS-Aperture-ISO triangle taken care of when roaming in and out of sunlight is a huge relief. This also ensures that even if your shutter speed and/or aperture are a bit “off” for whatever reason, your ISO can bump itself and fill in the error.
Of course keep in mind, the higher the ISO the more noise is introduced into your shot. If you don’t already know, do some testing with your camera and find out what the maximum ISO would be before the noise in your image becomes unbearable, for you personally.
On my Fujifilm XT-3 I can set a “cap” on how high the auto ISO will go and that’s a great feature that your camera also may offer.

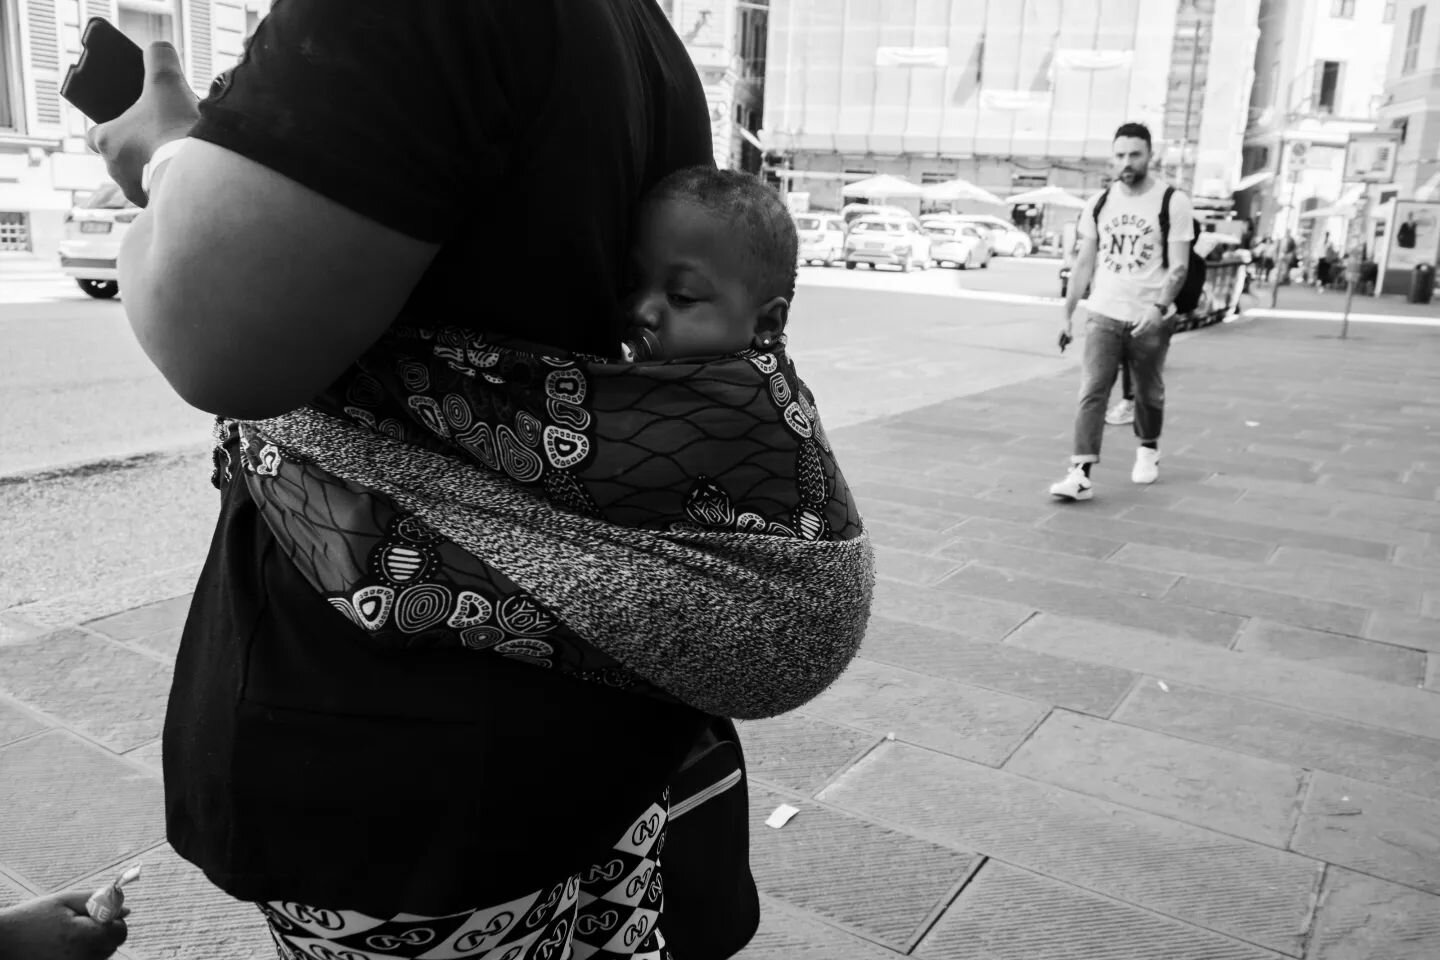
Auto ISO helping to keep balance on an image with bright spots and dark shadows, allowing me to be quick and capture the important moment.
Focus
“What focus should I use for street photography?”
This leaves us with quite a few options and preferences. For the most part, I auto focus on manual mode…
“But how can you autofocus on manual focus mode?”
Well, I use back-button focusing. Something I tried, became fond of and now have the muscle memory for. In short, it removes the focusing from the shutter button and onto another button of your choice (implying your camera has that option). This allows me to shoot manual or ‘zone focus’ when using only the shutter button and auto focus when pressing the “back button”.
Zone Focusing is where you would manually set the focus on your lens to say, 1.5m, for example. This obviously now means everything at 1.5 metres from you will be at the sharpest focus. It’s a great method for street photography and to be super quick (because you do not have to wait for your camera to find the focus for you) but will take some practice at eyeballing how “far” 1.5m (or your preferred distance) really looks.
So, I jump between the two. If your camera will not allow back-button focusing and zone focusing sounds all a little too complicated and unreliable, just stick to autofocus, you’ll do just fine.

Thank you for reading!
If there are any further questions you have, please do not hesitate to contact me! And if you found this article helpful, please do share it with a friend and consider checking out my Instagram.
All other social links here: